

This black cocoa cake recipe adapts a 1927 newspaper clipping into an easy, one-bowl chocolate cake made with black cocoa powder, the same heavily Dutch-processed cocoa that gives Oreo cookies their deep, almost-black color and flavor. The batter takes about ten minutes to mix and bakes in around thirty minutes into a tender, oreo-like cake.
A 1927 newspaper clipping called it "Black Cake," and it had no idea how right that name would eventually become.
Swap the plain cocoa the original called for with black cocoa powder 🛒, the same ultra-Dutch-processed powder behind Oreo's nearly black wafers, and this black cocoa cake recipe turns into a genuinely deep, oreo-like chocolate cake.
One bowl, no separate mixing steps, and about thirty minutes in the oven get you there, with a crumb dark enough to make the name finally make sense.
I was searching for a new way to use black (ultra Dutch-processed) cocoa powder, something beyond homemade Hydrox cookies, when a 1927 newspaper clipping caught my eye with a recipe for chocolate cake with black cocoa. Perfect! My mom's birthday was three days away and I had my answer and a reason to try out another vintage recipe.
One bowl, thirty minutes in the oven, and you end up with a deeply chocolate, tender cake that needs nothing more than white or chocolate icing to be completely finished.
I also baked Wacky Cake using black cocoa powder, so if you want to see how the same swap plays out in a completely different, egg-free and butter-free cake, my 1940 wacky cake recipe has the full results.
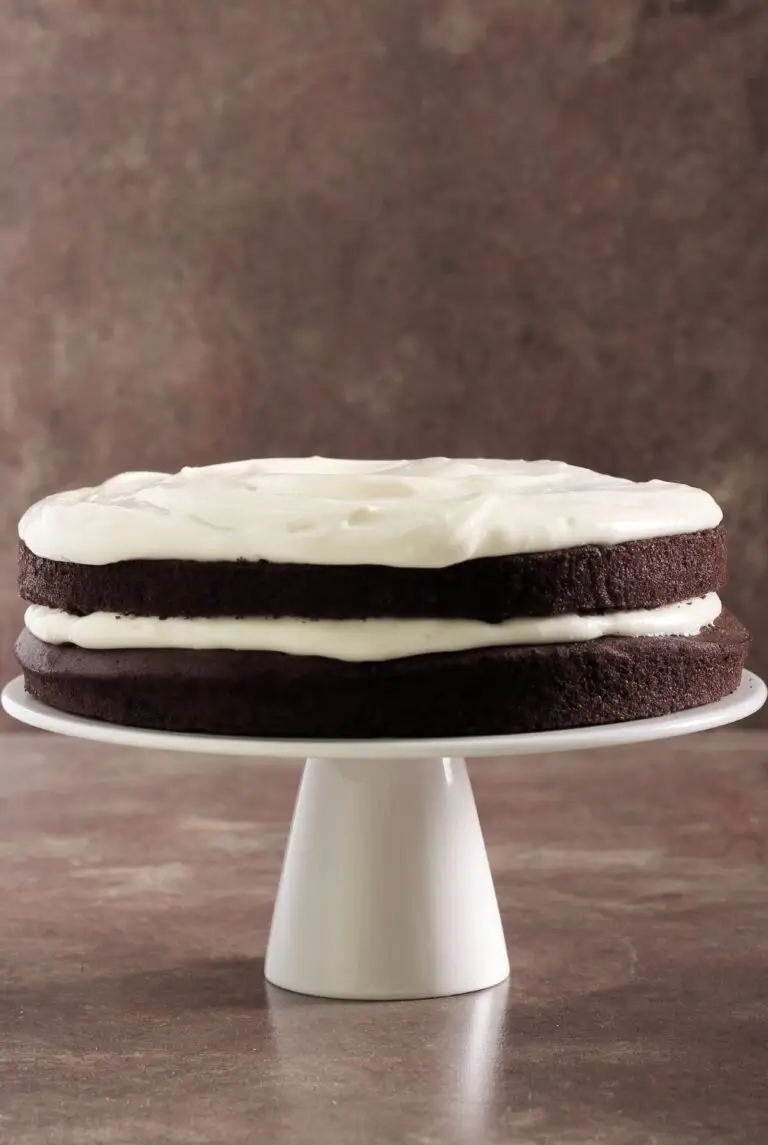
1920s Black Cocoa Cake Recipe
This black cocoa cake recipe adapts a 1927 newspaper clipping for chocolate cake, swapping in black cocoa powder for a striking, near-black crumb and a deep, smooth chocolate flavor. The one-bowl buttermilk batter comes together in about ten minutes and bakes into a tender, fudgy cake in under half an hour. Frost it simply with white or chocolate icing, or leave it bare for an Oreo-inspired slice.
- Total Time: 40 Minutes
- Yield: 10-12 Servings 1x
Ingredients
- 1/2 cup shortening
- 1 cup granulated sugar
- 2 large eggs
- 1 teaspoon pure vanilla extract
- 1/8 teaspoon salt
- 1 cup buttermilk
- 1/3 cup black cocoa powder
- 1 -2/3 cups all-purpose flour
- 1-1/2 teaspoon baking soda
- 1 teaspoon baking powder
- Vanilla buttercream or chocolate icing for frosting
Instructions
- Bring oven to temp: Preheat your oven to 350°F.
- Prepare pan: Line a 9×13 baking pan, or two 9 inch round pans, or a 9×9 square pan with wax paper or parchment paper. Do not skip this step – the original recipe specifies it, and it is the reason the cake releases cleanly.
- Cream fat and sugar: In a large bowl, cream together the shortening and the sugar until light, about 2 minutes by hand or 1 minute with a hand mixer.
- Add remaining ingredients: Add the egg, vanilla, salt, buttermilk, cocoa powder, flour, and baking soda all at once to the creamed fat and sugar.
- Mix batter: Stir by hand; not with a mixer. The batter will look glossy.
- Fill pan: Pour into the prepared pan(s) and spread evenly.
- Bake: Bake for 28 to 32 minutes, until the top springs back lightly when pressed and the edges pull away slightly from the sides of the pan. Check at 28 minutes – this cake goes from done to overdone quickly.
- Cool before frosting: Cool completely in the pan before frosting with vanilla buttercream frosting or chocolate icing.
Don't Forget the Vanilla Buttercream Frosting; Here's the Recipe
Pin This Chocolate Cake With Black Cocoa Recipe For Later

Back in the Day: How a 1927 "Corrected" Recipe Became This Black Cocoa Cake Recipe
A Correction Printed in the Des Moines Tribune

Newspaper clipping for Black Cake, Using Cocoa, Feb. 4, 1927 - Des Moines Tribune
On February 4, 1927, the Des Moines Tribune ran a small correction under the headline "A Corrected Recipe. Black Cake, Using Cocoa," suggesting an earlier printing had gotten something wrong.
Whatever that original error was, what survived is a simple, one-bowl chocolate cake: a third cup of fat creamed with sugar, one egg, vanilla, salt, sour milk, cocoa, flour, and soda, beaten together and baked in a shallow pan lined with waxed paper for thirty minutes in what the paper called a "moderately slow oven."
Wikipedia's day-by-day record of that February shows Malcolm Campbell breaking a land speed record on the Pendine Sands in Wales that same week, and the Des Moines Register's own newsroom history notes the Tribune had just over a week left before absorbing its last hometown rival, the Des Moines Capital, on February 12.
Why the Original Recipe Wasn't Actually Black Cocoa
The 1927 recipe never called for black cocoa. Jayarr Chocolate, a small-batch chocolate maker that has written at length about the ingredient, points out that black cocoa wasn't a home-kitchen staple in the 1920s; it took decades more of industrial alkalization refinement before that ultra-dark powder showed up outside factory production.
The cocoa in the recipe clipping was almost certainly a plain or lightly Dutched powder, and the name "Black Cake" was likely more about the icing-free finish of a dark, unfrosted cake than the deep, near-black crumb this version produces.
Where Black Cocoa Itself Came From
Black cocoa has its own separate history. Casparus van Houten patented the hydraulic press that first turned cocoa into powder in 1828, and Cornell University's online exhibit on the history of chocolate credits his son Coenraad with patenting the alkalization process itself in 1846, treating the powder with alkaline salts to mellow its bitterness and darken its color.
The Van Houten company's own history page still tells that story today, crediting Coenraad's "Dutching" process for giving cocoa powders a richer, more chocolatey taste. The far more heavily alkalized black cocoa tied to Oreo cookies is a later, more intense version of that same idea.
Nabisco started selling Oreos in 1912, and the cookie's signature near-black wafer comes from that aggressively Dutched cocoa.

Nabisco 1923 Oreo Sandwich Logo
Why This 1927 Black Cocoa Cake Recipe Still Works Today
Black Cocoa Powder Brings Deep Cocoa Flavor Without Bitterness
Black cocoa powder is alkalized far more heavily than standard Dutch-process cocoa, and that heavier treatment is what raises its pH and strips out most of the acidity found in natural cocoa, according to King Arthur Baking's guide to cocoa types and Serious Eats' own comparison of Dutch-process and natural cocoa. That's the reason this cake has such a deep, rich chocolate flavor with almost no sharp or bitter edge, along with the dramatic dark color.
Black cocoa also carries less cocoa butter than regular cocoa, typically around 10 to 12 percent fat compared to 20 to 24 percent for standard cocoa powder, a gap Jayarr Chocolate has documented in its own writing on the ingredient, which is part of why it swaps into this recipe at a one-to-one ratio without throwing off the batter.
One Bowl Means No Separate Dry Ingredients Bowl
This recipe skips the usual routine of whisking dry ingredients in a separate bowl before folding them into the wet ingredients. Everything, the eggs, vanilla, salt, buttermilk, black cocoa powder, flour, and baking soda, goes into the same large bowl as the creamed shortening and sugar. Less cleanup, and a genuinely simpler process for a weeknight or last-minute birthday cake.
Buttermilk and Two Leaveners Give It Lift
Alkalized cocoas like this one don't react with baking soda the way natural cocoa does, since baking soda needs an acidic ingredient to activate its lift, a mechanism Sally's Baking Addiction breaks down in its own comparison of cocoa types. That's likely why this batter leans on both baking soda, which reacts with the buttermilk's acidity, and baking powder, which provides its own built-in acid, as backup insurance for a properly risen cake.
The original 1927 version used only soda; adding baking powder is one of the real, tested adjustments made for this modern batch.
A Thin, Glossy Batter Bakes Into a Tender Crumb
Once everything is stirred together by hand, the batter should look glossy and pourable rather than thick like a stiff cookie dough. That thin batter is what bakes up into this cake's tender, fudgy crumb instead of a dense, heavy one.
How to Make This Black Cocoa Cake Recipe
Prep the Pans Before You Mix Anything
Line your 9x13 pan, two 9-inch round pans, or a 9x9 square pan with parchment or wax paper before you start on the batter, the same step the 1927 version called for with its own waxed paper. It will help the finished cake release cleanly instead of leaving half of it stuck to the pan.
Cream the Fat and Sugar Until It's Genuinely Light
The original 1927 clipping just says "fat," which was the era's shorthand for whatever solid fat was on hand.
I've made this cake with both butter and shortening, and the difference shows up a day or two later: the butter version dries out faster, while the shortening version stays moist longer. That's likely because shortening is entirely fat with no water content, while butter carries some water that bakes out and leaves the crumb a little drier over time.
My 2-cents: If you want the cake to hold up well for a couple of days, shortening is the better bet; use butter only if you're serving it the same day and want the richer flavor. Butter-flavored shortening is also an option.
Beat the fat and sugar together in a large bowl until the mixture turns pale and noticeably lighter in both color and texture, 3 to 5 minutes by mixer (hand mixer or stand mixer) at medium speed.
This step matters more than people expect: creaming traps tiny air pockets into the fat, and those pockets are what give the finished cake its lift and soft crumb.
You're looking for a visible shift: the color lightens a shade, the texture turns fluffy rather than grainy, and the mixture holds its shape a little when you lift the beaters.
Add Everything at Once, Then Stir by Hand
Add the eggs, vanilla, salt, buttermilk, black cocoa powder, flour, and baking soda directly to the creamed mixture, all at the same time. Stir by hand rather than with a mixer; overmixing at this stage can make the crumb tough, and the batter should look glossy when it's ready.
Pour Into Prepared Pans and Spread Evenly
Pour the batter into your prepared pan or pans and spread it into an even layer with a spatula so it bakes uniformly from edge to center.
Watch the Edges, Not Just the Toothpick
Bake at 350°F for 28 to 32 minutes. I typically check for doneness 🛒 at the 28-minute mark, since this cake moves from perfectly done to overbaked quickly. Look for a top that springs back lightly when pressed and edges that have just begun pulling away from the sides of the pan.
A cake tester or toothpick inserted in the center should come out with a few moist crumbs still clinging to it, not fully clean; this cake is meant to stay a little fudgy, and overbaking will dry it out.
Cool Completely Before Frosting
Let the cake cool all the way in the pan before you frost it. Frosting a warm cake is the fastest way to end up with a melted, sliding mess instead of a clean layer of icing.
Recipe Variations, Serving Ideas, & Storage
Recipe Variations
Tools & Ingredients Worth Having For This Recipe
We use Amazon links for tools that we use in our own kitchen and make sense for the recipes we share. If you choose to shop through those links, you help keep these vintage recipes alive and off the endangered list, at no extra cost to you.


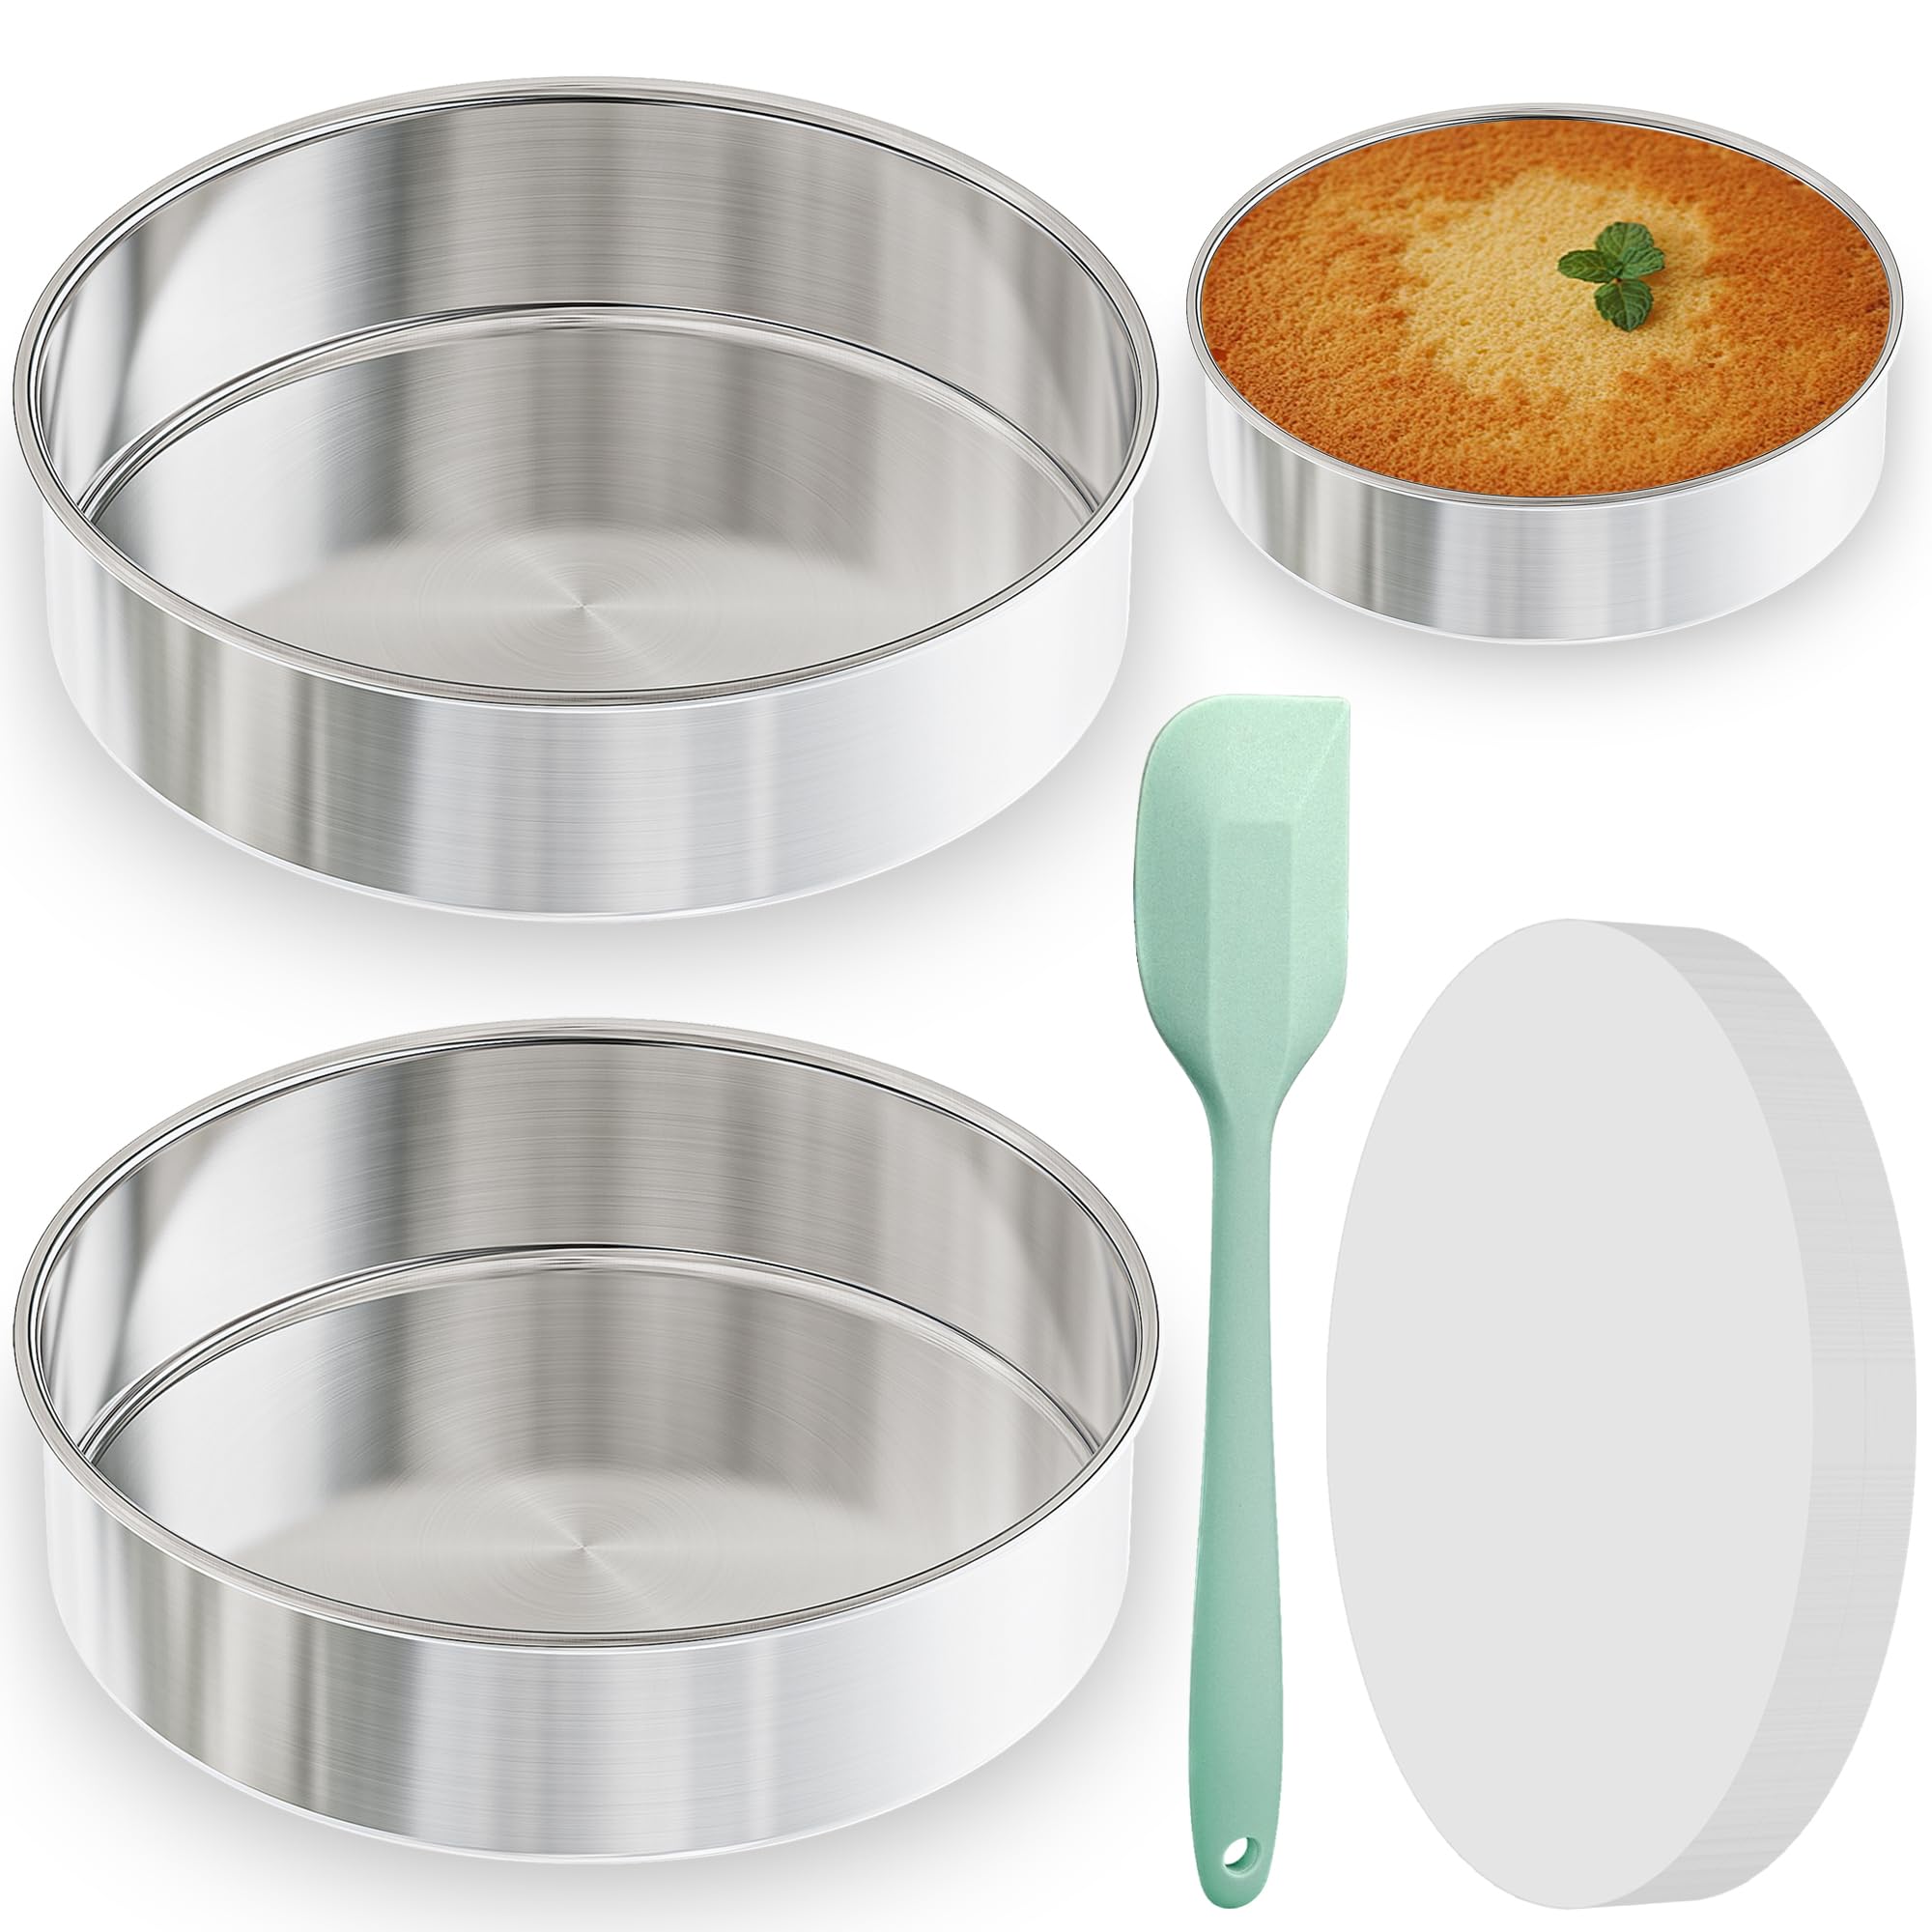
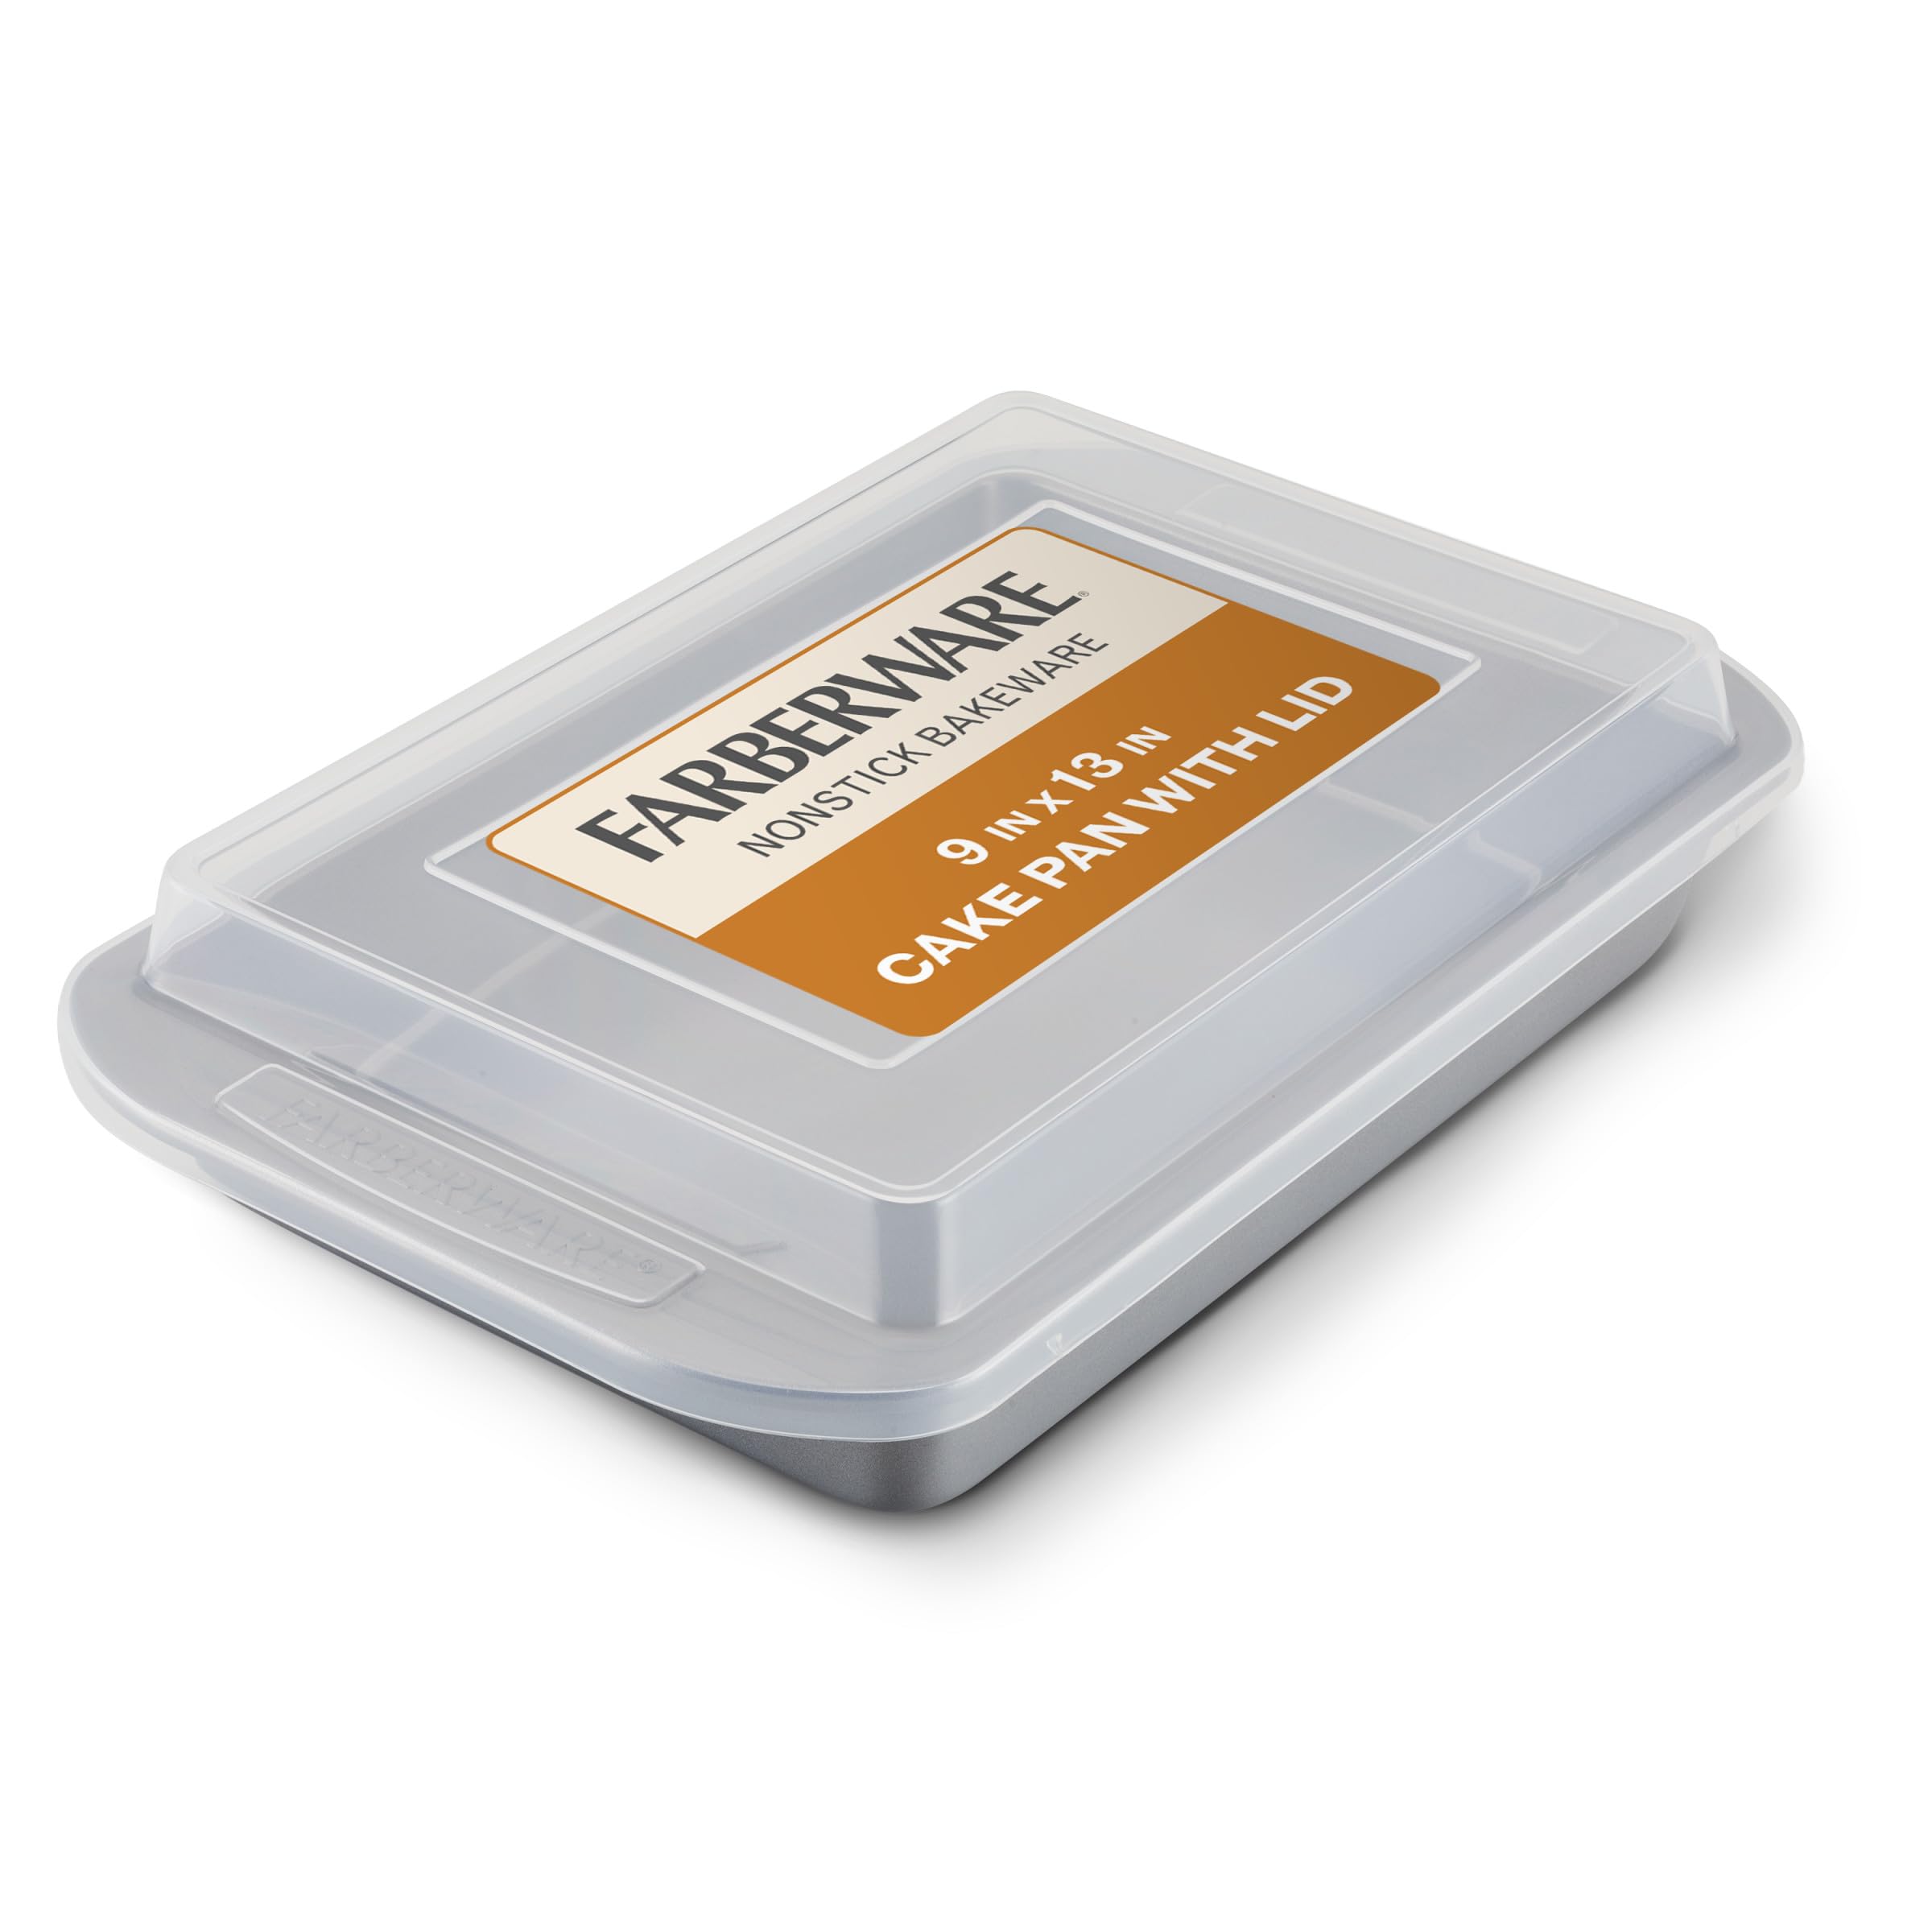

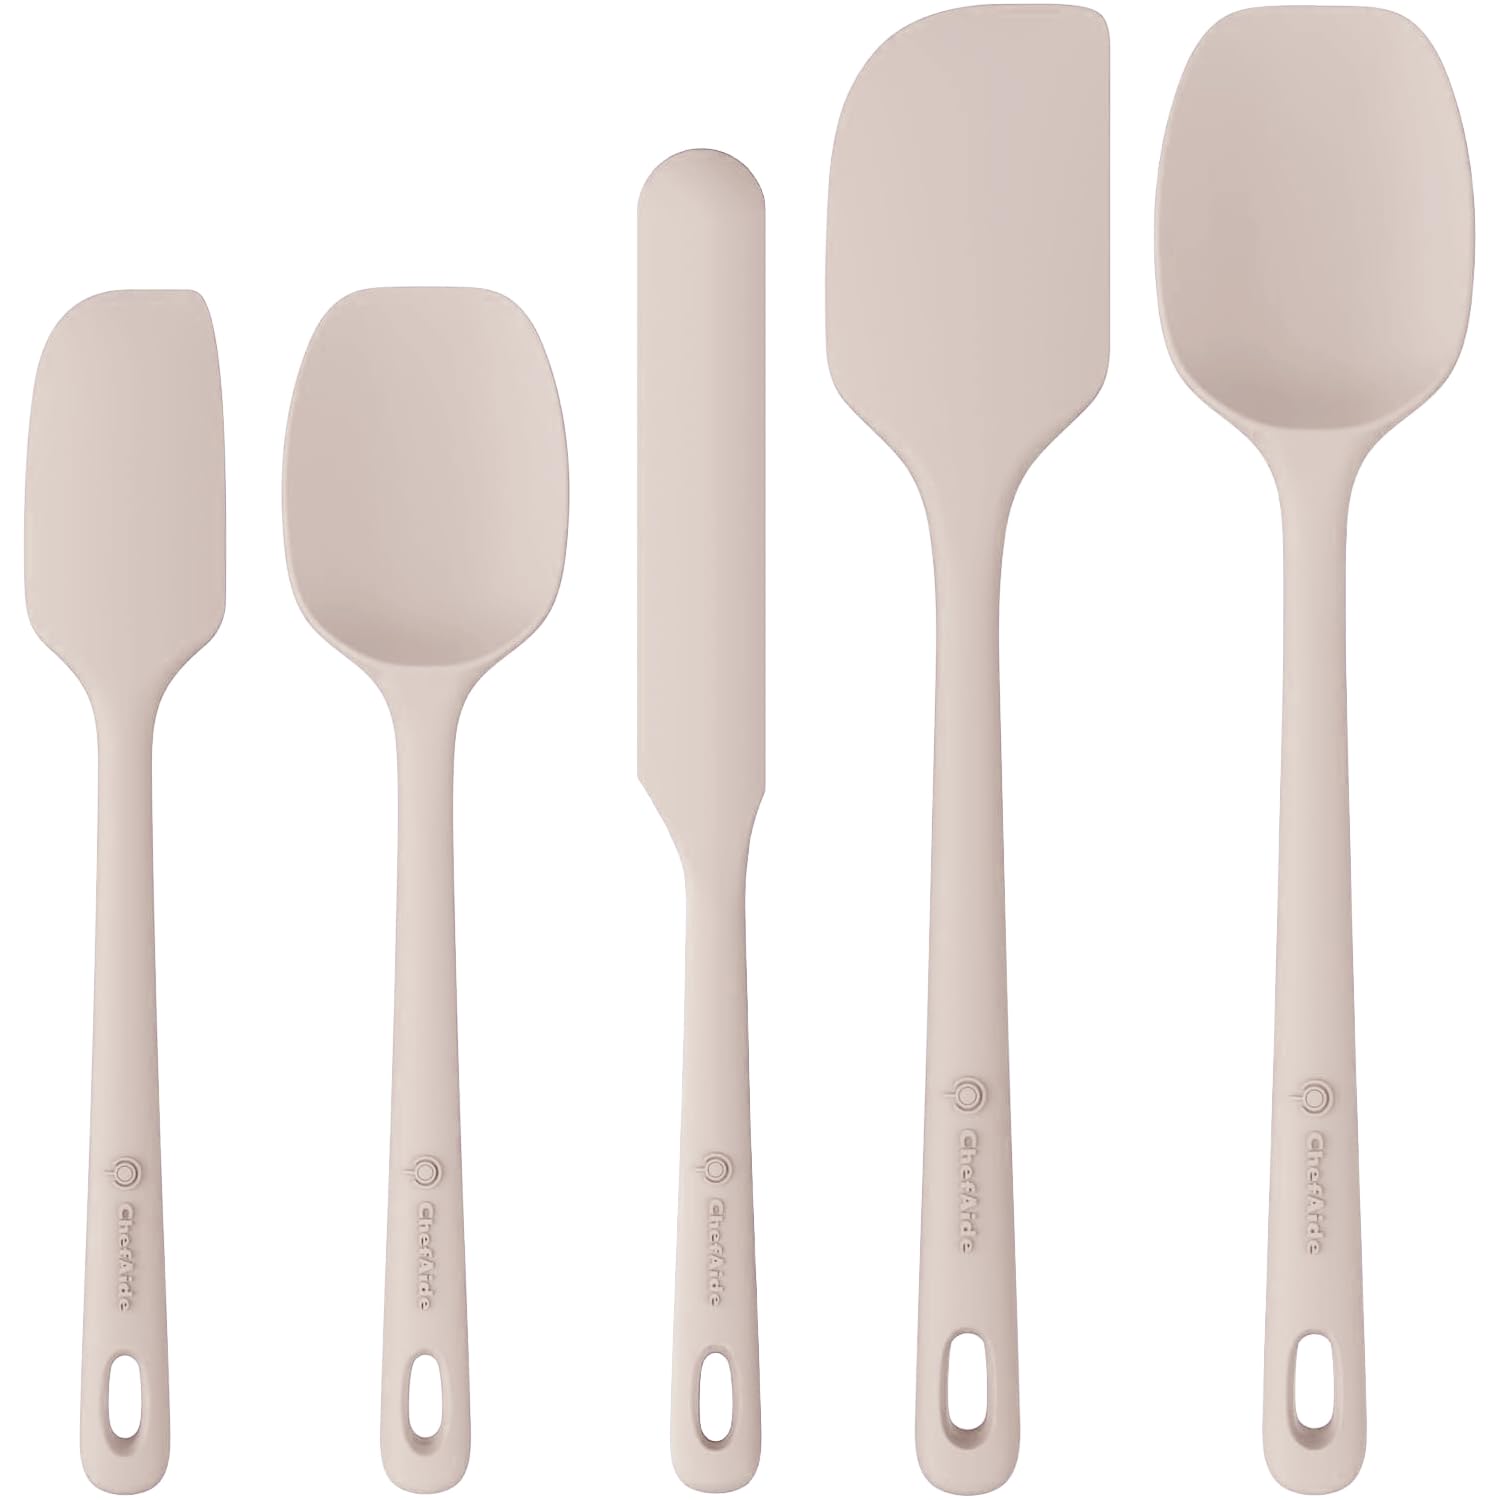
Last update on 2026-11-19 at 16:48 / Affiliate links / Images from Amazon Creators API
Frequently Asked Questions
Black cocoa powder is cocoa that has been alkalized far more heavily than standard Dutch-process cocoa, which raises its pH and turns it a dramatic, near-black color. It's the same type of cocoa used to give Oreo cookies their signature dark wafer.
Regular natural or Dutch-process cocoa powder can be swapped in one-to-one, though the finished cake will be a lighter brown with a slightly sharper flavor rather than the deep, smooth cocoa taste black cocoa gives this recipe. If the dramatic color is part of why you're making this black cocoa cake recipe, stick with the real thing.
The heavier alkalization process that darkens black cocoa also strips out most of the natural acidity that gives regular cocoa its sharper, sometimes fruitier notes. That's why black cocoa tastes smoother and more mellow, with a deep cocoa flavor rather than a bright one.
A 9x13 pan produces a thin, easy-to-cut sheet cake, a 9x9 pan gives a thicker single layer, and two 9-inch round pans make a proper 2-layer cake for frosting between layers. All three options use the same batter and roughly the same bake time.
The top should spring back lightly when pressed and the edges should just start pulling away from the pan, usually starting around the 28-minute mark. A cake tester inserted in the center of the cake should come out with a few moist crumbs rather than fully clean, since this cake is meant to stay slightly fudgy.
Room temperature butter can replace the shortening, and it gives the cake a richer flavor, but testing both side by side showed a real difference: the butter version dries out faster than the shortening version, likely because shortening is entirely fat with no water content while butter carries some water that bakes out over time. Shortening is the better choice if you want the cake to stay moist for a couple of days; save butter for when you're serving the cake the same day it's baked.
The February 4, 1927 Des Moines Tribune clipping this recipe is adapted from called for plain cocoa, sour milk, and a single egg, along with a third cup of fat, sugar, vanilla, salt, flour, and soda. Two eggs, buttermilk, black cocoa powder, and a second leavener were all later additions made and tested for this version.
From My Mom's Birthday to My Grandson's First
That 1927 clipping called itself "A Corrected Recipe," and it turns out it needed one more simple fix: swap in black cocoa, and a cake that used to just go by "Black Cake" finally earns the name, with a crumb dark enough and a flavor deep enough to remind you of the inside of an Oreo.
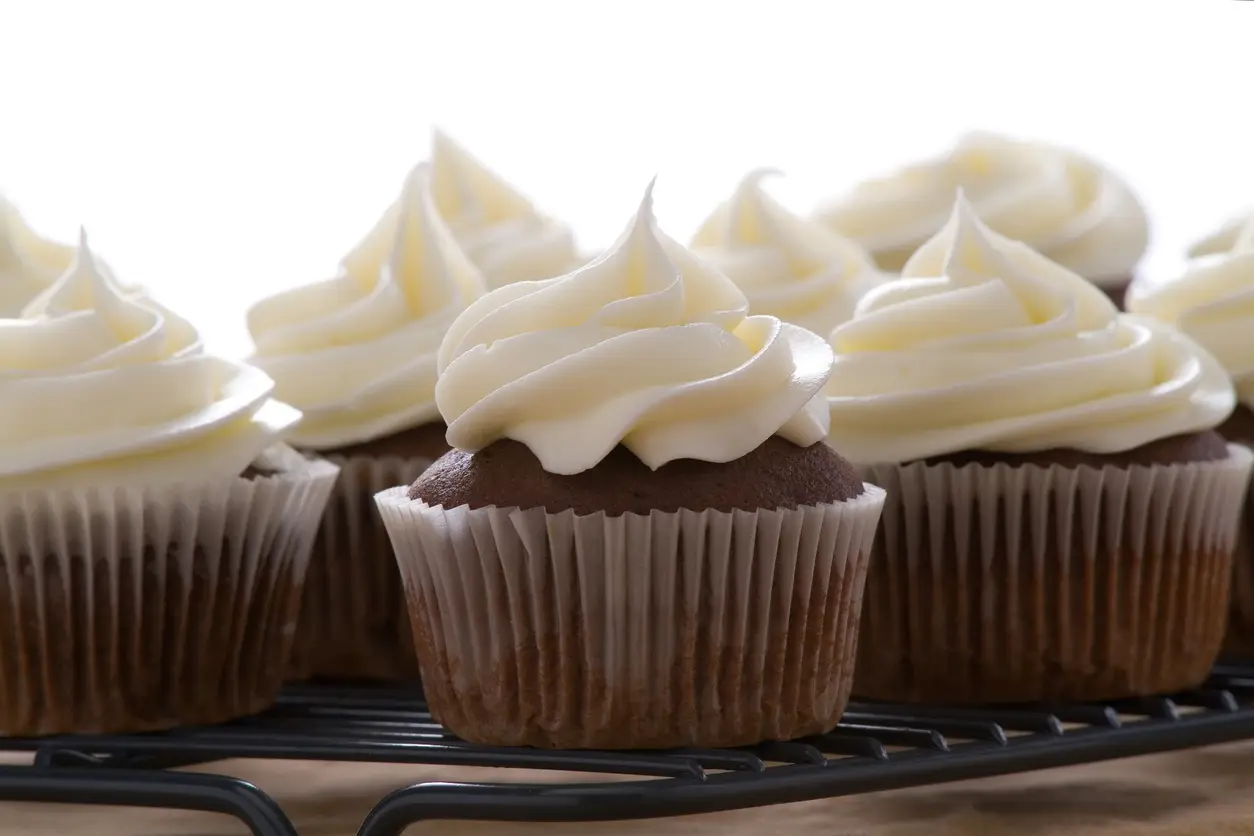
It got me through a last-minute scramble before my mom's birthday, and I used it again on a batch of perfectly domed cupcakes for my grandson's first birthday.
If this black cocoa cake recipe ends up on your table for a birthday, Halloween, a Tuesday, or no particular reason beyond that dramatic color and signature Oreo flavor, leave a rating and let me know how it turned out.
