
A caramel corn popcorn recipe made with butter, brown sugar, and Karo corn syrup, boiled for 5 minutes, foamed with baking soda, and baked at 250°F for 30 minutes. Our family has made it since the 1980s, and the easy homemade batch yields 16 cups of buttery caramel popcorn.
Nobody in my family can tell you where this recipe originated, but we've baked it regularly since my high school days in the 1980s.
A five-minute boil, a spoon you leave alone, and a 250°F oven turn butter, brown sugar, and Karo into a crisp coating that doesn't go chewy. The 16-cup batch is built for movie night, and it rarely outlasts the previews.
Before You Start: Mushroom Popcorn Makes Better Caramel Corn
Mushroom popcorn is the best kernel for caramel corn because it pops into big, round, sturdy puffs that give the caramel more surface to grip. Regular white kernels pop into winged, irregular pieces, and those wings are the first thing to snap off once hot caramel and a spatula get involved.
My mother-in-law recently asked me for a batch and sent over a bag of Dell Cove mushroom kernels, a variety I'd never popped before. I popped them next to my usual white kernels and the difference was obvious. The mushroom puffs came out bigger and fluffier, with fewer unpopped kernels left in the bowl.
The round shape keeps paying off once the caramel goes on. Every puff has a rounder surface, so the coating covers more of each piece, and the pieces hold together through the stirring.
Here's the bag I used: Dell Cove Spices mushroom popcorn kernels 🛒
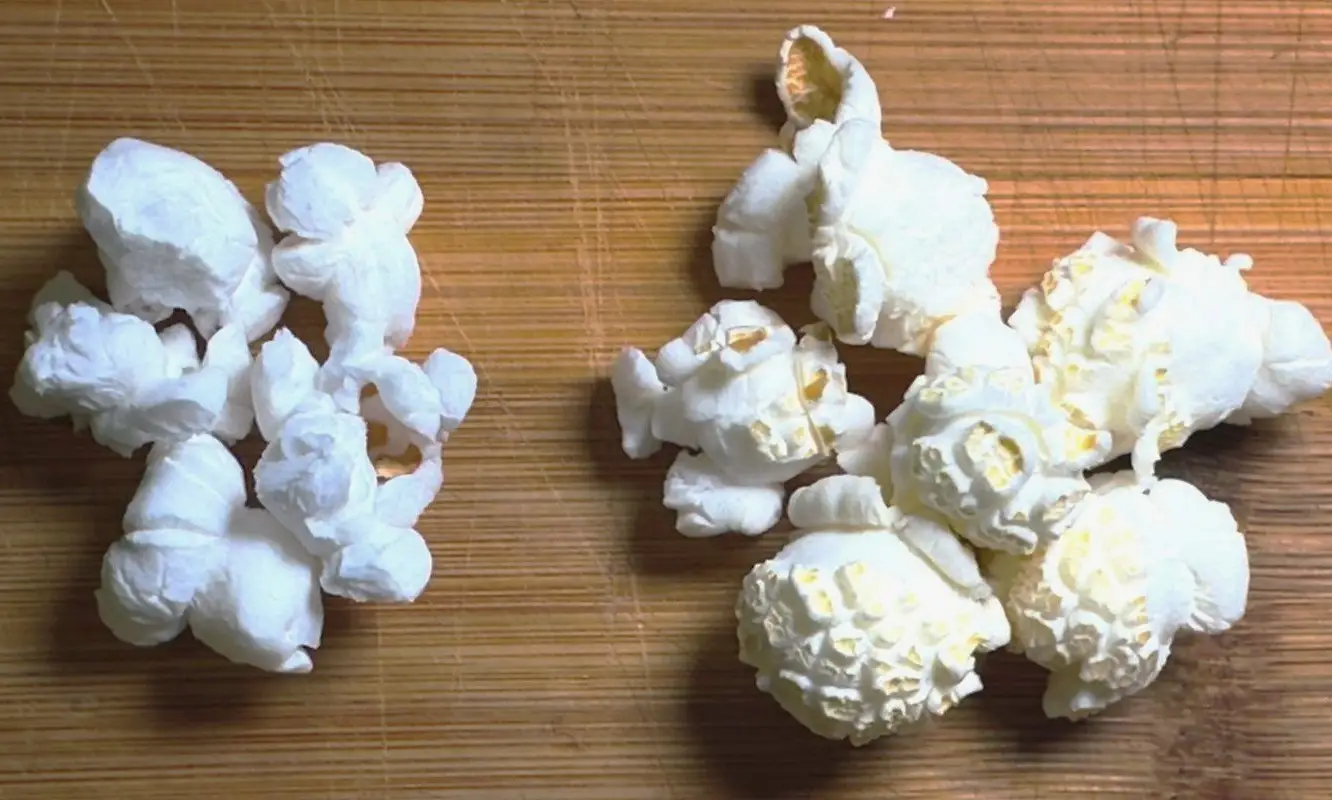
White popcorn kernels on the left, Mushroom popcorn kernels on the right.
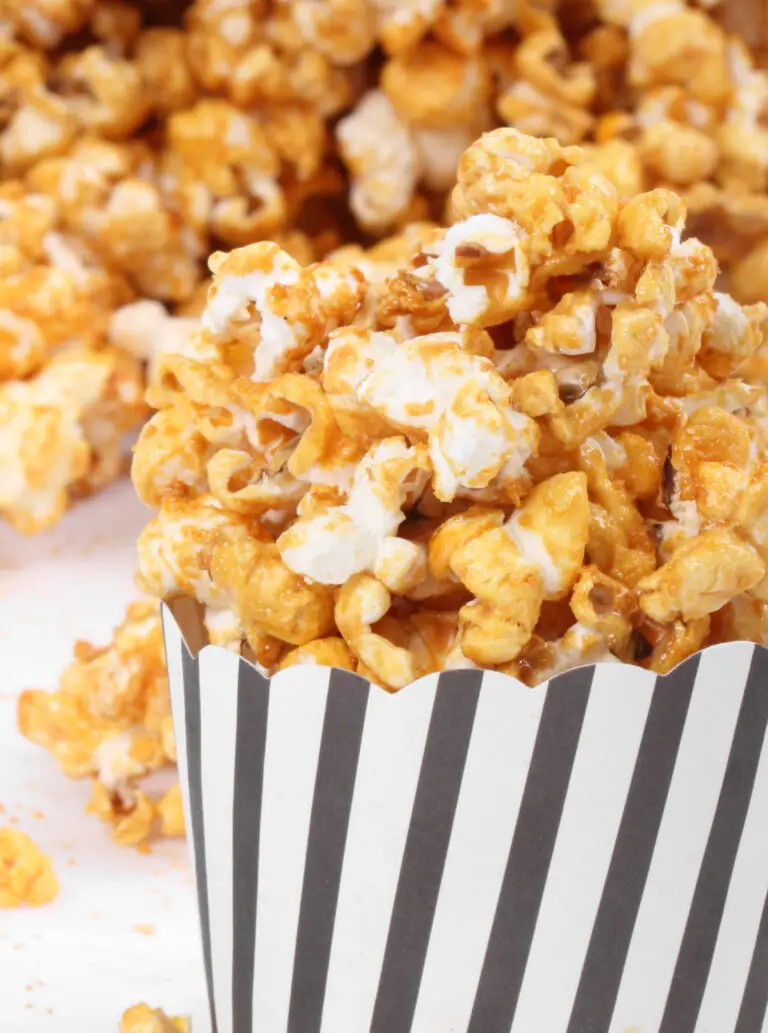
Homemade Caramel Corn Recipe
Our family’s caramel corn has been in rotation since the 1980s, and nobody remembers where it came from. Butter, brown sugar, and Karo boil for five minutes, foam with baking soda, then dry in a 250°F oven for 30 minutes. The batch makes 16 cups, enough for 12 servings.
- Total Time: 45 minutes
- Yield: 12 servings 1x
Ingredients
- 16 cups popped popcorn or 1/2 cup popcorn kernels
- 1/2 cup (1 stick) butter
- 1 cup brown sugar
- 1/2 cup dark or light Karo corn syrup
- 1/2 teaspoon salt
- 1/2 teaspoon baking soda
- 1 teaspoon vanilla extract
Instructions
- Prep your station: Preheat the oven to 250°F and set out two large baking sheets. Pop the kernels any way you like, measure out 16 cups, pick out any unpopped kernels, and put the popcorn in a very large bowl. Once the caramel is ready, you’ll want to move fast.
- Create the caramel: Combine the butter, brown sugar, Karo syrup, and salt in a 2-quart saucepan over medium heat. Stir until the butter melts and everything is smooth. Use a pan with extra room, because the mixture will expand later.
- Boil without stirring: Bring the mixture to a gentle boil, then set a timer for 5 minutes. Keep the heat at medium and leave the spoon alone. Stirring now can make the caramel grainy.
- Foam it off the heat: Pull the pan off the burner and stir in the baking soda and vanilla. The caramel will turn light and foamy and puff up in the pan. Don’t wait, because the foam deflates as it cools.
- Coat and bake: Pour the hot caramel over the popcorn and stir with a rubber spatula until every piece is coated. Divide the popcorn between the two baking sheets and bake at 250°F for 15 minutes.
- Stir at the halfway mark: Pull the pans out, stir the popcorn with the spatula, and spread it back out. Return the pans to the oven for another 15 minutes.
- Finish baking, then remove from oven: Bake for another 15 minutes, 30 minutes total. Take both pans out of the oven and set them on the counter. The caramel will still look glossy and feel slightly tacky, and it crisps as it cools.
- Cool and break apart: Let the pans cool for 5 minutes. Break the large clumps into bite-size pieces, then spread them on waxed paper or silicone baking mats to cool completely. Pack into an airtight container once the caramel corn is fully room temperature.
Pin This Caramel Corn Popcorn Recipe For Later

Back in the Day: From 1917 Boiled Sugar to 1980s Poppers
Coating popped corn in warm sugar syrup is an old American tradition that predates modern bagged snacks by generations. The tools changed with every decade, but the basic method has survived all this time.

Recipe for Priscilla Popped Corn as printed in the Albert Lea Tribune, 1917
In 1917, Priscilla Popped Corn Boiled for 16 Minutes
A newspaper clipping for "Priscilla Popped Corn" shows how home cooks made candied popcorn during World War I. Published on October 28, 1917, the recipe called for two quarts of popped corn, two tablespoons of butter, two cups of "browned sugar," half a cup of water, and half a teaspoon of salt. The cook melted the butter, stirred in the sugar, water, and salt, and boiled the syrup for a full 16 minutes before pouring it over the popcorn.
Standing over a boiling saucepan for 16 minutes took patience, and the 1917 clipping presented that as a method. Our version boils for 5 minutes and adds baking soda for a lighter coating. The idea hasn't changed: loose popcorn, buttery brown sugar syrup, and a cook with somewhere to be.
Stovetop Popcorn Took a Pot, Oil, and a Lid
By the 1980s, stovetop popcorn meant oil, kernels, and a pot with a lid. A big stock pot is great because it lets you pop all 16 cups in one single batch. The method comes with some risk, though, because oil gets hot fast and unpopped kernels scorch the moment you stop shaking the pot. It is how I used to pop mine before finding a better vintage alternative.
E-Z Pop Arrived Alongside Jiffy Pop
E-Z Pop was a foil-pan popcorn designed by Benjamin Coleman of Berkley, Michigan, and marketed by the Taylor-Reed Corporation, reaching home kitchens shortly before Jiffy Pop made its national debut . According to the Chicago Tribune, Coleman's design led to a 1963 patent lawsuit between Taylor-Reed and Jiffy Pop's manufacturer .
The vintage 1950s commercial below shows off the concept with an animated hepcat kernel in a jazz-era beret explaining that "heat's all you need" because the pan, oil, and salt were already sealed inside.

Click to play
Jiffy Pop Always Burned for Me
Jiffy Pop sealed popping corn and oil in an aluminum pan with a wire handle, and the foil swelled into a silver dome. Mine scorched on the bottom anyway, and I never mastered the timing. A hot air popper I found at a resale shop fixed that! It pops dry kernels with no oil, so you skip the burned layer entirely.
The Microwave Bag Felt Like the Future
Microwave popcorn first appeared in supermarkets in 1981, though early versions had to be kept refrigerated so the butter wouldn't turn rancid, according to the Smithsonian's National Museum of American History . It felt like a massive shortcut as kitchens embraced microwave cooking, quickly becoming the fastest way to fill a snack bowl.
Caramel corn didn't care which popper you owned, so our recipe survived every single trend.
Why This Caramel Corn Popcorn Recipe Still Works Today
The chemistry behind this caramel corn popcorn recipe hasn't changed, and four small choices help the caramel set properly. Each one is easy to control at home.
Baking Soda Makes the Caramel Foam and Lighten
Baking soda reacts with the acid in brown sugar and releases carbon dioxide, which is why the pan puffs up the moment you stir it in. The bubbles aerate the hot caramel, so it spreads thin and sets light instead of cracking a molar.
Karo Corn Syrup Keeps the Caramel Smooth
Corn syrup acts as an interfering agent that stops sucrose molecules from locking together into gritty crystals, as Iowa State University Extension and Outreach explains . The Karo company history records the brand as an American pantry staple since 1902 .
Choosing between light and dark corn syrup comes down to the flavor depth you want in the finished caramel:
- Light Karo Syrup: Blended with a touch of vanilla, light corn syrup delivers a clean, golden, buttery caramel that lets the brown sugar flavor take center stage.
- Dark Karo Syrup: Made with refiners' syrup, dark corn syrup gives the caramel an amber color and a rich, old-fashioned molasses note.
- The Swap: Both syrups work interchangeably at an exact 1:1 ratio without changing your cook time, foaming reaction, or final texture. Use whichever bottle is sitting in your pantry.
A Five-Minute Boil Without Stirring Sets the Texture
A timed boil drives water out of the caramel mixture and concentrates the sugar. More concentrated sugar sets harder once it cools. According to Iowa State University Extension and Outreach, stirring after the syrup comes to a boil can induce crystal formation, so leave the spoon alone and watch the clock .
A Low 250°F Oven Dries the Coating Slowly
A slow bake evaporates the last bit of moisture from the coating without scorching the sugar. At 250°F, the caramel dries gradually into a thin shell on each piece. A hotter oven would brown the sugar before the moisture escaped, and you'd risk bitter popcorn with a sticky center.
How To Make The Perfect Caramel Corn Popcorn Recipe
Making homemade caramel corn comes down to using roomy equipment, minding the timer, and moving quickly once the foam appears. The recipe card steps are straightforward, so these practical tips cover the spots where batches typically go wrong.
 | |
|---|---|
 |  |
Choose a Saucepan With Plenty of Headroom
Use a medium saucepan with extra room, because the caramel doubles in volume once the baking soda goes in. A heavy bottom spreads the burner's heat so the butter and sugar don't scorch in hot spots. A crowded pan turns the best part of the recipe into a stovetop science fair.
Pop Your Own Popcorn and Pick Out the Unpopped Kernels
Pop the kernels using an air popper or stovetop method, measure out 16 cups, and pick out every unpopped kernel before adding the caramel. Hot caramel hardens firmly around stray kernels, creating a hidden tooth hazard in the bowl.
Set the Timer the Moment the Mixture Boils
Start your five-minute timer when the caramel reaches a gentle, rolling boil across the surface rather than when turning on the burner. Caramel corn can turn soft or chewy when the boil runs short, so following the clock eliminates the guesswork.
Medium heat keeps the boil active without scorching the sugar, and staying nearby ensures you hear the timer go off.
Pour Caramel and Stir Right Away
Pour the hot caramel over the popcorn immediately and fold with a flexible rubber spatula until every piece is coated. The foaming caramel cools and stiffens quickly once removed from the heat, so stirring is a deliberate race against the clock. Using a very large stainless steel bowl gives you room to turn the popcorn over without flinging pieces across the counter.
Use Plain Baking Sheets Without Cooking Spray
Spread the coated popcorn onto plain, ungreased baking sheets and skip the cooking spray, parchment paper, and silicone mats for the bake. Cooking spray leaves the finished caramel corn greasy and chewy instead of crisp. The caramel will stick lightly to bare metal pans, but it dissolves quickly in hot water during cleanup because cooked sugar washes away cleanly.
Stir at the 15-Minute Mark
Take the baking sheets out of the oven halfway through baking, stir the popcorn with a spatula, and spread it back out into an even layer. Stirring redistributes the pieces from the hotter edges to the center of the pan so the entire batch dries at the same rate. Set a kitchen timer for 15 minutes as soon as the pans go into the oven so you don't miss the halfway point.
Cool for 5 Minutes, Then Move It
Let the pans sit on the counter for 5 minutes after they come out of the oven. The caramel should be firm enough to hold its shape but still slightly warm. Break the large clusters apart, then transfer the pieces to waxed paper or silicone baking mats to cool completely.
Caramel corn left to set on a bare pan bonds to the metal, and waxed paper lets go without a fight.
Recipe Variations, Serving Ideas, & Storage
Recipe Variations
Tools & Ingredients Worth Having For This Recipe
We don’t run an ad network here. Instead, we quietly use Amazon links for tools that we actually use in our kitchen and make sense for the recipes we share. Shop through the links and you help keep these vintage recipes alive, at no extra cost to you. As an Amazon Associate, I earn from qualifying purchases.


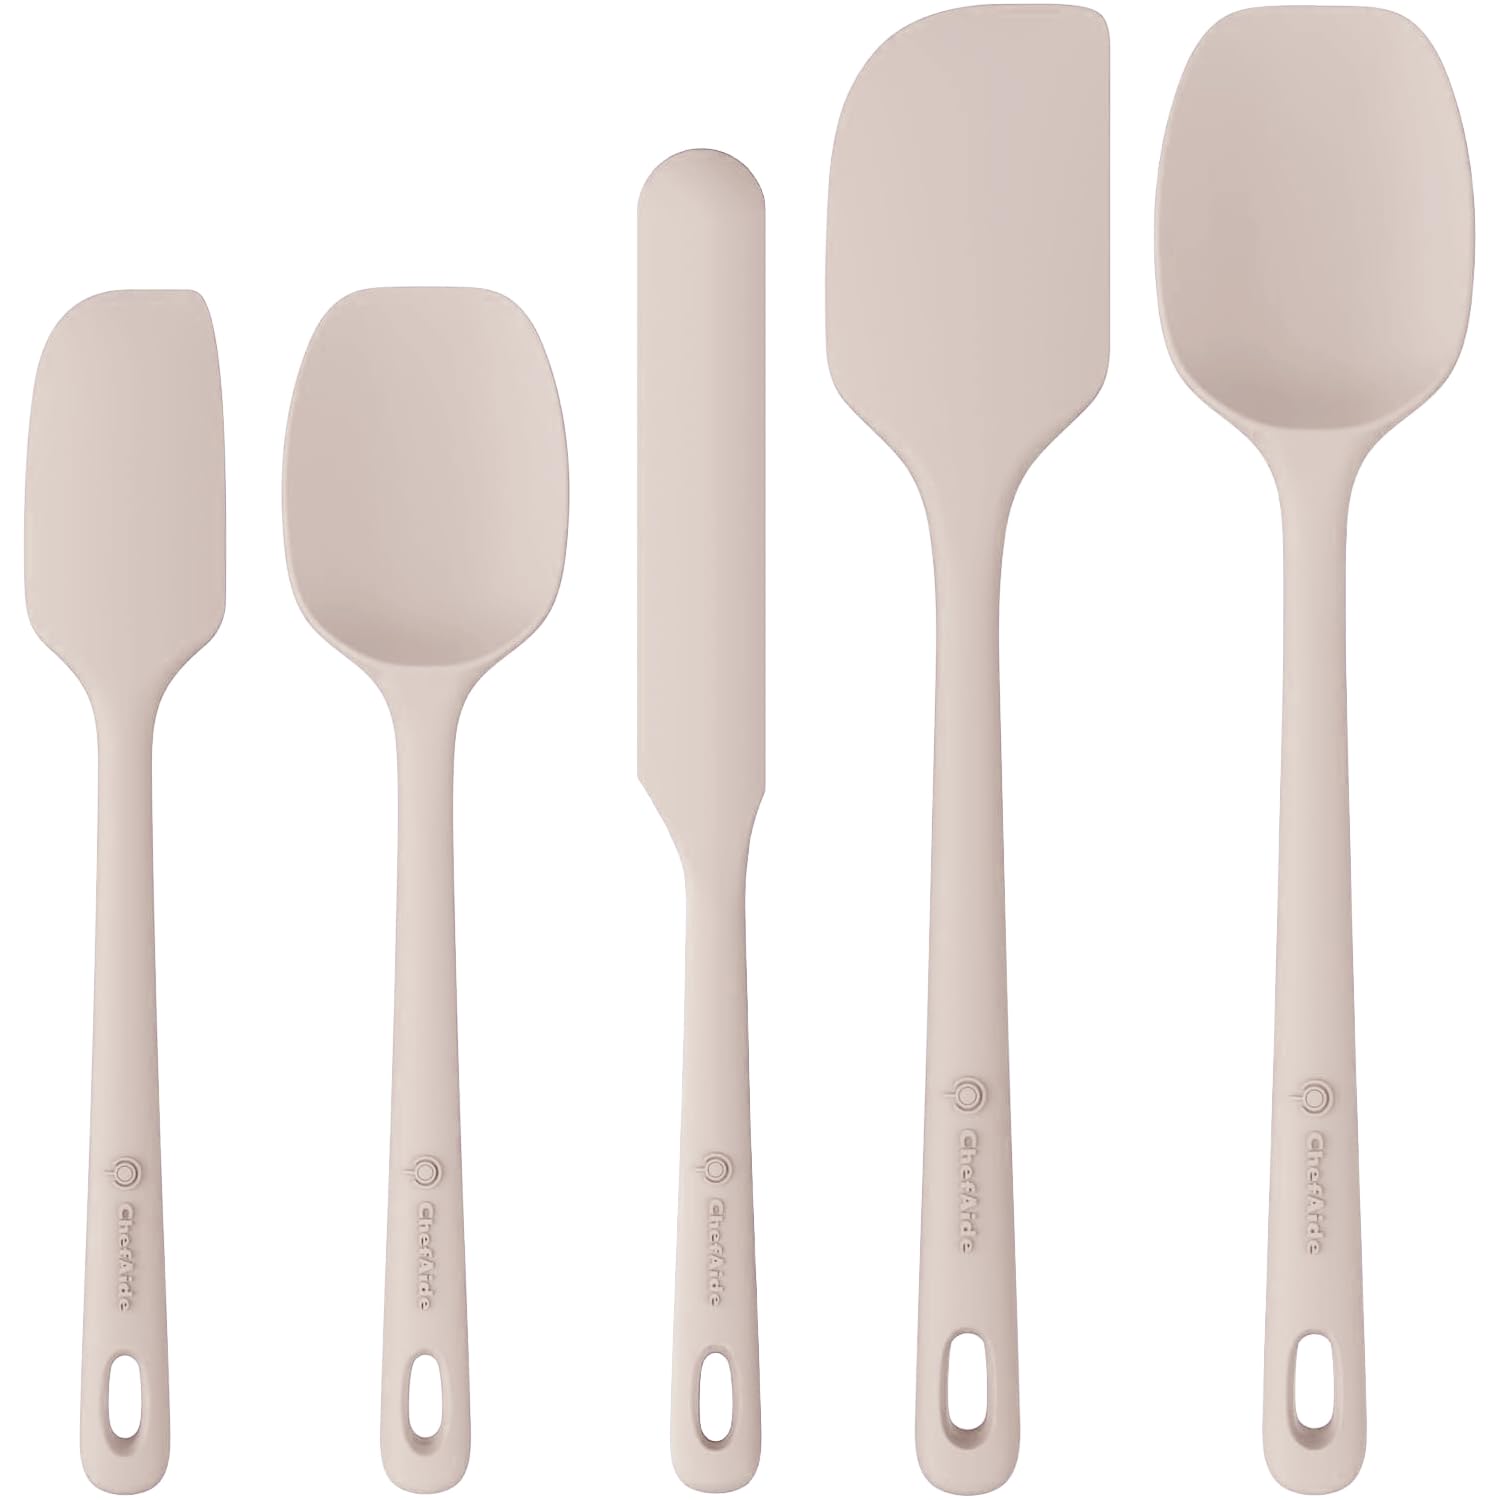
Last update on 2026-11-13 at 16:22 / Affiliate links / Images from Amazon Creators API
Frequently Asked Questions
Homemade caramel corn stays fresh for up to 5 days when stored in an airtight container at room temperature. Keep the container sealed tightly and positioned away from sunny windows or hot stovetops. High humidity softens the sugar coating quickly, so an airtight seal is essential.
Mushroom popcorn kernels are the best choice for caramel corn because they pop into big, round, sturdy puffs that hold the coating. I switched to Dell Cove mushroom kernels and got fewer unpopped kernels and more surface for the caramel to grip than with white kernels. Regular white, yellow, or air-popped corn still works, as long as you measure 16 cups of popped corn and pick out the unpopped kernels first.
Baking soda reacts with the natural acid in brown sugar to release tiny carbon dioxide bubbles throughout the hot syrup. This foaming reaction aerates the caramel so it spreads into a thin, delicate coating rather than hardening into a thick, jaw-breaking layer. The foam also lightens the color and helps the syrup coat every kernel smoothly.
Caramel popcorn turns soft or chewy when the syrup is underboiled or the popcorn skips the low oven bake. Boil for a full 5 minutes without stirring to drive out excess water, then bake at 250°F for 30 minutes so the coating dries. Packing it away before it's completely cool also traps steam, so give it time on the waxed paper.
Homemade caramel popcorn should never be stored in the refrigerator because cold air introduces condensation. Sugar naturally absorbs moisture from the air, which breaks down the dry coating and turns the popcorn sticky and soft. Keep the batch in a sealed container in a cool, dry pantry instead.
A Family Tradition Worth Passing Along
I still don't know who first handed this recipe to my family, but I'm glad they did, and now it's yours too.
Tell me in the comments about the recipe your family can't trace, and leave a star rating if the batch made it to your table.
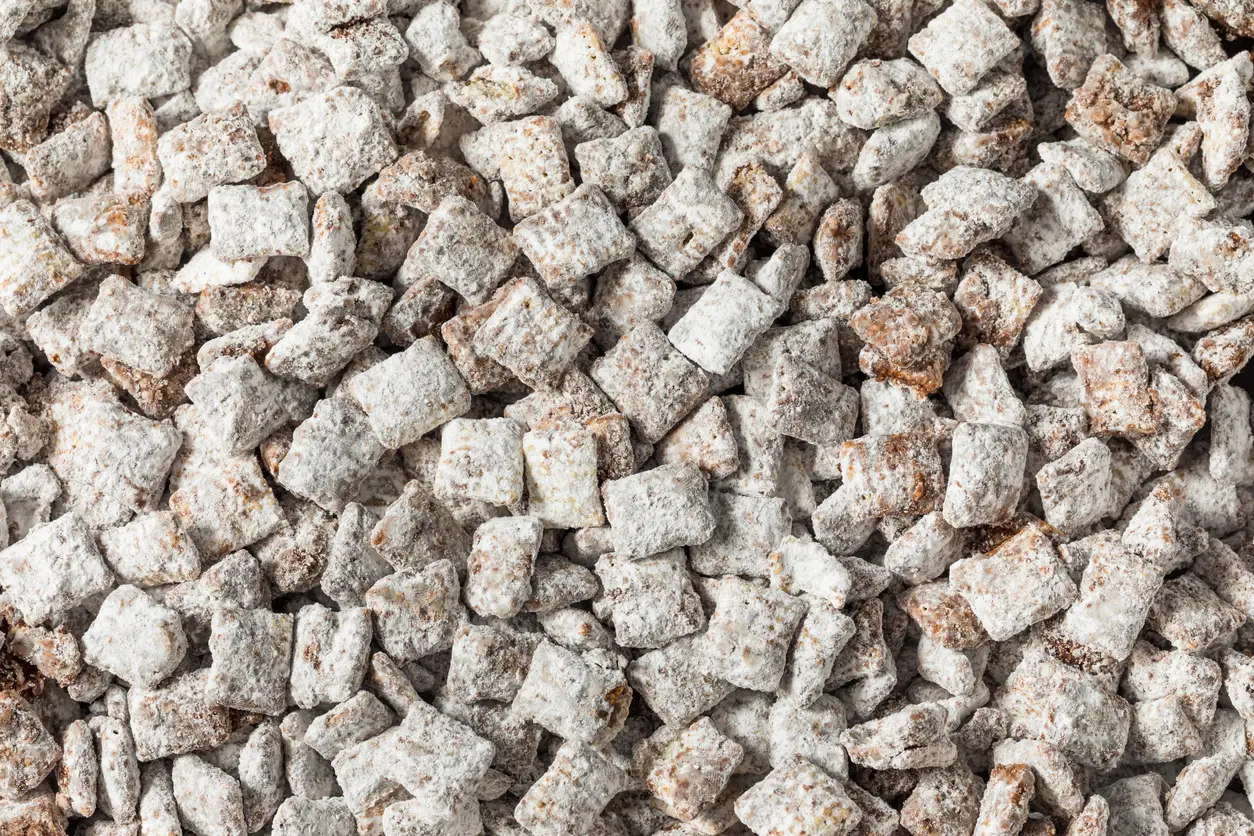
If this caramel corn disappears before the movie starts, you'll need backup. Midwest puppy chow is the snack mix that keeps hands busy, and candied almonds from the Apollo 8 era are the ones people pick out of the bowl one at a time.