
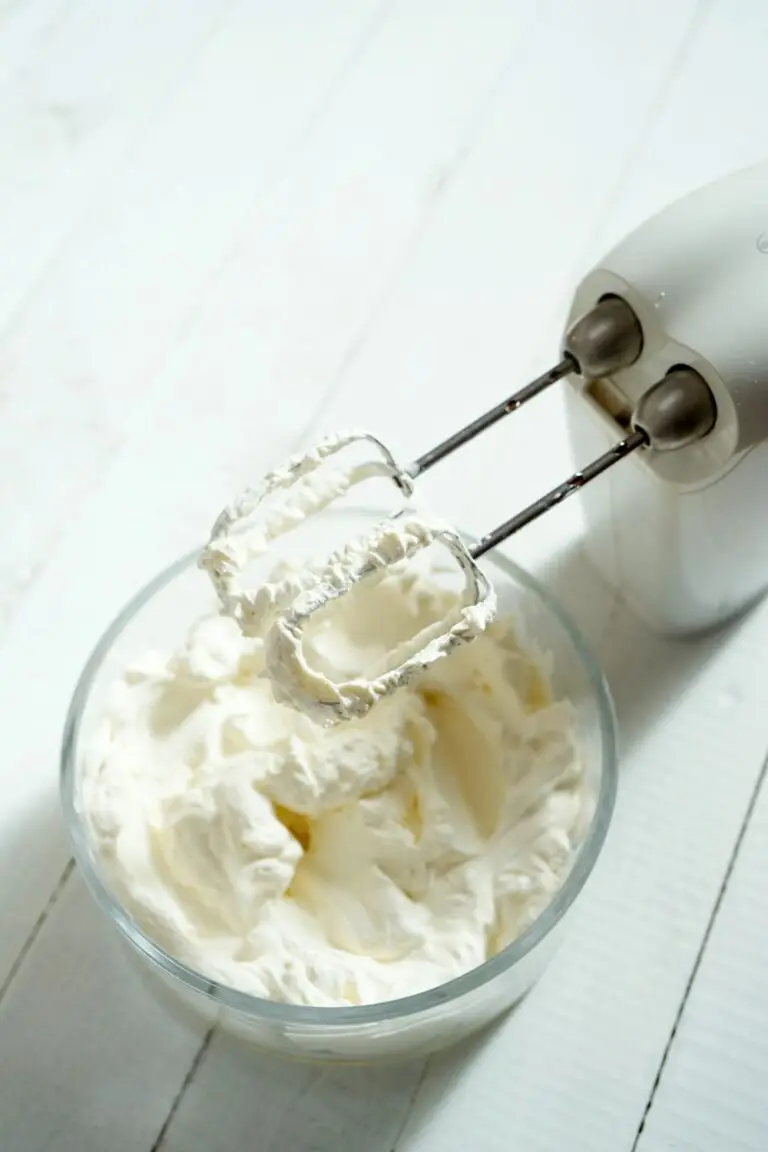
How to make whipped cream: pour cold heavy cream into a chilled bowl and beat with an electric mixer on medium-high speed for 3 to 4 minutes until stiff peaks form. Add powdered sugar and vanilla extract partway through for the best homemade whipped cream recipe. The cream needs a higher fat content, at least 30 percent milk fat, to trap enough air and hold its shape.
Grainy, weepy, or flat whipped cream is not a skill problem. It is almost always a temperature problem, and that quiet fear of ruining a cup of heavy cream is exactly what this method fixes.
You searched "how to make whipped cream" because a dessert somewhere is waiting for a proper topping, and soupy puddles or butter-flecked cream happen when timing and temperature get overlooked. This easy homemade whipped cream recipe leans on cold equipment and simple ingredients, so you get a fluffy texture every single time. The hardest part, honestly, is knowing when to stop.
Once you have this technique down, the uses pile up fast. That same bowl of whipped cream finishes a tres leches cake, lightens a bowl of banana pudding, folds into a classic ambrosia fruit salad, and tops a slice of pumpkin pie or pumpkin waffles.
When Whipped Cream Meant "Arm Day"
Long before anyone plugged in a mixer, whipped cream in America meant a serious workout.
Europeans were already whisking sweetened cream by hand back in the 1500s, and that same hands-on effort was still the norm in American kitchens well into the 1940s, when home bakers relied on a rotary beater 🛒or a balloon whisk 🛒 to turn a bowl of cream into something fluffy enough for pie.
That's the villain in this story: tired arms. If you've ever tried whipping cream by hand, you know why grandmothers earned bragging rights over a perfect peak.

Enter Bunny Lapin and the Can That Changed Dessert
Aaron "Bunny" Lapin, a St. Louis dairy salesman, spent the World War II years selling Sta-Whip, a vegetable-fat substitute cream that filled a wartime gap when real cream was scarce.
Once the war ended and dairy supplies loosened up, Lapin took that same aerating idea and pushed it further, packaging real whipped cream into a pressurized can and launching Reddi-Wip out of St. Louis in 1946. He patented the aerosol nozzle that made it all work in 1955, turning a kitchen chore into a one-second squeeze.
Reddi-Wip landed at exactly the right cultural moment. Postwar American kitchens were embracing convenience foods, refrigerators were becoming standard, and grocery stores had dairy cases eager for something new to stock next to the milk. Suddenly, dessert topping wasn't a five-minute arm workout anymore. It was a can in the fridge door, ready for the slice of pie.
Why This Still Matters at Your Table
Reddi-Wip's success wasn't just a gadget story; it was a shift in how Americans thought about kitchen time. Once canned whipped cream proved people would pay for speed and consistency, it opened the door for a whole wave of mid-century convenience products built around the same promise: less labor, same payoff.
That vintage newspaper ad for Reddi-Wip captures the pitch perfectly, selling not just cream, but the freedom from cranking a rotary beater every time company came over.
If you want to feel that same "hardest part is already done" relief today, a hand mixer 🛒 gets you stiff peaks in about three minutes instead of ten, though a rotary beater still works beautifully if you're chasing that vintage feel.
How To Make Whipped Cream From Heavy Cream
This easy homemade whipped cream recipe uses just cold heavy cream, powdered sugar, and vanilla extract, whipped to stiff peaks in about 3 to 4 minutes. It comes together with simple ingredients and no cooking required, making it a fast, reliable topping for pies, cakes, and fresh fruit.
- Total Time: 5 Minutes
- Yield: 4 Servings 1x
Ingredients
- 1 cup cold heavy cream or heavy whipping cream
- 2 tablespoons powdered sugar
- 1/2 teaspoon vanilla extract or almond extract
- A chilled mixing bowl and beaters
- Electric hand mixer, electric mixer with a whisk attachment, or stand mixer
Instructions
- Chill your equipment first: Ten minutes in the freezer is enough for your bowl and beaters. Warm equipment slows down whipping and makes it much easier to end up with over-whipped cream before you even notice.
- Pour in the cold cream: Add the cold heavy cream to the chilled bowl. Room-temperature cream whips slower and holds a weaker structure than cream fresh from the fridge.
- Start on low speed: Beat on low speed until the cream begins to thicken, about 30 seconds. This keeps splatter down and gives the cream a head start before you pick up speed.
- Add your sweetener and flavoring: Add powdered sugar and vanilla extract gradually, once the cream shows the first ripples. This is also the moment to fold in maple syrup or cocoa powder if you want different flavors.
- Increase to medium-high speed: Watch for soft peaks, then medium peaks, then stiff peaks. In direct testing, stiff peaks that held their shape formed reliably around the 3-minute, 15-second mark on a standard hand mixer.
- Stop as soon as peaks stand up: Lift the whisk attachment out; if the cream holds a sharp point without drooping into a soft plop, you are done. This whole stage happens in a matter of seconds once you are close, so stay close to the bowl.
- Prep Time: 5 Minutes
- Category: Dessert
- Method: Refrigerated
- Cuisine: American
Pin This So You Know How To Make Whipped Cream Later
Troubleshooting Homemade Whipped Cream
Runny Cream That Will Not Thicken
This almost always means the cream, bowl, or beaters were too warm. Use a chilled mixing bowl and stick the beaters in the freezer for 10 minutes before you start; that short chill time is enough to help cold cream whip into stiff peaks much faster than room-temperature cream.
Grainy or Lumpy Texture
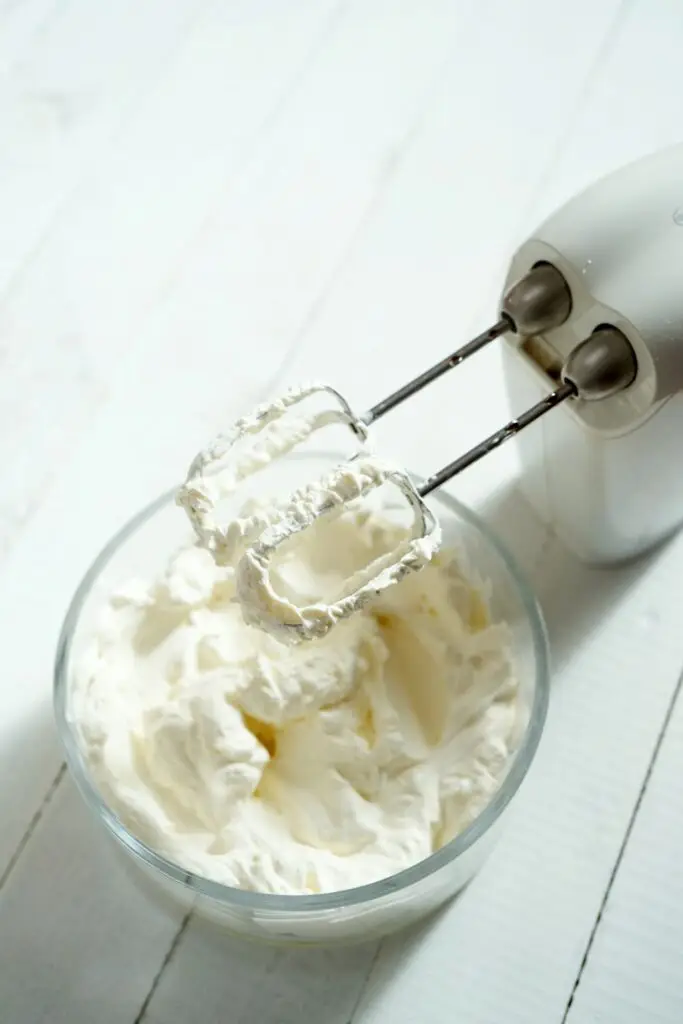
Overwhipped cream is the culprit. In testing, cream that looked smooth and glossy at 3 minutes turned visibly grainy by around 4 minutes 30 seconds on the same mixer setting, a narrow window most instructions never mention.
Cream That Turns to Butter
You went past grainy and kept going, and the milk fat has fully separated from the liquid. There is no saving this batch for a light topping, but you can drain it and press it into homemade butter instead.
Flat Whipped Cream After Sitting
Whipped cream naturally loses volume as the air bubbles collapse. Fold in a couple tablespoons of powdered sugar before whipping if you need it to hold longer for larger batches made ahead of a party.
Cream That Will Not Whip at All
Check the fat content on the carton at the grocery store. Cream needs at least 30 percent milk fat to trap enough air to whip; light whipping cream and half-and-half fall below that threshold and will not get there no matter how long you beat it, though double cream, with its higher fat content, whips just as well as heavy cream.
Weak Sweetness or Grainy Texture
Don't use granulated sugar. A couple tablespoons of powdered sugar is plenty for lightly sweet results, and it dissolves more smoothly than granulated sugar since it is already finely milled.
The Right Cream Temperature for Stiff Peaks
Cold cream is the single biggest predictor of whether you get stiff peaks or a grainy mess. Fat behaves completely differently depending on how warm your cream is, and knowing the exact thresholds takes the guesswork out of the process.
Cream at 34°F to 40°F (straight from the fridge)
The fat globules stay firm and trap air efficiently, so stiff peaks form in about 3 to 4 minutes with an electric mixer and the texture stays glossy the whole time.
Cream at 50°F to 60°F (starting to warm up)
The fat softens enough that it starts sliding past air bubbles instead of trapping them, which roughly doubles your whipping time to 6 to 8 minutes and raises the odds of overshooting into butter.
Cream at 65°F and warmer (room temperature)
The fat liquefies to the point that stable peaks become nearly impossible; the cream may look thick for a moment, then collapses within minutes and turns grainy before it ever reaches peaks.
Here is the Fix
If your cream sat out for 20 minutes before you got to it, do not just hope for the best. Set the mixing bowl inside a larger bowl of ice water while you whip; the cold from below keeps the fat globules firm even though the cream itself has warmed slightly, giving you a real second chance at stiff peaks without starting the batch over.
Tools & Ingredients Worth Having For Making Homemade Whipped Cream
A few reliable pieces of equipment make this recipe second nature instead of a guessing game. Here are five options worth keeping on hand for fresh whipped cream, hot cocoas, and everything in between.
We use Amazon links for tools that we use in our own kitchen and make sense for the recipes we share. If you choose to shop through those links, you help keep these vintage recipes alive and off the endangered list, at no extra cost to you.
- Electric hand mixer: A multi-speed hand mixer gives you precise control from low speed up through medium-high speed, which matters for stopping right at stiff peaks instead of sliding into over-whipped cream.
- Stand mixer with whisk attachment: Frees up your hands for larger batches, especially useful if you are also prepping a bake cheesecake recipe or a pumpkin pie that needs whipped cream on the side.
- Stainless steel mixing bowl set: A bowl that chills fast in the freezer helps keep cream cold throughout the whole process, which is the single biggest factor in reaching stiff peaks quickly.
- Pure vanilla extract: A good bottle of vanilla extract goes a long way toward flavor since this recipe uses such simple ingredients; the vanilla is doing real work here, not hiding behind other flavors.


Last update on 2026-11-14 at 03:11 / Affiliate links / Images from Amazon Creators API
Recipe Variations, Serving Ideas, & Storage
Recipe Variations
Frequently Asked Questions
Whipping cream by hand with a balloon whisk or rotary beater takes about 5 to 8 minutes to reach stiff peaks, roughly double the time an electric mixer needs. This matches why older recipes often call for a full five minutes of whipping before electric mixers became standard kitchen equipment.
No, half-and-half and most light whipping cream will not whip into stable peaks because they fall below the 30 percent milk fat threshold cream needs to trap air. Stick with heavy cream or heavy whipping cream, which typically contain 36 to 40 percent milk fat, for the best whipped cream.
Whipped cream turns to butter when you keep beating past stiff peaks and the milk fat fully separates from the liquid. This can happen quickly, sometimes within 60 seconds of reaching perfect peaks, so slow down and check often once the cream thickens.
Plain whipped cream holds its shape well for about 2 hours at room temperature or up to 24 hours refrigerated in an airtight container before it starts to weep liquid. Adding a stabilizer like gelatin or instant pudding mix extends that window significantly for make-ahead desserts.
Soft peaks droop over gently when you lift the whisk, while stiff peaks stand up straight and hold their shape. Most desserts, including a perfect topping for cream pie, call for stiff peaks, while soft peaks work better for folding into lighter mousses.
Now You Know How To Make Whipped Cream
Once you know how to make whipped cream at home, a whole world of toppings opens up, from strawberry shortcake to hot cocoa to a simple bowl of fresh berries. It takes just a few minutes with a chilled bowl and an electric mixer, and there is no more need to stock the canned stuff or a tub of whipped topping in the fridge.
Did you grow up on aerosol whipped cream in the can, frozen Cool Whip, or was fresh whipped cream always the standard in your kitchen?
If this becomes your new go-to topping, leave a rating below, it helps other home cooks find it too.