
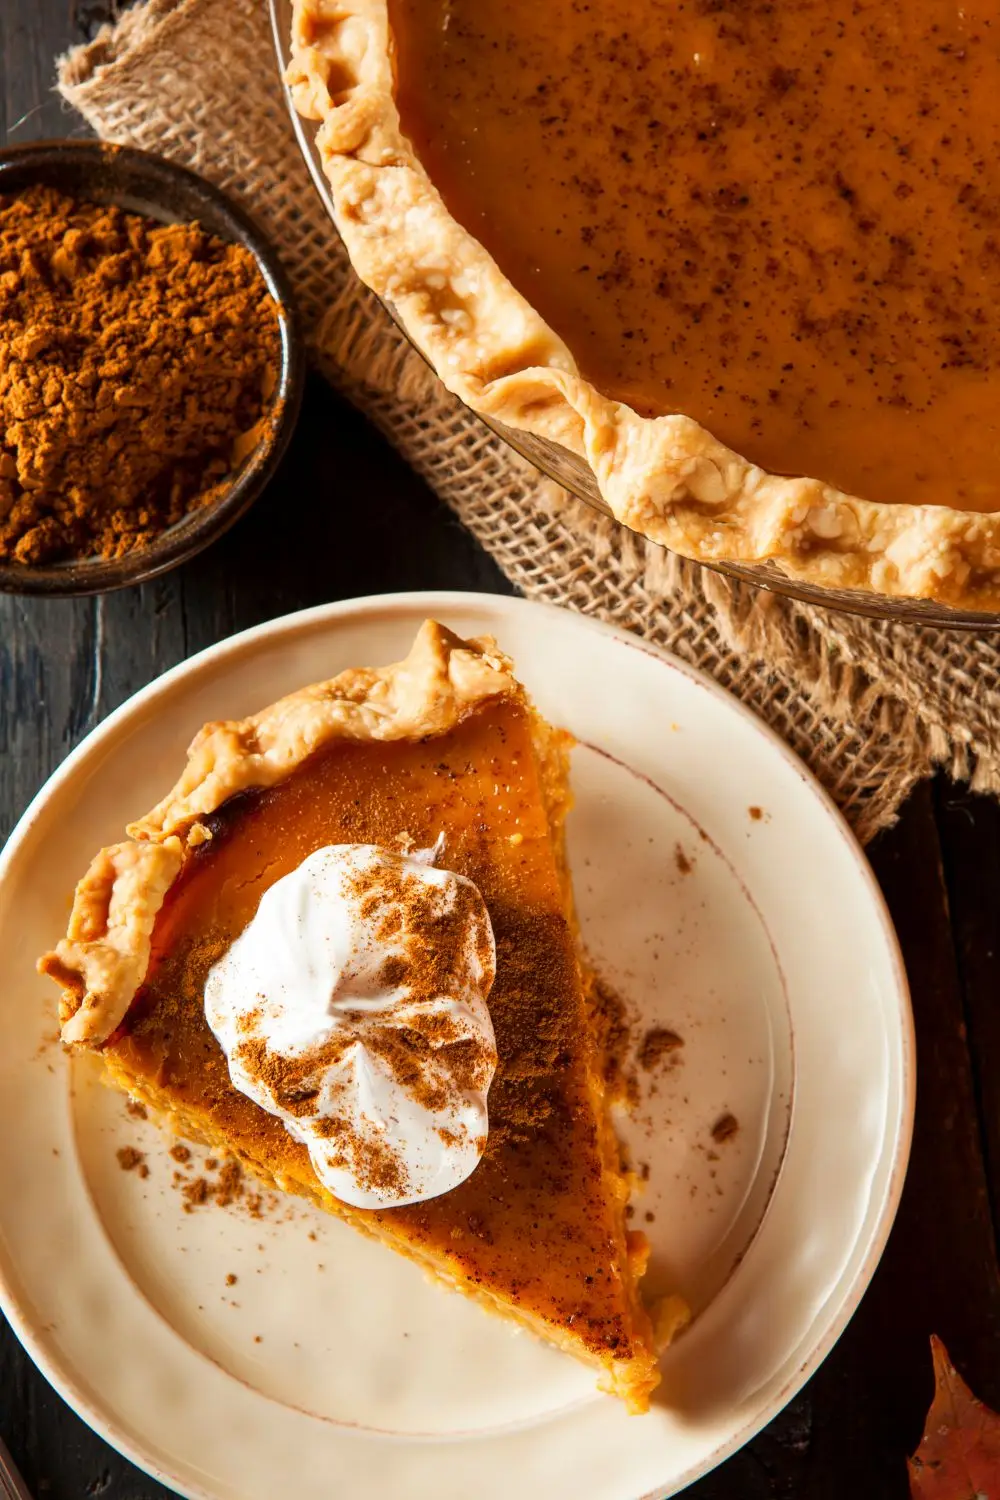
This Libby's pumpkin pie recipe revives the original 1951 method printed on Libby's can labels: cooking the canned pumpkin on the stovetop before mixing it with eggs, evaporated milk, and warm spices. That step concentrates the flavor and prevents the watery, bland filling common in shortcut versions, producing a silky, deeply spiced classic pumpkin pie.

Sarah Josepha Hale
Home cooks searching for a Libby's pumpkin pie recipe usually just want to know why grandma's version always tasted richer than the one from a hastily mixed can. Watery filling and a bland, one-note flavor are the two things that quietly ruin a homemade pumpkin pie, and most modern recipes skip right past the reason why.
Back in 1951, Libby's classic recipe actually included a fix for this directly on the back of the can labels: an extra step where you cook the canned pumpkin on the stove before mixing anything else.
That little bit of extra effort concentrates the flavor and dries the pumpkin puree out just enough, and it's a step almost nobody bakes with anymore, so I'm bringing it back.
Pumpkin pie has anchored the holiday table since 1827, when author Sarah Josepha Hale, known by some as the "Godmother of Thanksgiving" for her decades-long campaign to make it a national holiday, described a Thanksgiving feast in her novel Northwood and gave pumpkin pie the most distinguished spot on the table.
It's the one dessert every generation seems to agree on, the recipe your family reaches for year after year while trendier seasonal desserts quietly fade. That staying power is exactly why a Libby's pumpkin pie recipe from 1951 still matters today. It's proof that home cooks had already perfected this heritage dessert long before anyone worried about keeping up with trends.
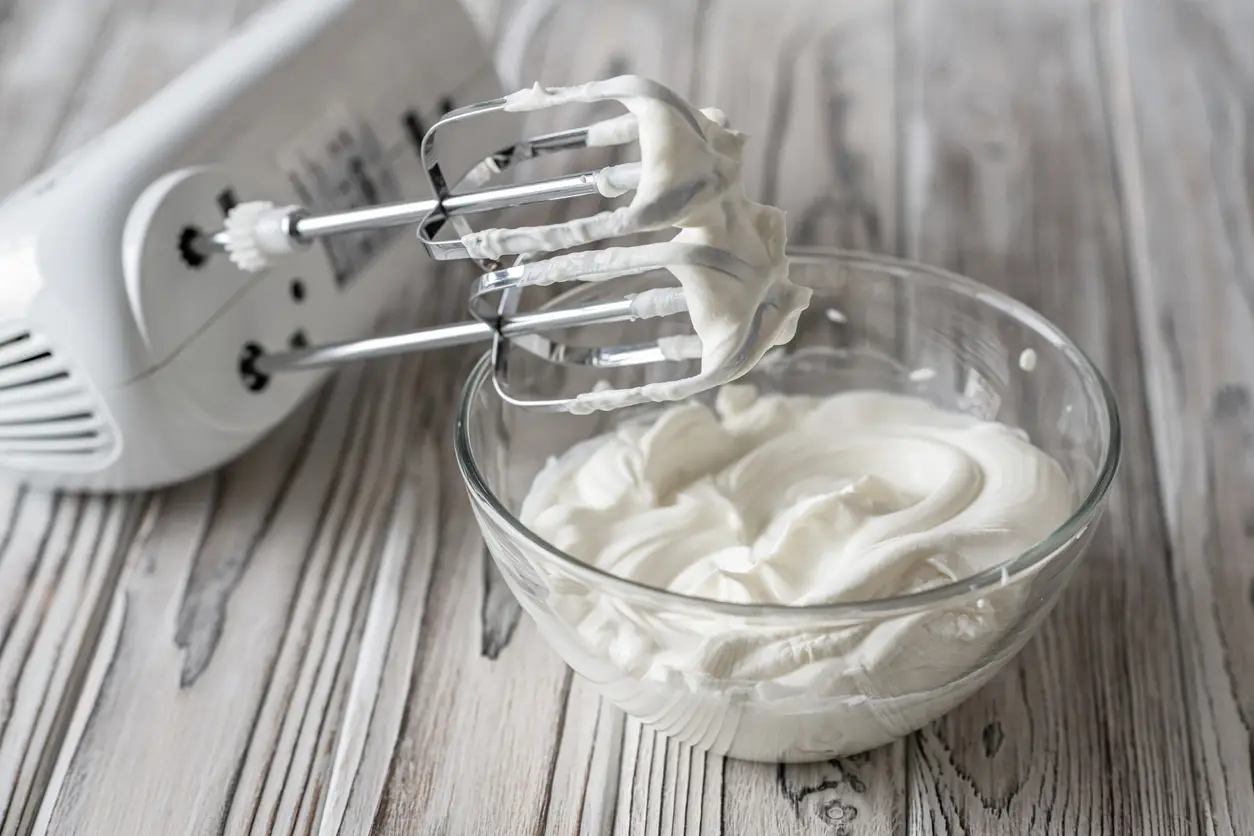
Pumpkin pie needs a cold, creamy counterpart, and you've got two good options here. For a classic dollop, how to make whipped cream takes about 3 minutes and three ingredients. For a spiced, grown-up finish, brandy whipped cream with fresh nutmeg takes 5 minutes and echoes the warm spices already in the filling.

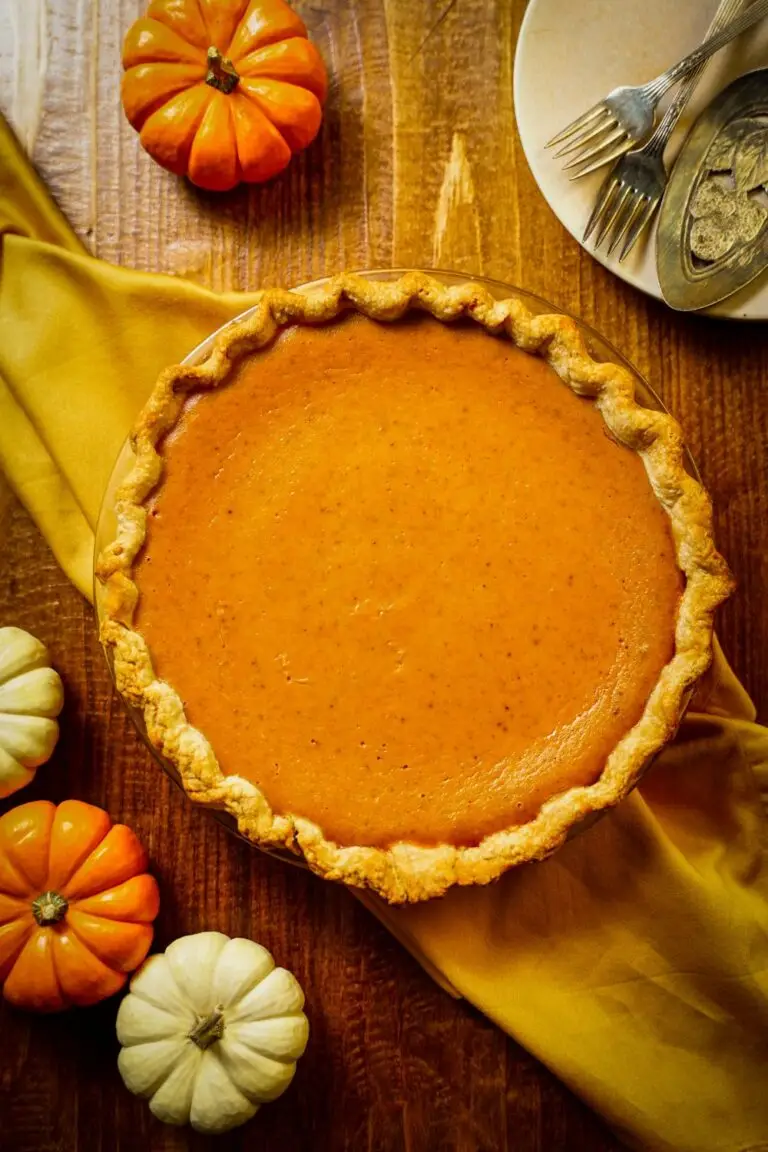
Libby’s Famous Pumpkin Pie Recipe, 1951
This old-fashioned libby’s pumpkin pie recipe comes from a 1951 can label that marketed the classic dessert as “Pilgrim Pie” for the holiday season. It includes a rare extra step of cooking the pumpkin puree on the stove first, giving the finished pumpkin pie filling a deeper flavor and a smoother, richer texture than most modern versions.
- Total Time: 1 Hour 20 Minutes
- Yield: 8 Slices 1x
Ingredients
- 1 unbaked deep dish 9-inch pie shell, homemade or store-bought (4 cup volume)
- 1-3/4 cups canned pumpkin puree
- 3/4 cup brown sugar, firmly packed
- 3/4 teaspoon salt
- 1 teaspoon ground cinnamon
- 1/2 teaspoon ground ginger
- 1/2 teaspoon ground nutmeg
- 2 large eggs, well beaten
- 1 cup evaporated milk
- 1/2 cup water
- Whipped cream, cool whip, or meringue for topping
Instructions
- Prep your station first: Preheat your oven to 425°F and get your pie shell chilled and ready to go. Once your pumpkin mixture is cooked, you’ll want to move through the remaining steps without much delay, so have your small bowl, large bowl, and fine strainer all set out on the counter.
- Dry out the pumpkin puree: In a medium saucepan over low heat, cook the canned pumpkin for 10 minutes, stirring often. You’re not looking for a boil or even a strong simmer, just gentle, steady heat that lets steam escape and slightly thickens the puree. Don’t walk away here, since pumpkin can stick and scorch quickly on the bottom of the pan.
- Build the sugar-spice mixture: While the pumpkin cooks, combine the brown sugar, salt, cinnamon, ginger, and nutmeg in a small bowl. Once the pumpkin has finished cooking, stir this dry mixture directly into the warm pumpkin off the heat. The warmth helps the individual spices bloom, so your kitchen will smell like the holiday table before the pie even goes in the oven.
- Combine and strain: In a large mixing bowl, whisk the eggs until smooth, then gradually stir in the evaporated milk and water. Add the pumpkin mixture and stir until fully combined.
- Fill the pie shell: Pour the entire mixture through a fine strainer into a clean bowl to catch any lumps, then pour the strained filling into your prepared pie shell. If you are not using a deep dish pie shell, pour the filling into the pie shell until it’s nearly full, leaving about a quarter-inch of space below the rim. You’ll likely have about half a cup to a cup of filling left over; don’t force it all in, or it will overflow and bubble over in the oven.
- Bake in two stages: Place the pie in your 425°F oven and bake for 15 minutes. Without opening the oven longer than necessary, reduce the temperature to 350°F and continue baking for 45 minutes, or until the center is just barely set with a slight wobble. Cool completely on a wire rack before topping with whipped cream, cool whip, or meringue.
Pin Libby's Famous Pumpkin Pie Recipe For Later
Back in the Day: 1951 and the "Pilgrim Pie" Marketing Angle

Fort Worth Star-Telegram; Tue, Nov 6, 1951 Page 4
Libby's had been printing pumpkin recipes on their can labels since the late 1920s, but by 1951 the company leaned hard into holiday branding, rebranding their classic pumpkin pie recipe as "Pilgrim Pie" for the Thanksgiving grocery store crowd.
This wasn't a different pie at all. It was the same beloved staple of pure pumpkin recipes wrapped in seasonal marketing designed to sell more cans during the busiest baking time of the year.
What's genuinely interesting is the extra step this old recipe includes that Libby's eventually dropped.
Cooking the canned pumpkin on low heat for ten minutes, stirring it often to dry it out slightly, was standard practice before pumpkin pie fillings depended entirely on evaporated milk and eggs for structure.
Home bakers in 1951 knew that a slightly drier, more concentrated pumpkin mixture meant a filling that set properly and tasted less diluted.
Why This 1951 Libby's Pumpkin Pie Recipe Works
Most people think of pumpkin pie as a fairly simple, one-note dessert, but this 1951 method proves a traditional holiday pumpkin pie can have real depth of flavor with just a couple of really simple additional steps.
Cooking The Pumpkin Standardizes The Base
Canned pumpkin doesn't come with a consistent moisture level, so cooking it down for ten minutes concentrates the flavor and gives the filling a reliable starting point. The recipe then reintroduces a precise half cup of water, which means you're controlling exactly how much liquid ends up in the final custard instead of leaving it up to whatever that particular can contained. It's a small extra step that trades guesswork for consistency, and it's still a smart move even today.
What Actually Happens During The Stovetop Step
- Moisture evaporates fast. King Arthur's test kitchen found that simmering canned pumpkin puree for 10 to 15 minutes can reduce it by as much as half in both weight and volume, which is exactly what stops that watery layer from forming between your filling and crust.
- Flavor compounds intensify. As the water cooks off, the natural sugars begin to caramelize at the edges of the pan, developing deeper, earthier notes that taste distinctly homemade rather than straight from the can.
- Texture gets noticeably silkier. Less water means a denser, more custard-like consistency once the eggs and evaporated milk go in, so the final filling holds its shape on a fork instead of sliding into a puddle.
The difference really does show up in the first bite. A properly reduced filling sets into something dense and custardy, while the skipped version tends to weep liquid at the edges of the slice.
This one small step is genuinely the difference between a pie that tastes made from scratch and one that tastes like it came straight from a can.
Straining Removes Any Lumps Or Fiber
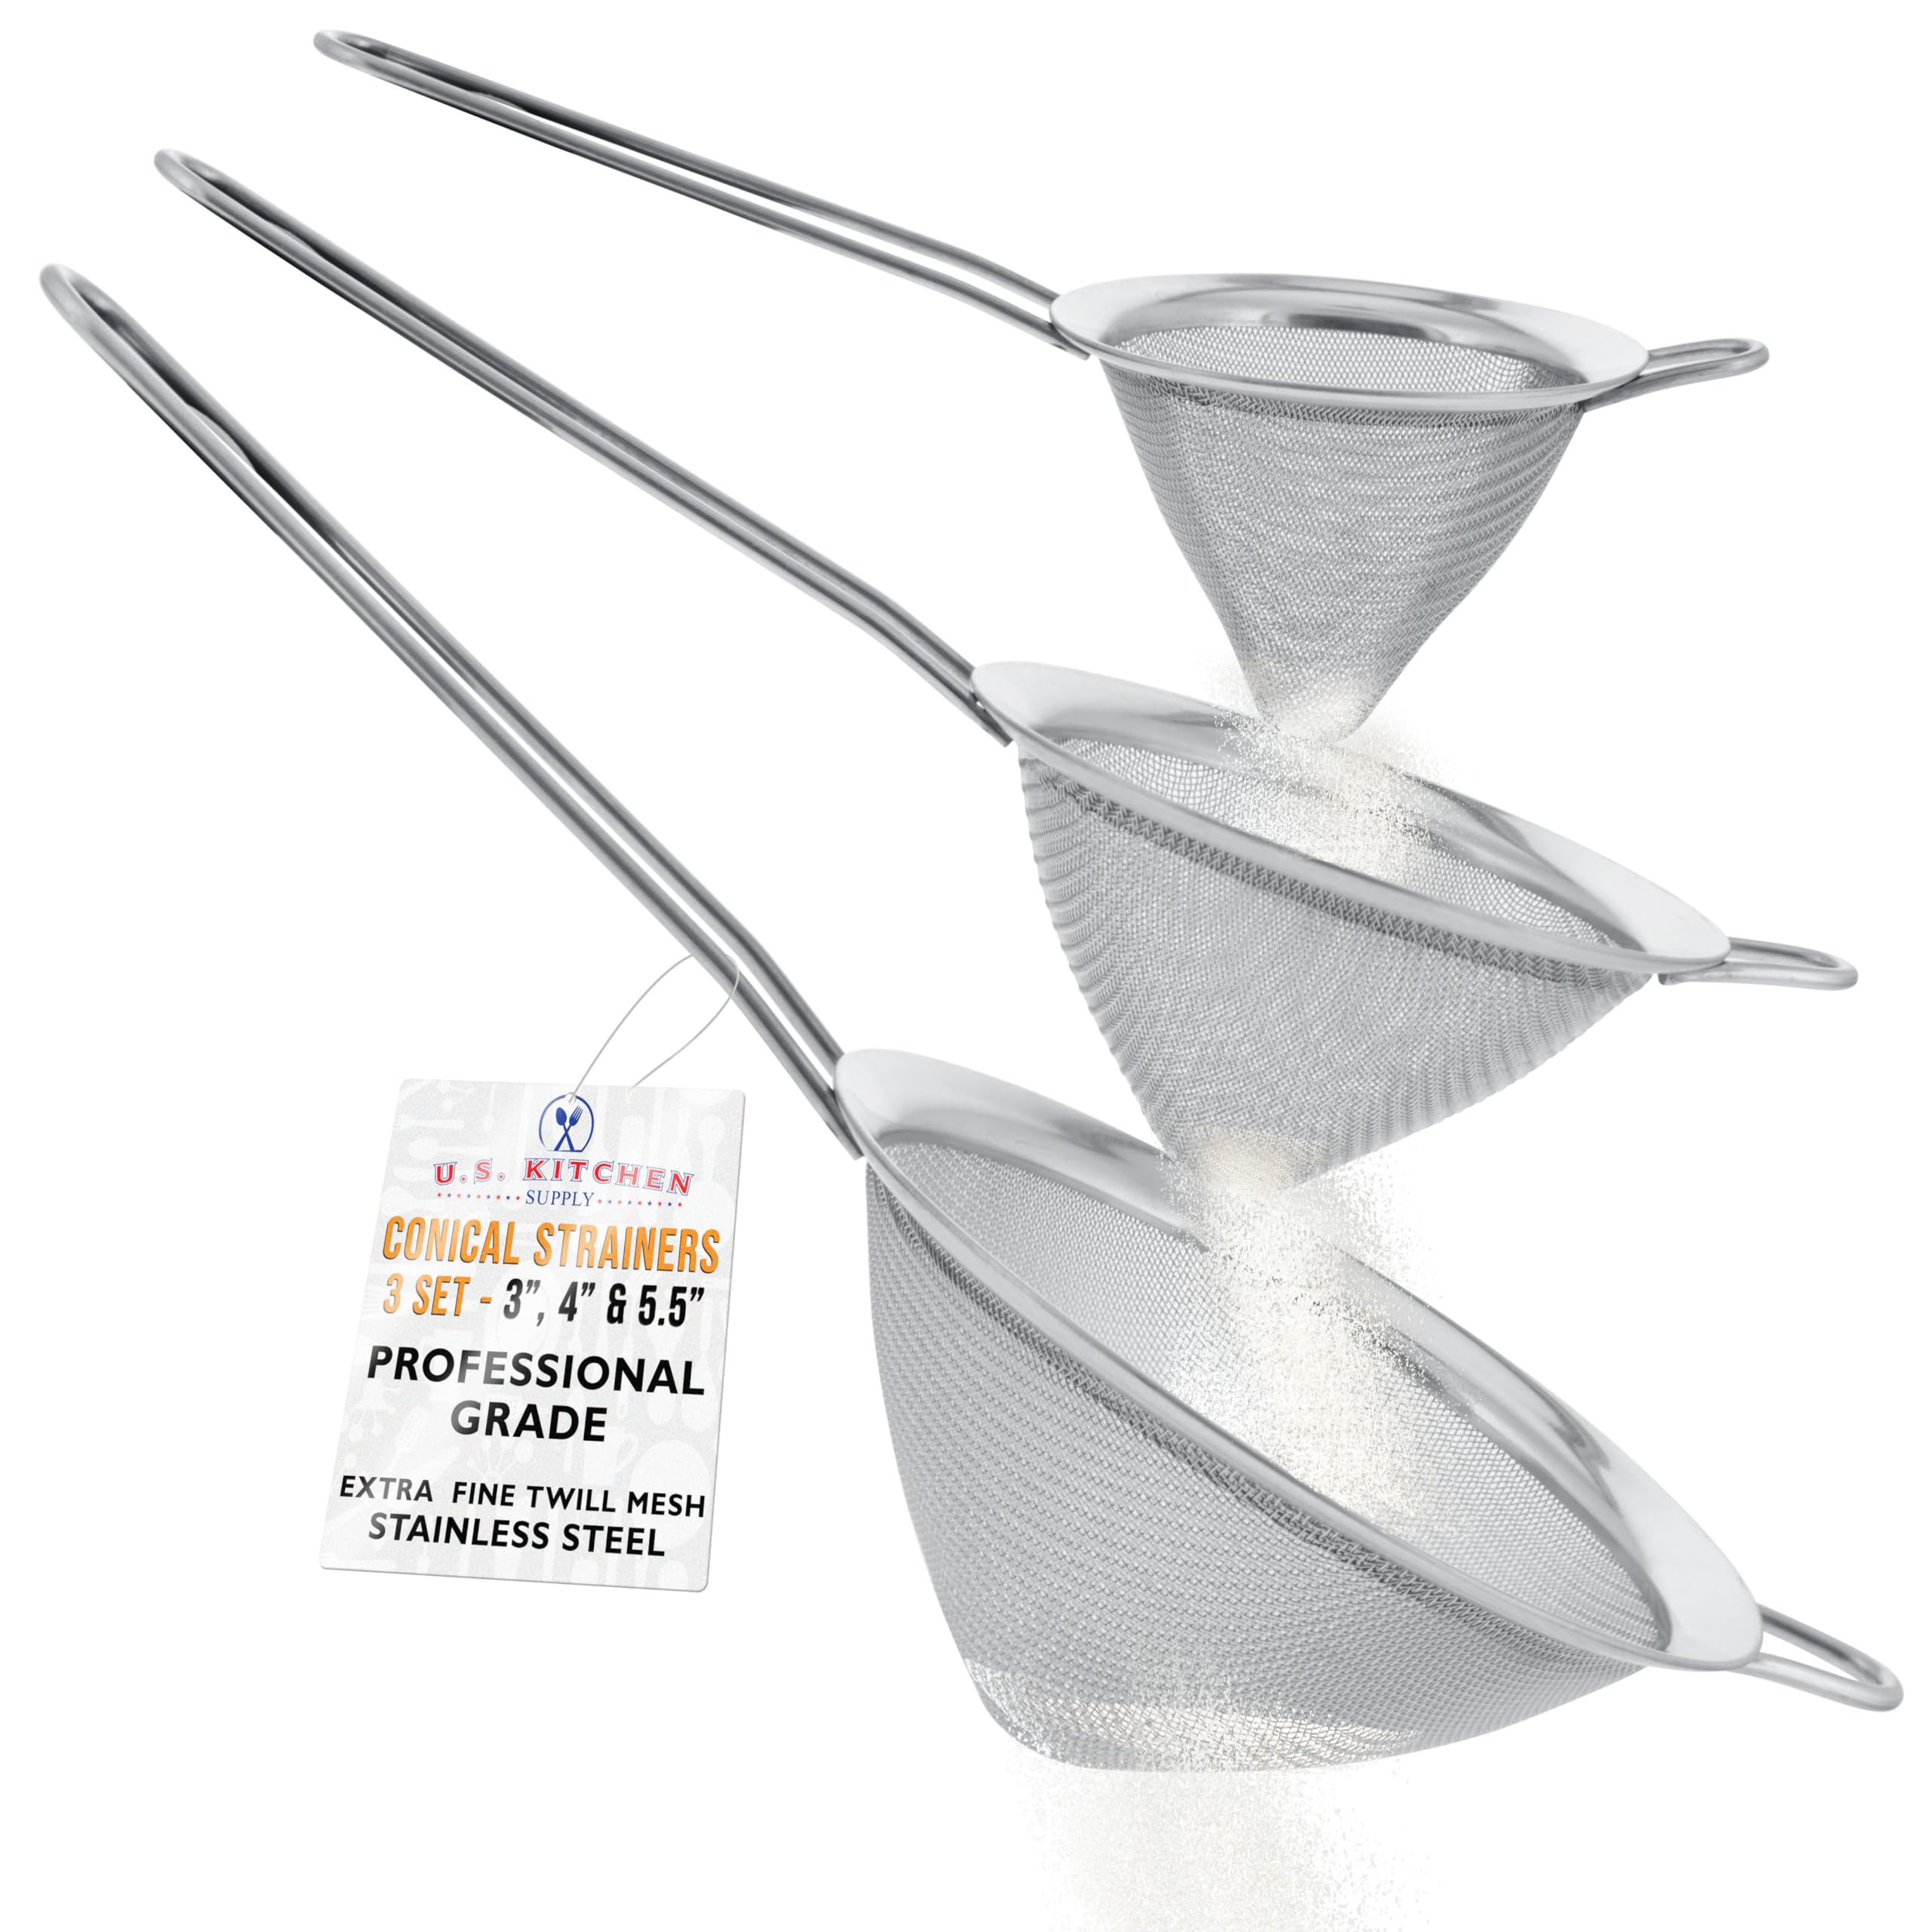
This 1951 version calls for straining the mixture through a fine strainer before it goes into the shell, a step most modern recipes skip entirely.
Straining catches any stray pumpkin fiber and gives you a silky, smooth pumpkin pie filling with zero graininess. It's a small extra step, but it's the difference between a rustic texture and a genuinely luscious slice.
The Two-Stage Bake Sets The Crust First
Starting in a 425° F oven for 15 minutes, then dropping to a lower temperature for the remaining bake, sets the outer edges of the custard quickly while giving the center time to finish gently.
This bake approach was common in old recipes because home ovens ran less consistently than they do now, and the high initial heat compensated for that. It's still a smart method today if you want a perfect pumpkin pie with a fully set center and no soggy homemade crust.
How To Make This 1950s Libby's Pumpkin Pie Recipe Every Time
Grab Pure Pumpkin Puree, Not Pie Filling
Canned pumpkin puree and canned pumpkin pie filling sit side by side at the grocery store, but they're not the same product. Pie filling already comes pre-sweetened and pre-spiced, so if it ends up in this recipe by mistake, you'll end up with a filling that's far too sweet and missing the balanced spice profile this old recipe is built around. Check the label for "100% pure pumpkin" or "pumpkin puree" before you buy, since that's the only version that works here.
Don't Rush The Pumpkin Off The Heat
Give the pumpkin the full ten minutes on low heat, stirring often so it doesn't scorch on the bottom of the pan. You're looking for the mixture to look slightly thicker and duller in color, not caramelized or browned. If it's sticking, your heat is too high.
Let The Cooked Pumpkin Cool Before Adding Eggs
Once the pumpkin mixture has finished cooking, give it a few minutes to come closer to room temperature before stirring it into your beaten eggs.
Adding a hot pumpkin mixture directly to eggs risks scrambling them, which will leave odd little flecks throughout your pumpkin pie filling. This is one of those quiet failure points that ruins texture without anyone knowing why.
You Can Use A Homemade Or Store-Bought Pie Shell
Whether you reach for a homemade pie crust or grab a store-bought pie crust from the grocery store, this filling works beautifully either way.
Making your own crust gives you that flaky, buttery bite that feels a little more special for a holiday table, while store-bought is a smart shortcut when you're already juggling three other Thanksgiving dinner dishes.
Neither choice is a shortcut you need to apologize for, since even Libby's own can label never insisted on homemade.
Watch It In The Final 15 Minutes
Ovens vary, especially at that 425°F starting temperature, so start checking your pie in the final 15 minutes rather than trusting the clock alone. You're looking for the outer two inches to look set while the very center still jiggles slightly. It will continue to firm up as it cools.
Shield The Crust Edges Early
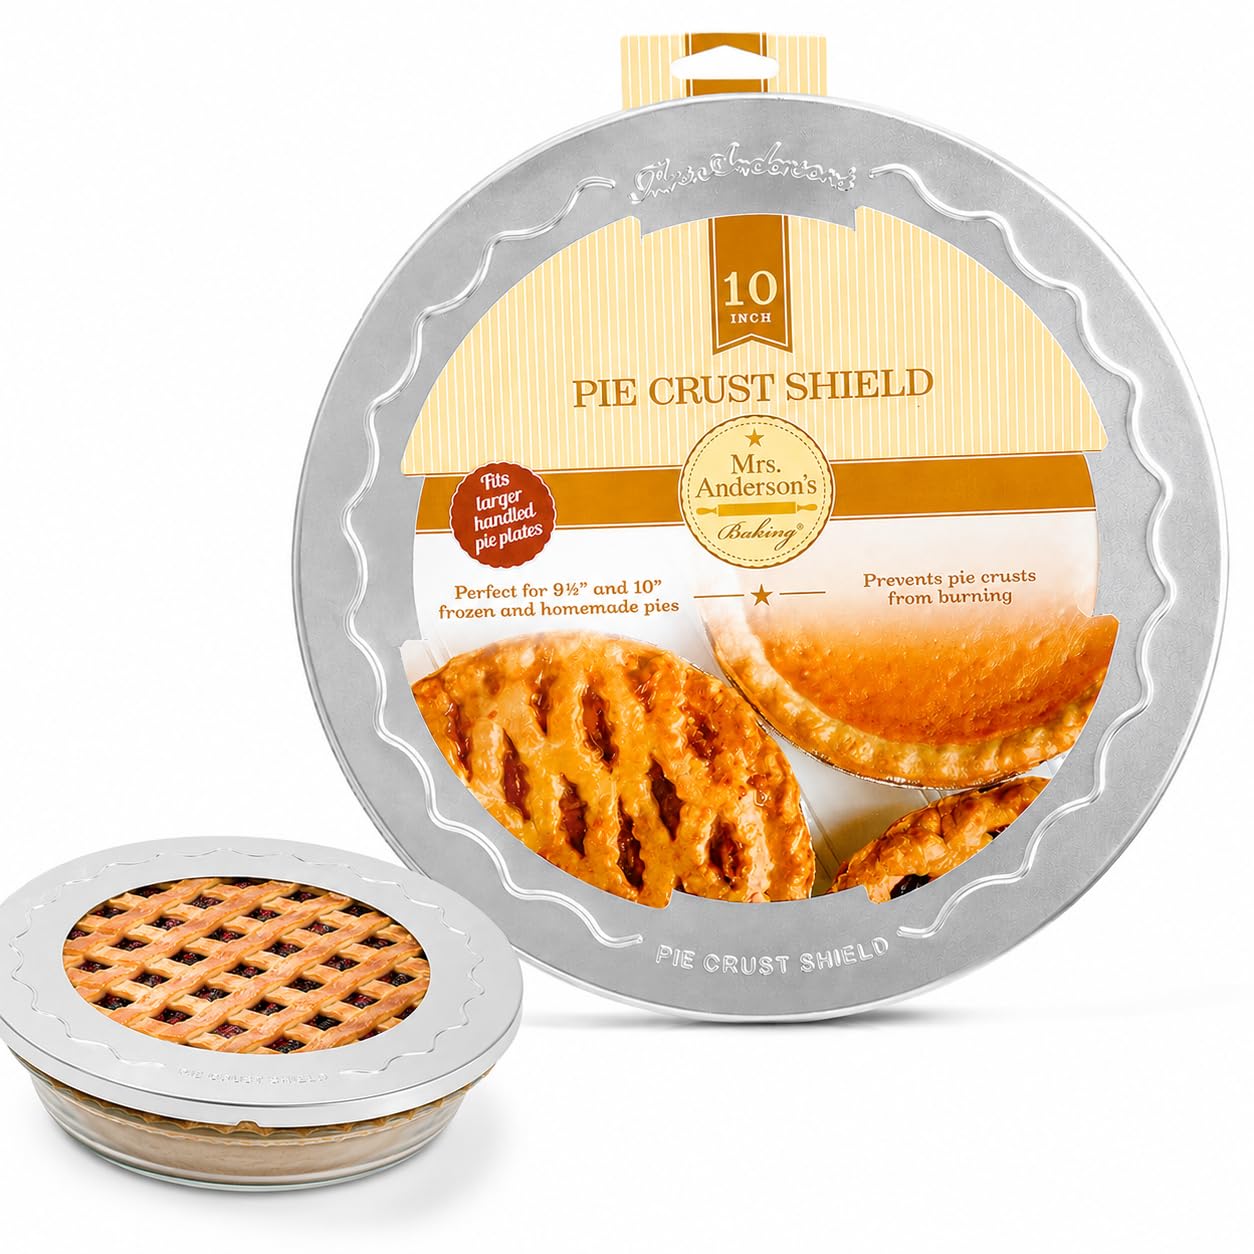
That initial 425°F blast is what sets the crust, but it's also exactly what burns the edges before the center's anywhere near done. Wrap a strip of foil loosely around the crust's rim, or use a reusable pie shield, right from the start rather than waiting until the edges start browning.
You can pull the shield off for the last 10 to 15 minutes if you want a touch more color, but it's much easier to prevent scorched edges than to fix them after the fact.
Set The Pie On A Baking Sheet
Slide a rimmed cookie sheet or baking pan under your pie before it goes into the oven.
This filling is loose enough going in that a slightly overfull shell can bubble over during that first high-heat stretch, and a baking sheet catches any drips before they turn into a smoking mess on your oven floor.
It also makes transferring the pie in and out of the oven a lot steadier, especially with a full, wobbly filling.
Tools Worth Having For This Libby's Pumpkin Pie Recipe
We use Amazon links for tools that we use in our own kitchen and make sense for the recipes we share. If you choose to shop through those links, you help keep these vintage recipes alive and off the endangered list, at no extra cost to you.




Last update on 2026-11-14 at 05:50 / Affiliate links / Images from Amazon Creators API
Libby's Pumpkin Pie Recipe Variations, Serving Ideas, & Storage
Recipe Variations
Troubleshooting Common Issues Before They Happen
Problem | Cause | Fix |
|---|---|---|
Pumpkin sticks to pan | Heat too high or insufficient stirring | Use medium-low heat, stir constantly |
Filling too thick | Overcooked during stovetop step | Cook only until steaming, not bubbling |
Cracks on surface | Oven temperature too high | Reduce to 325°F for last 30 minutes |
Soggy bottom crust | Pumpkin not cooled before adding | Let cooked pumpkin cool 10 minutes |
Frequently Asked Questions
You can absolutely bake this pumpkin pie a day or two before you need it. Let it cool completely, cover it loosely with plastic wrap, and keep it in the fridge until you're ready to serve, since the flavor actually improves slightly after a day of resting.
Homemade pumpkin pie lasts three to four days in the refrigerator when properly cooled and covered. Store it in an airtight container or wrapped tightly in plastic wrap to keep it from picking up other flavors from your fridge.
This pumpkin pie freezes well for up to one month when wrapped tightly in plastic wrap and a layer of foil. Thaw it in the refrigerator for about 24 hours before serving, and hold off on adding whipped cream until after it's thawed.
Watery pumpkin pie filling usually comes down to excess moisture in the canned pumpkin puree that never got addressed before baking. This 1951 recipe solves that by cooking the pumpkin on the stove first, which is the exact reason that extra step matters.
A store-bought pie crust works perfectly fine for this recipe, and there's no need to feel like you're cutting corners. Even Libby's original can label never insisted on a homemade crust, so pick whichever option fits your day.
Straining the pumpkin mixture through a fine strainer catches any stray fibers and gives you a smooth, custard-like texture rather than a slightly grainy one. It's a small extra step, but it's worth doing if you want a truly silky slice.
Evaporated milk gives this filling its dense, custardy structure, so if you're out, a mix of whole milk and a touch of heavy cream can work in a pinch, though the texture will be slightly less rich. Sweetened condensed milk is not an appropriate substitute here, since it will throw off the sugar balance entirely.
As it turns out, adding a measured half cup of water back into the reduced pumpkin lets you control the final consistency precisely, rather than depending on however much moisture happened to be in that particular can. This same two-step method, concentrate first, then measure liquid back in, is one modern test kitchens still use today.
An Easy Pumpkin Pie Recipe Worth Passing Down
There's something satisfying about pulling a pie out of the oven using a method that home cooks trusted back in 1951, especially once you taste the difference that extra ten minutes on the stove makes.
Nearly two centuries after Sarah Josepha Hale gave pumpkin pie the most distinguished spot on the Thanksgiving table, it's still the dessert nobody argues over, and now you know exactly why the 1951 version holds up so well. This one's proof that the old-fashioned way still earns its place, no fancy equipment required.
If you try this Libby's pumpkin pie recipe for your holiday table this year, I'd love to hear how it turned out. Leave a star rating and a comment below, and tell me if your family adds any toppings of their own.
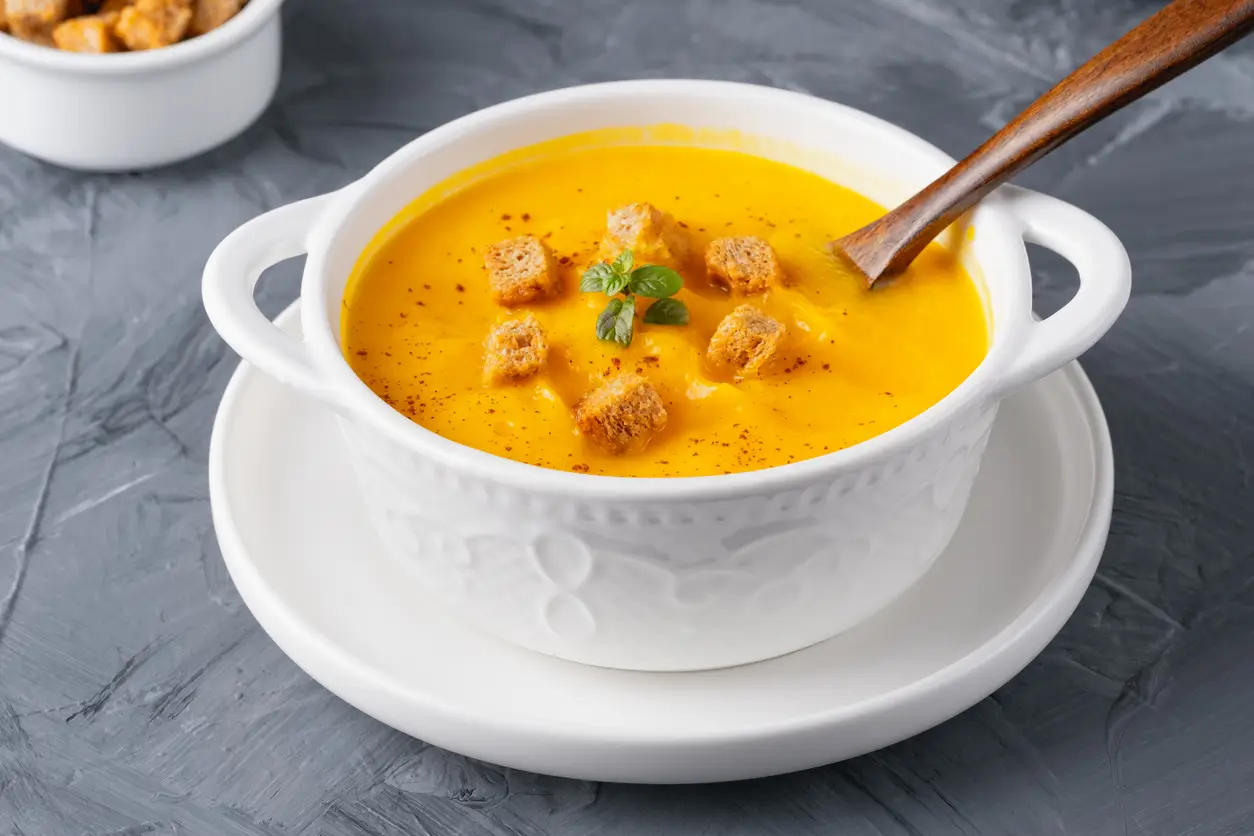
For a savory way to keep the pumpkin theme going before dessert, this 1985 cream of pumpkin soup with cinnamon croutons makes a great starter for the same holiday table.