

This 1970s roasted pumpkin seeds recipe uses an overnight salt water brine before baking, a method common in home kitchens during that decade's back-to-basics food movement. The brine seasons the seeds all the way through instead of just on the surface, so this roasted pumpkin seeds recipe produces a fully seasoned, crunchy snack instead of the bland, chewy seeds most quick methods deliver.
Don't toss your pumpkin guts in the trash this year! You'll miss out on the best part of carving season. This roasted pumpkin seeds recipe puts those seeds to work with a 1970s overnight brine technique that seasons them clear through, not just on the outside.
The real problem isn't the seeds themselves, it's rushing the process and ending up with soggy, under-seasoned, or burnt seeds that taste like cardboard instead of a genuinely tasty snack the whole family will actually fight over.
I grew up making these in the 1970s, piling the pumpkin guts onto flattened paper grocery bags, then dumping the stringy mess into a colander under cold running water to separate the seeds. Waiting out that overnight soak was one of my first real lessons in patience!
Back In The 1970s: Waste Not, Snack Well
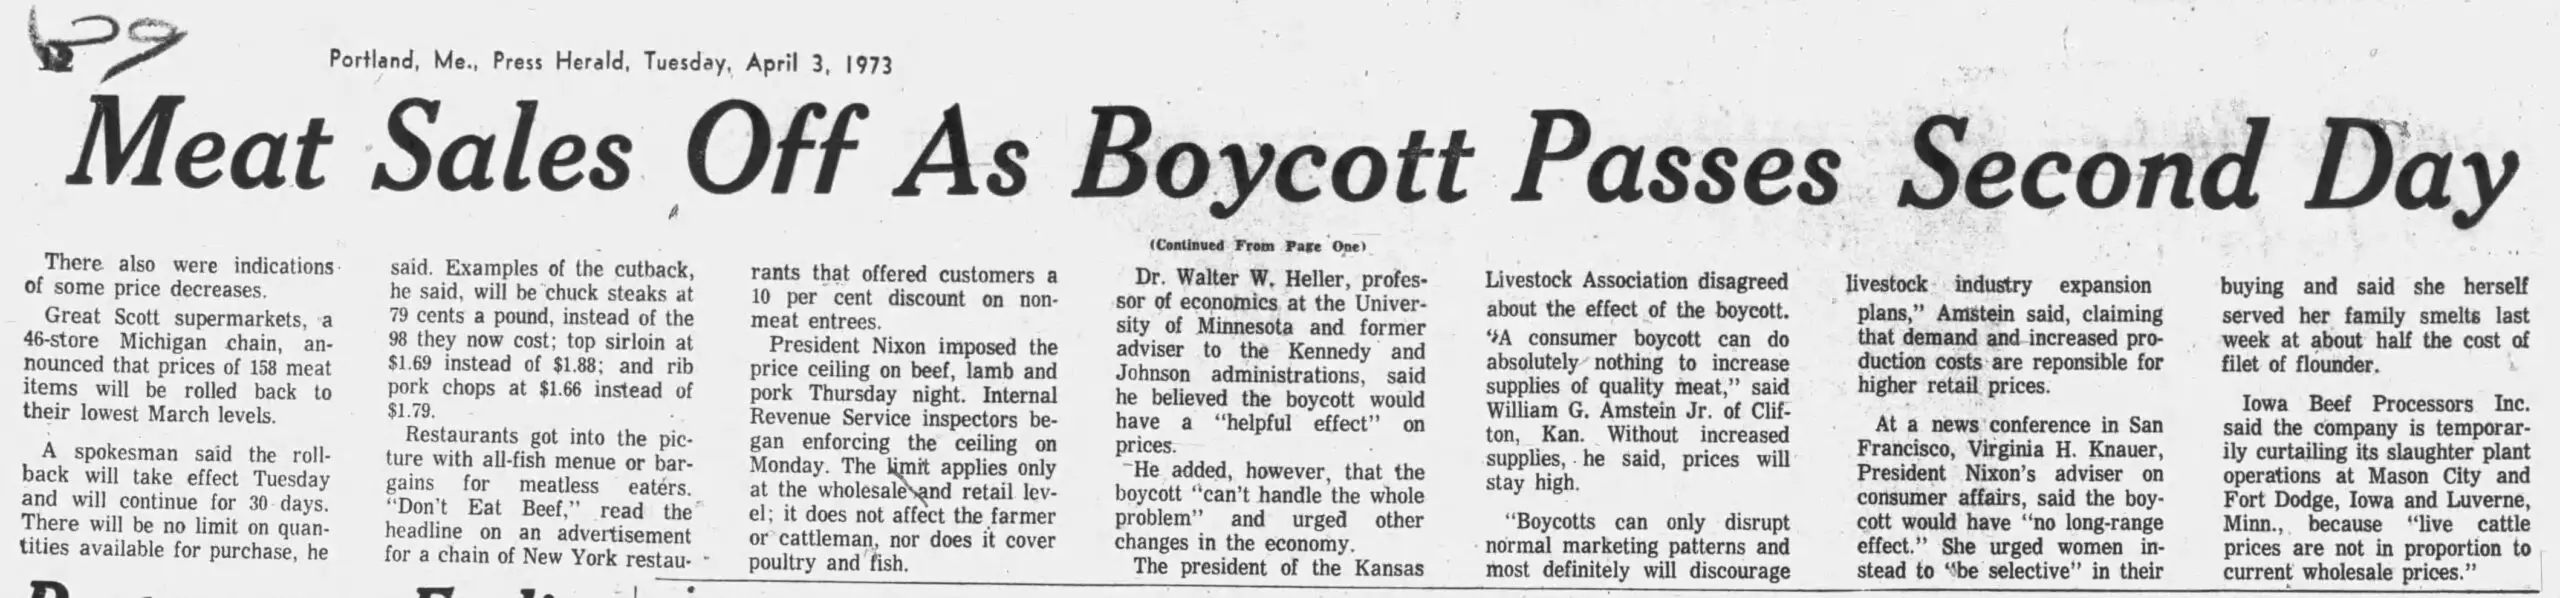
The 1973 oil embargo quadrupled crude oil prices in a matter of months, and that shock rippled straight into grocery budgets across the country.
Food prices climbed 20.1 percent that year alone, with meat, poultry, and fish jumping 26.4 percent, so American households leaned hard into thrift as a survival skill, not just a virtue.
Frustrated shoppers even staged a nationwide meat boycott in the spring of 1973, refusing to buy beef, pork, and poultry for a week to push back against the climbing prices.
That's the exact kitchen mindset this recipe grew out of: nothing, especially not a bowl of good pumpkin seeds, was going to waste.
Granola, Sunflower Seeds, and the Rise of "Real Food"
The natural foods movement that started with 1960s counterculture went fully mainstream by 1972, when Quaker launched 100% Natural Granola and Pet Incorporated introduced Heartland Natural Cereal, both marketed as wholesome alternatives to sugary breakfast cereal.
Kellogg's and General Mills rushed out their own granola lines within a year, proof that grocery shelves were chasing the same appetite for less-processed, whole-food snacking that home cooks already had in their own kitchens.
Hikers and campers were calling their own homemade mix of nuts, seeds, and dried fruit "trail mix" by 1976, a term that stuck alongside the older nickname "gorp".
Roasted pumpkin seeds fit right into that same real food snacking category, since they delivered plant-based protein and healthy fats without a factory, a wrapper, or a trip to the health food co-op.

The Great Pumpkin and a Nation of Carvers
Charlie Brown's 1966 special "It's the Great Pumpkin, Charlie Brown" was already a beloved annual rerun by the late 1970s, and it kept pumpkin carving squarely in the center of American Halloween tradition.
Every carved jack-o'-lantern meant a bowl of green pumpkin seeds and stringy fibers left behind, and resourceful home cooks turned that mess into a crunchy, salty payoff instead of letting it go to waste.
Old-Fashioned Roasted Pumpkin Seeds
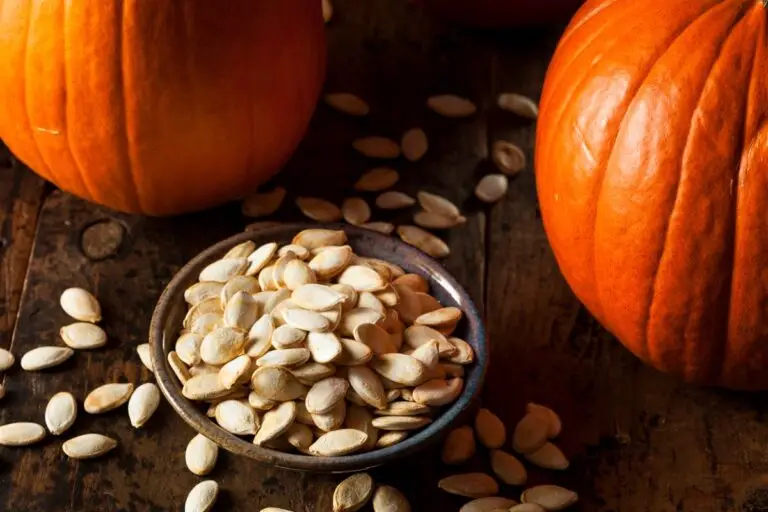
This recipe from 1977, is the way we made pumpkin seeds when I was a child. The secret to their satisfying crunch is an overnight soak in a simple salt brine. It’s a timeless, no-waste tradition that turns your pumpkin carving leftovers into a perfectly seasoned, nostalgic snack that tastes just like autumn.
- Total Time: 50 minutes
- Yield: 1-1/4 cups 1x
Ingredients
- 1-1/3 cups water
- 2 tbsps. salt
- 1/2 lb. (1-2/3 cups) hulled pumpkin seeds
Instructions
Brine the seeds: Bring water and salt to a boil, and stir until the salt is completely dissolved. Pour over pumpkin seeds that have been placed in a bowl. Cover and stand at room temperature 12 to 24 hours.
Roast the seeds: Drain liquid from seeds. Spread seeds evenly in a single layer over a 10×15-inch baking pan. Bake in a 350-degree oven for 25 to 35 minutes (seeds that soak 24 hours require maximum time) or until seeds are dry and puffed (the kernel separates in the center); stir frequently.
Cool and store: Let cool, stirring occasionally. Store airtight. Roasted pumpkin seeds stay fresh up to 10 days.
Pin This Roasted Pumpkin Seeds Recipe For Later
Why This 1970s Roasted Pumpkin Seeds Recipe Works Today
The Overnight Brine Seasons From the Inside Out
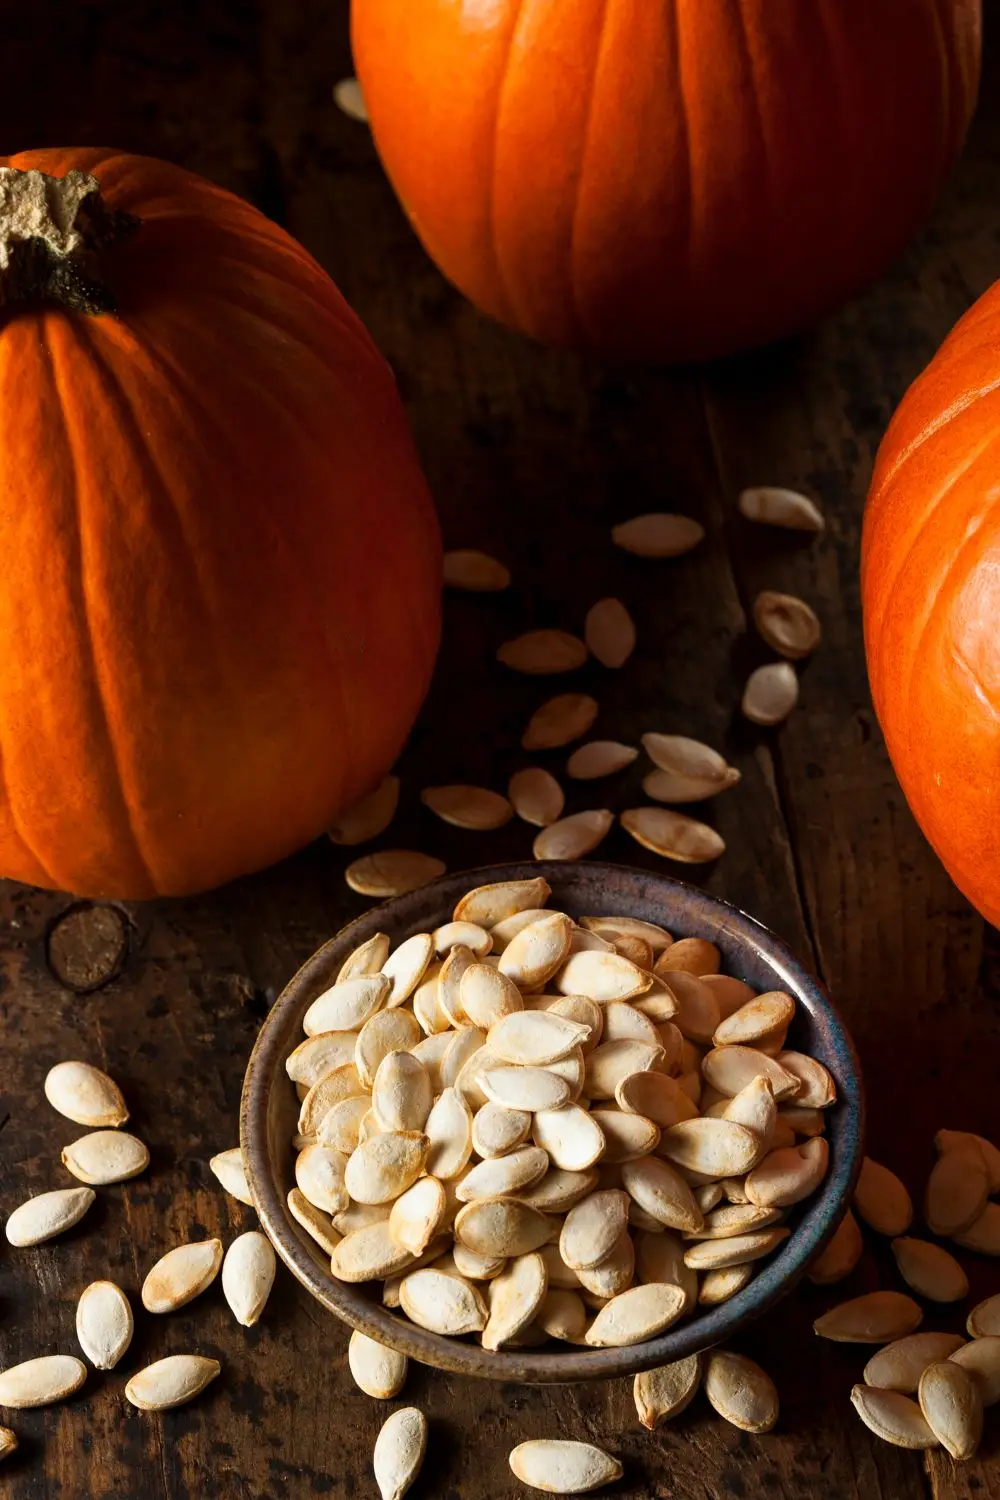
Soaking raw pumpkin seeds in a salt water brine for 12 to 24 hours lets the seasoning penetrate the shell instead of just coating the surface.
This is the difference between seeds that taste seasoned all the way through and seeds that taste plain the moment you bite past the salty exterior.
A Single Layer on the Baking Sheet Means Even Roasting
Spreading the seeds in an even layer across a 10x15-inch baking sheet lets hot air circulate around every seed instead of trapping steam in a crowded pile.
Crowded seeds steam instead of roast, which is exactly how you end up with soft, chewy seeds instead of a genuinely crunchy snack.
A Longer Soak Needs a Longer Roast
Seeds that soak the full 24 hours absorb more moisture, so they need the maximum bake time to dry out and puff properly.
Watching for that puffed, separated kernel in the center matters more than watching the clock, since ovens and seed sizes vary.
Cool Seeds Finish Crisping on the Pan
Pulling the pan out and letting the seeds cool while stirring occasionally lets residual heat finish the drying process without additional browning.
Seeds that seem slightly soft straight from the oven usually firm up into a properly crunchy snack within a few minutes on the counter.
How to Get Perfect Roasted Pumpkin Seeds Every Time
Clean Your Seeds Thoroughly Before Brining
Separate the seeds from the pumpkin flesh and stringy fibers using a large bowl of cool water, since the seeds float while the pulp sinks.
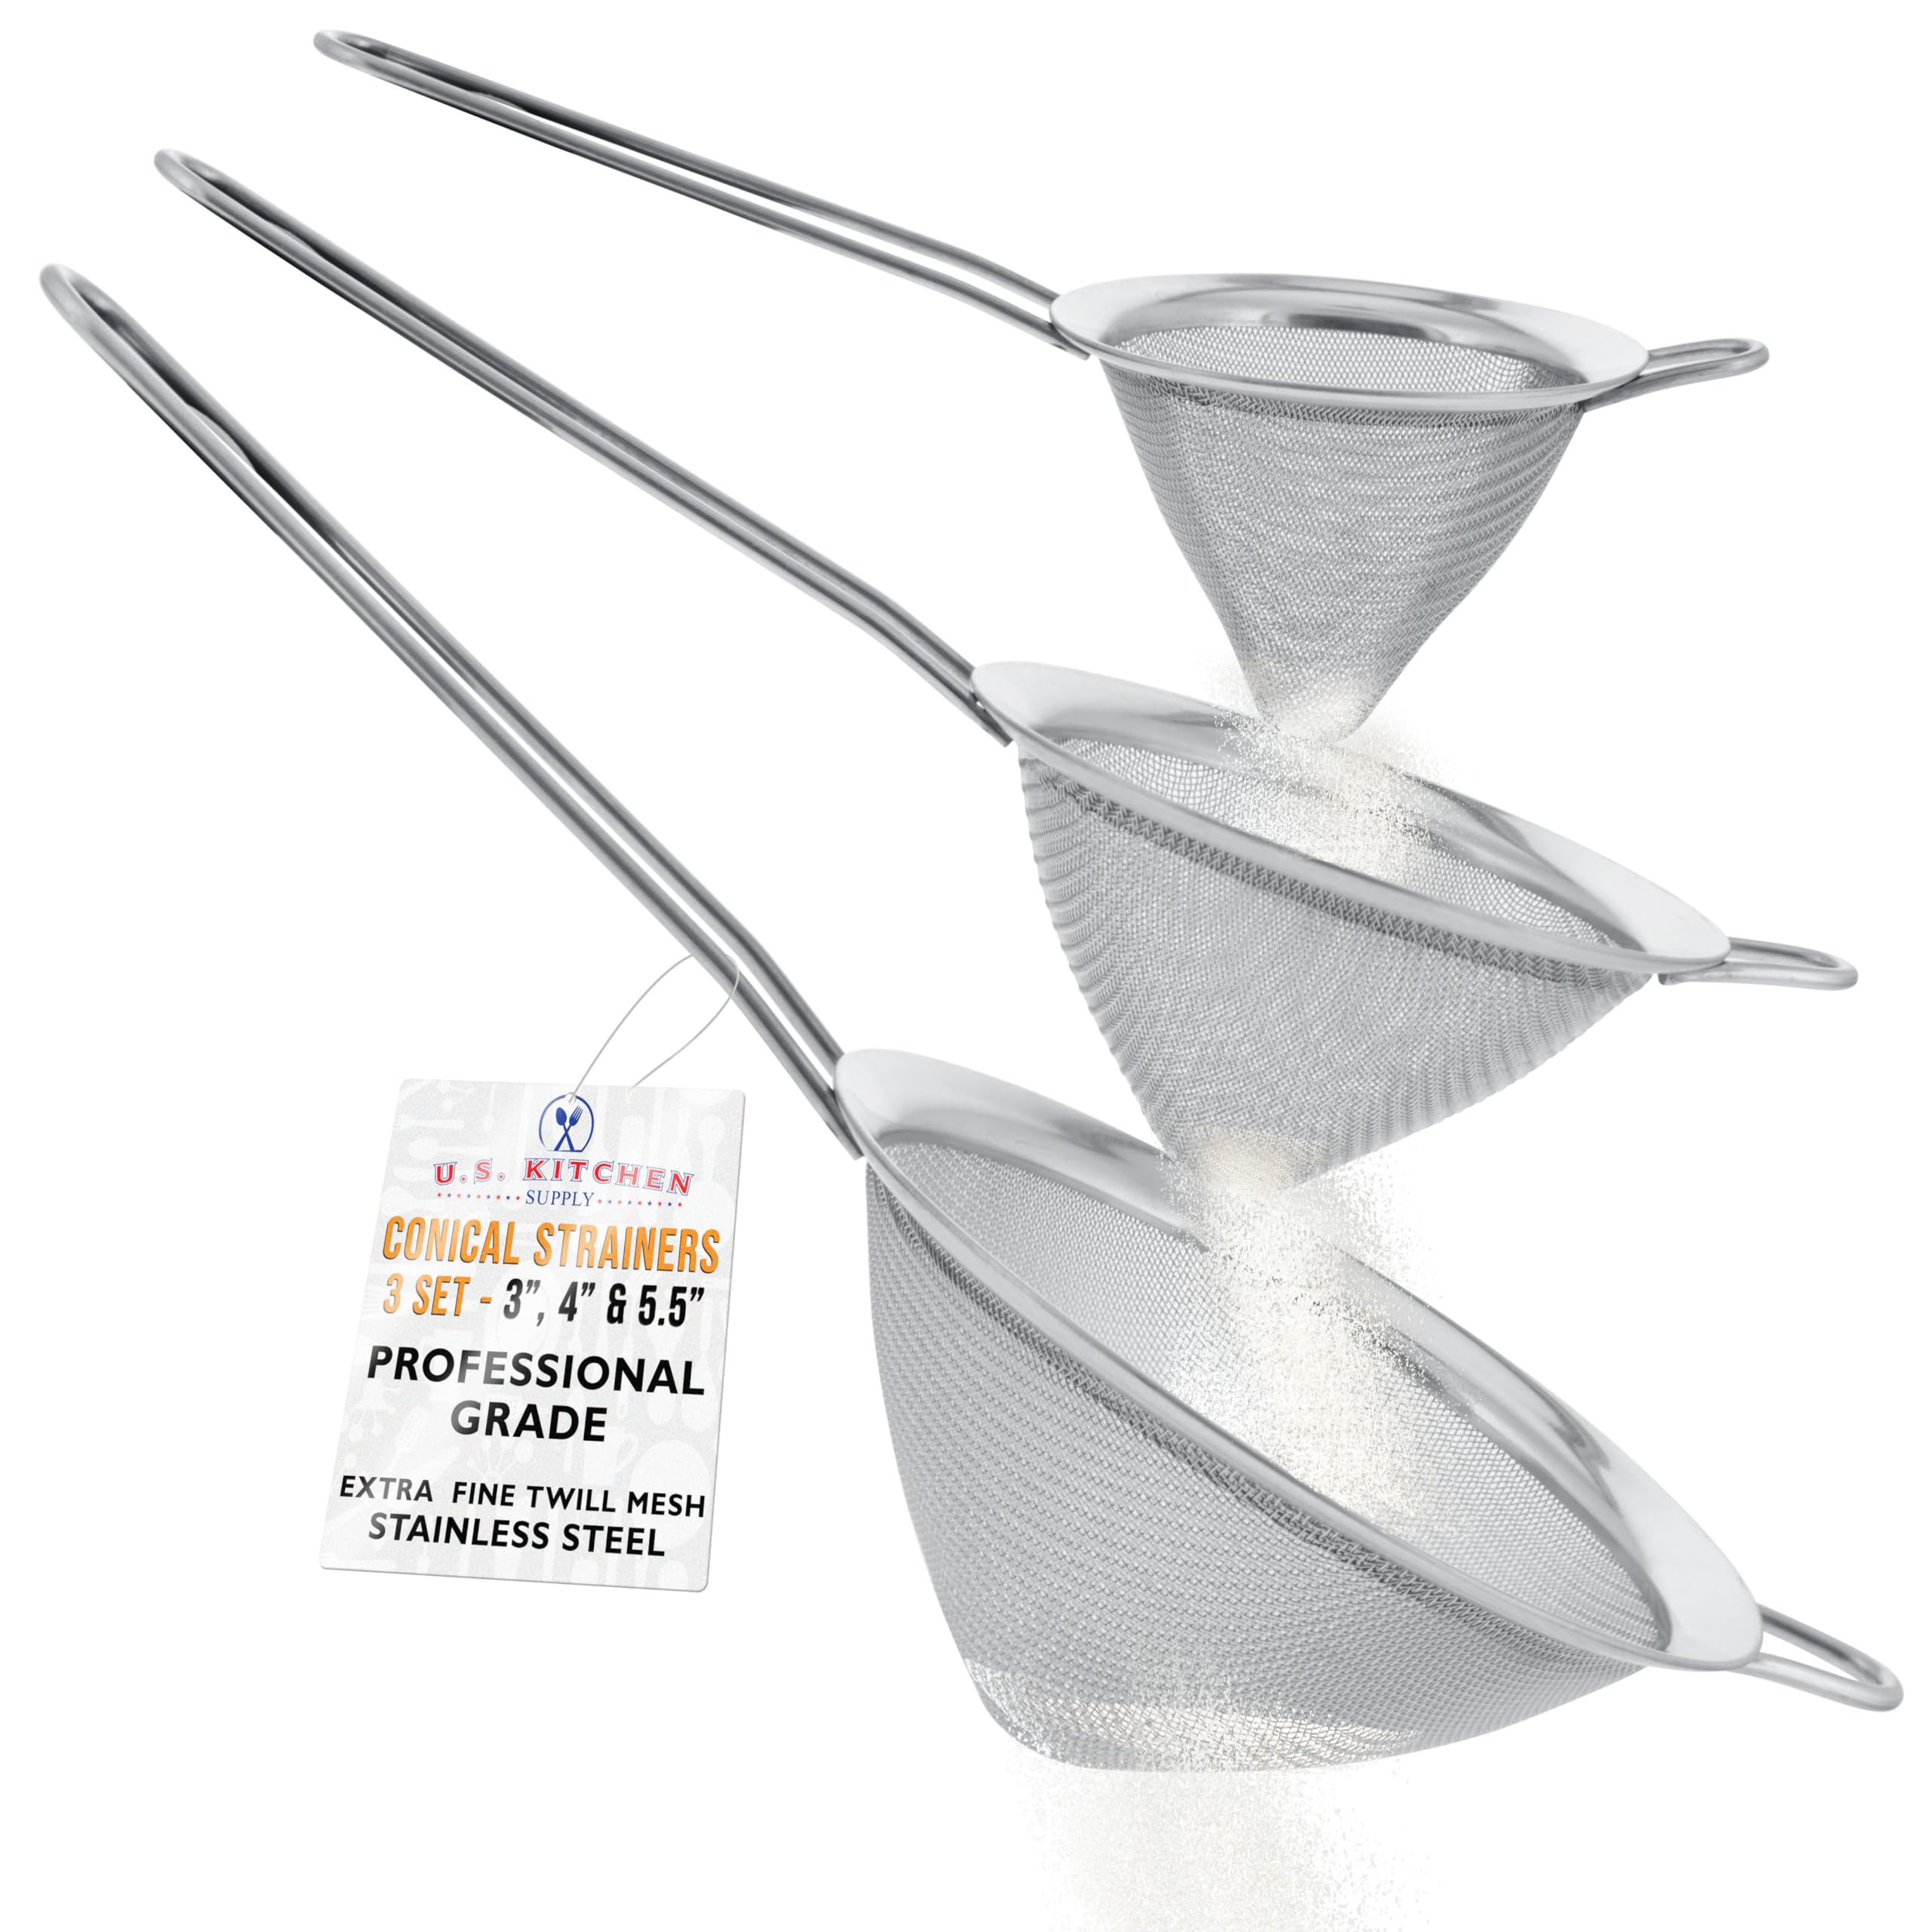
Skipping this step means bits of pumpkin guts end up baked onto your seeds, so take the extra few minutes with a fine mesh strainer for genuinely clean seeds.
Don't Skip the Full Soak Time
Give the seeds a full 12 to 24 hours in the brine rather than a quick 30-minute rinse, since the extended soak is what seasons them all the way through. If you're short on time, a shorter soak still works, but expect a milder flavor and a shorter required roast time.
Dry Your Seeds Before They Hit the Pan
Pat the drained seeds with paper towels or a clean kitchen towel to remove excess water before spreading them on the baking sheet. Wet seeds release steam in the oven, which slows browning and can leave you with dry seeds that never quite reach that golden brown finish.
Stir Frequently for Even Color
Stir the seeds every 8 to 10 minutes during roasting so every side gets exposure to the hot pan surface. Seeds near the edges of the baking sheet tend to brown faster, so frequent stirring prevents a batch with burnt edges and pale centers.
Watch for the Puffed, Separated Kernel
Check for doneness by looking for seeds that appear dry and puffed, with the kernel visibly separating in the center when you split one open. This visual cue is far more reliable than a timer alone, since soak time, seed size, and oven behavior all shift the exact roasting window.
Season Right After Roasting, Not Before
If you want to add extras like garlic powder, onion powder, or cayenne pepper beyond the base salt brine, toss the hot seeds with them the moment they come out of the oven. The residual heat helps any additional seasoning stick to the shell instead of sliding off once the seeds cool.
Tools & Ingredients Worth Having For This Recipe
We don’t run an ad network here because nobody wants a recipe with a side of ads. Instead, we quietly use Amazon links for tools that we actually use in our kitchen and make sense for the recipes we share. If you choose to shop through those links, you help keep these vintage recipes alive and off the endangered list, at no extra cost to you.




Last update on 2026-11-19 at 11:08 / Affiliate links / Images from Amazon Creators API
Recipe Variations, Serving Ideas, & Storage
Recipe Variations
Frequently Asked Questions
Chewy roasted pumpkin seeds usually mean they didn't dry out fully in the oven, often because the pan was overcrowded or the bake time didn't match the soak time. Spread seeds in a true single layer and roast the full time for a 24-hour soak to get that satisfying crunch.
This roasted pumpkin seeds recipe relies on the overnight brine to season the seeds all the way through, so skipping it will give you a milder, surface-salted result. A shorter 30-minute soak works in a pinch, but plan on a shorter roast time and a less intense flavor.
Roasted pumpkin seeds stay fresh for up to 10 days when stored in an airtight container at room temperature. Keeping them away from humidity is what actually protects the crunch, more than the exact container you use.
Seeds from carving pumpkins are perfect for this recipe, since seed size and roasting behavior don't change dramatically between carving and pie pumpkins. Sugar pumpkins tend to produce smaller seeds, so just expect a slightly shorter roast time if that's what you're working with.
This roasted pumpkin seeds recipe takes well to add-ins like cayenne pepper, chili powder, or curry powder tossed on right after roasting for a spicy version. For a sweeter route, a light coating of brown sugar or maple syrup works, though it needs a slightly closer eye near the end of baking to avoid burning.
A Tradition Worth Starting
It's never too late to start a tradition like this one, even if your first batch happens decades after mine did back in the 1970s.
Maybe your kids fight over who gets the biggest handful straight off the pan, or maybe you're the one sneaking seeds before dinner, either way, this becomes the thing your family asks for every October.
Did your household have its own pumpkin seed ritual growing up, or are you starting one from scratch this year? If this recipe earns a spot in your own Halloween tradition, leave a rating below, it helps other home cooks find it too.