If braiding bread sounds like something reserved for professional bakers, let this traditional braided challah bread recipe change your mind in about two hours. Challah has been baked in Jewish homes for centuries, with roots in the Torah as a Sabbath bread offering, and it's been shaped by hand long before stand mixers existed. You already have the skills for it.
The biggest fear with homemade braided challah bread is the dough itself, specifically the sticky, shaggy mess that happens in the first ten minutes of kneading. That stickiness isn't a sign you did something wrong; it's the dough doing exactly what it should.
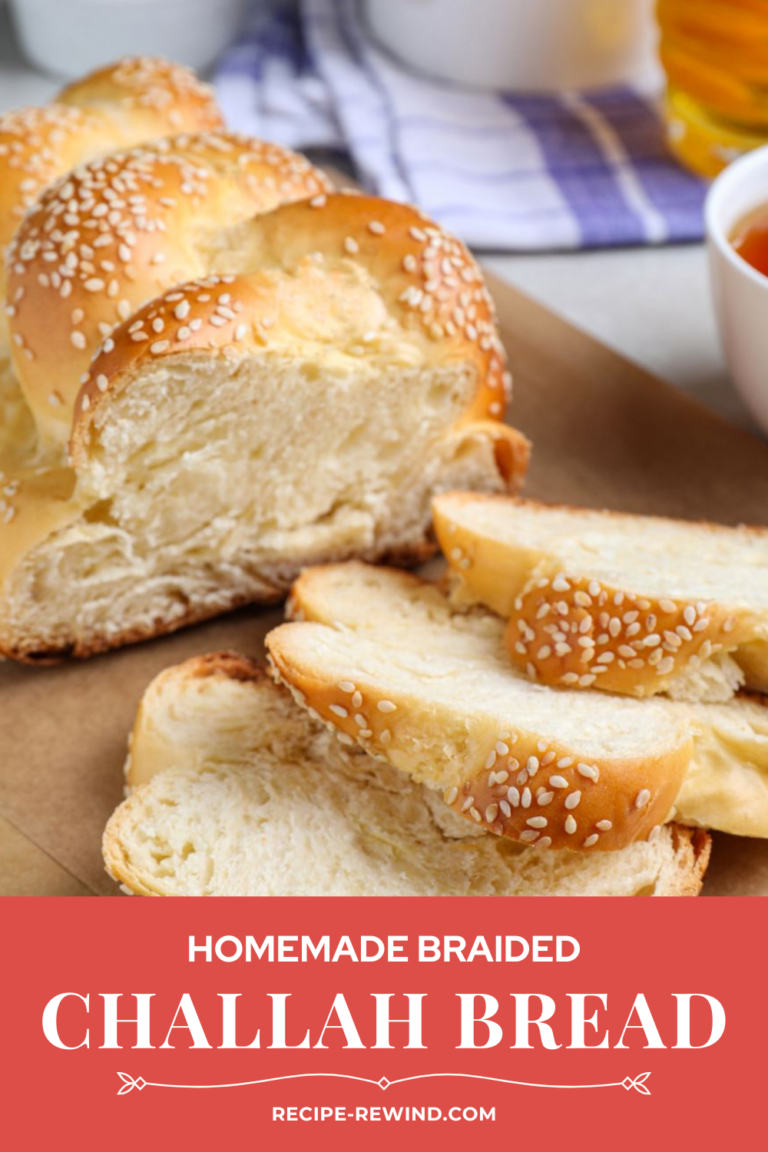
Challah carries a warmth that goes beyond the cozy spot where it rises on your counter. The golden crust, the pull-apart strands, the faint sweetness from the honey in the dough; it's the kind of bread that makes a table feel like a full meal before anything else is on it.
This recipe uses the same simple method Jewish families have relied on for Sabbath and Rosh Hashanah for generations, and it comes together beautifully with nothing more than a large bowl and your hands.
If you are interested in other culturally meaningful breads, please visit our Vintage Bread Recipes collection for recipes like American Settlers Prairie Bread, German Soft Pretzels, and Traditional Mexican Conchas.
Back in the Shabbat Kitchen
Long before anyone called Friday "the weekend," Jewish families across Eastern Europe were preparing for Shabbat, the weekly day of rest that begins at sundown on Friday. In the late 19th and early 20th centuries, Jewish communities in cities like Warsaw, Vilnius, and New York's Lower East Side were baking two loaves of challah dough every Friday as a symbol of the double portion of manna described in the Torah. The bread wasn't decorative; it was sacred, practical, and deeply communal.
By the mid-20th century, as Jewish families settled into American suburban life, challah started appearing on deli counters and bakery shelves alongside rye and pumpernickel. But the handmade version, shaped on a lightly floured surface with three long ropes of dough worked into a braid, never fully left home kitchens.
It was the kind of bread rise that children watched with curiosity, the damp towel laid over the bowl, the dough ball quietly doubling in size on the counter. If you grew up near anyone who baked it, you remember exactly what it smelled like.
What Makes This Braided Challah Bread Recipe Work
Honey Builds the Sweet Flavor and the Structure
Honey is not in this recipe just for taste, though the mild sweet flavor it adds is real and intentional. Honey is hygroscopic, which means it actively draws moisture from the air and holds it inside the crumb. That is why challah stays soft longer than most basic white bread recipes.
The honey also feeds the active dry yeast during fermentation, accelerating the rise and contributing to a more complex flavor than plain sugar would produce.
Whole Eggs Give Challah Its Richness
Most basic bread recipes skip eggs entirely. Challah uses three whole eggs plus an extra egg yolk for the wash 🛒, and that fat content is what gives the bread its characteristic soft, pillowy texture.
The fat in egg yolks coats gluten strands and shortens them slightly, resulting in a more tender crumb than you would get from flour, water, and yeast alone. More fat means more tenderness. That is the science, and it explains why challah French toast is exceptional: the egg-enriched bread absorbs a custard soak without falling apart.
All-Purpose Flour Is the Right Call
You do not need bread flour here. Bread flour has a higher protein content that produces a chewier, more structured loaf, which works well for sourdough and baguettes but fights against the soft, tender crumb challah is known for.
All-purpose flour gives you enough gluten development to hold the braid and support the rise without turning the final texture tough. Stick with all-purpose flour and don't second-guess it.
Active Dry Yeast at the Right Temperature
Getting your active dry yeast to bloom correctly in warm water (around 100°F, or just warm on your wrist) is the single most reliable way to avoid a dense, flat loaf. Water that's too hot kills the yeast; water that's too cold slows it down enough to throw off your rise time. Ten minutes in warm water with a little honey is all the yeast needs to wake up and get to work.
Sesame Seeds Do More Than Look Good
Poppy seeds and sesame seeds are the two traditional toppings for challah, and both are correct. Sesame seeds toast during baking and add a subtle nutty note to each bite of that golden crust.
They are also visual, signaling to anyone at the table that the bread was made with intention. If you are out of sesame seeds, poppy seeds are a one-to-one swap with a slightly more earthy result.
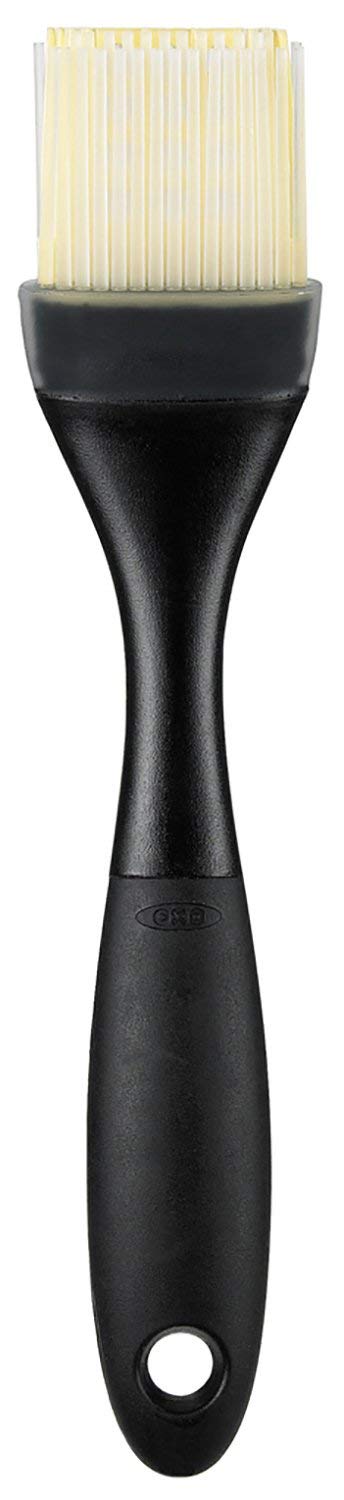
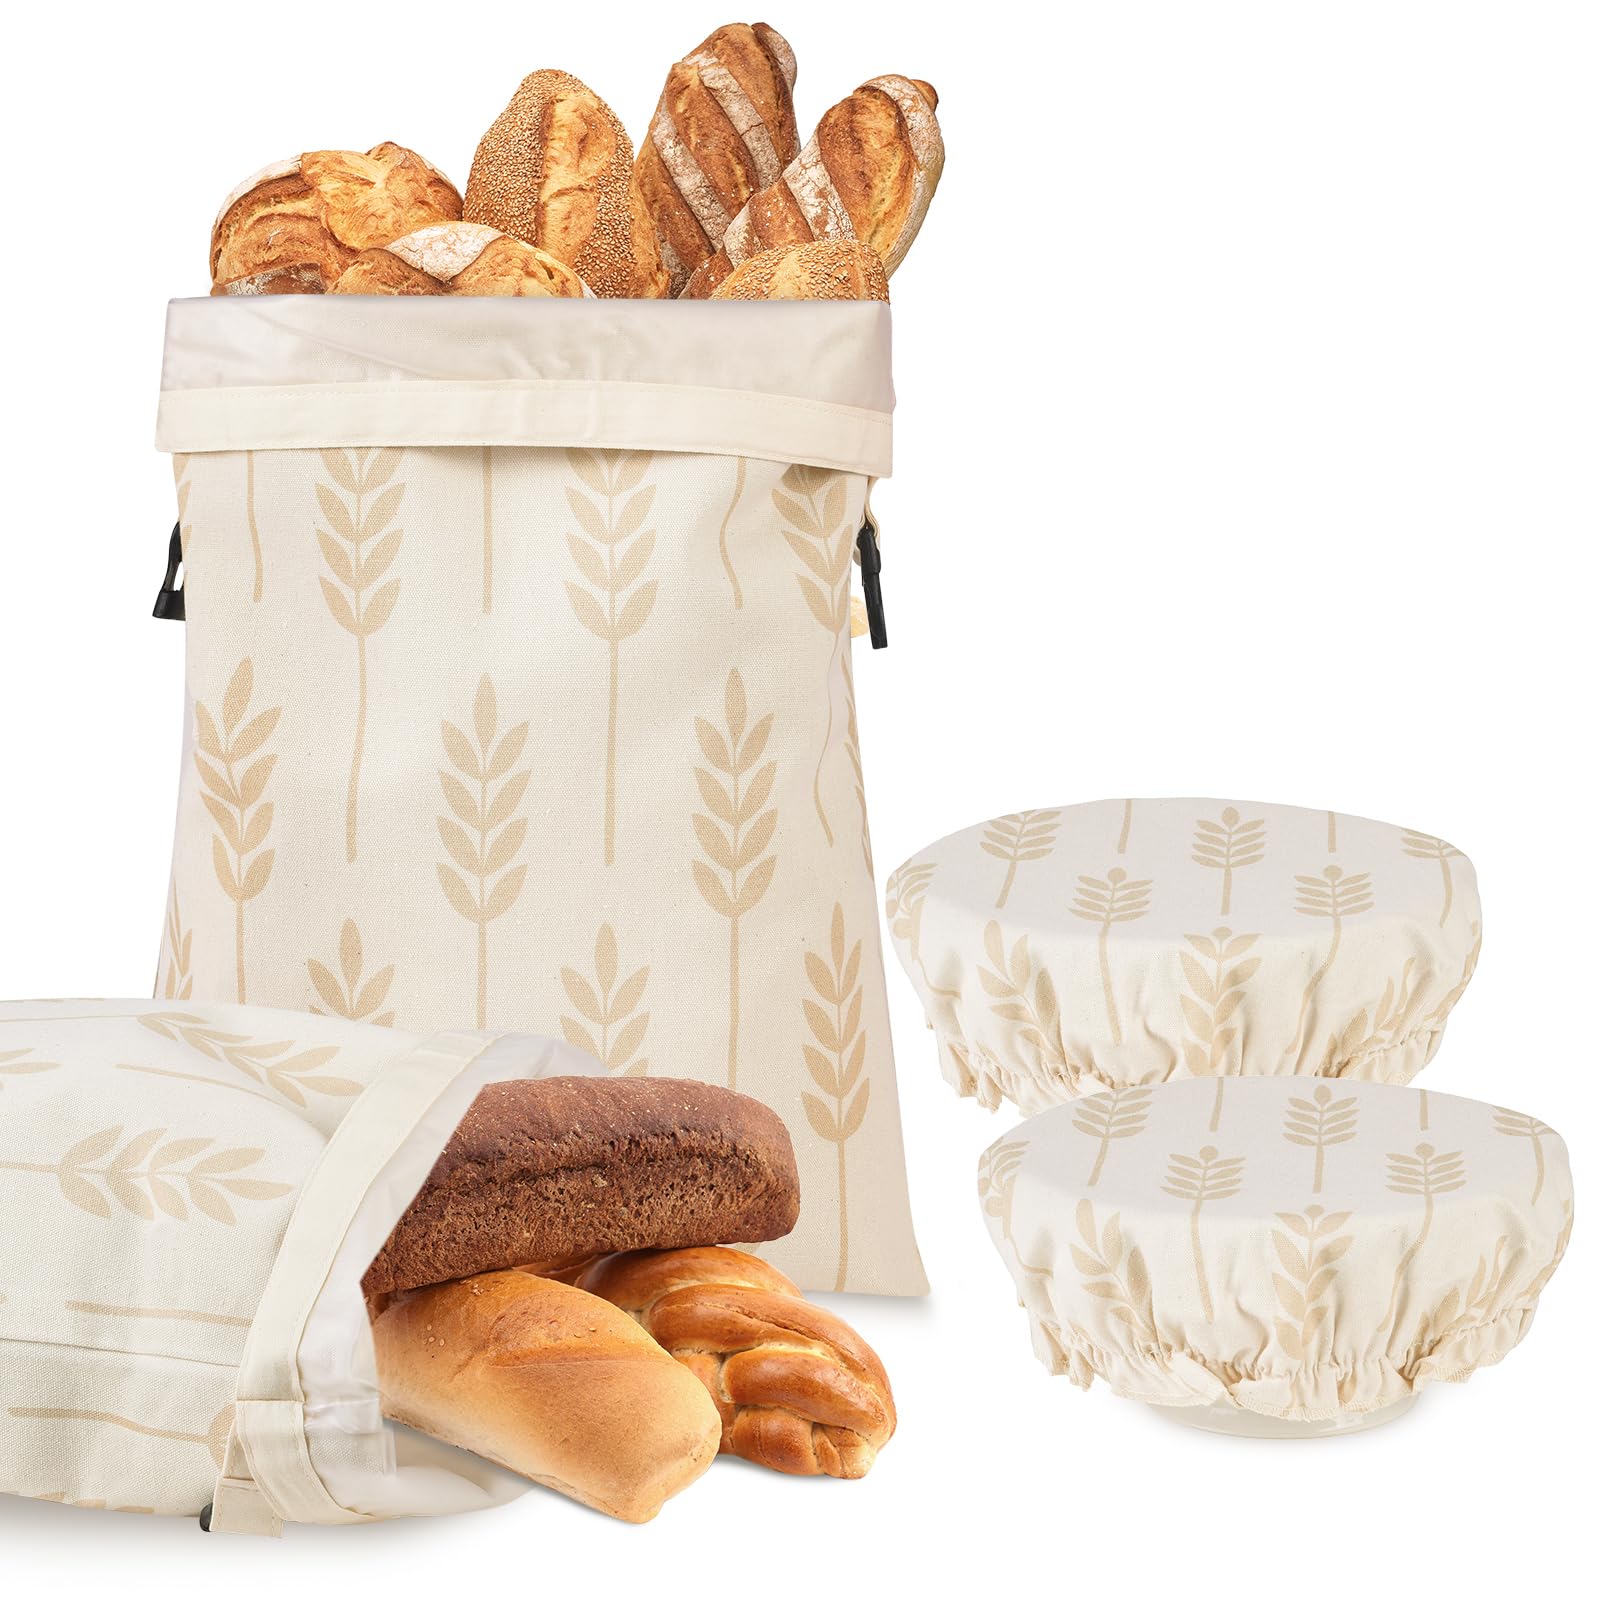
Products I Use For This Braided Challah Bread Recipe
Recipe Rewind is an Amazon Associate and earns from qualifying purchases made through our affiliate links. We only recommend kitchen tools and products that coordinate with our vintage recipes and traditional cooking methods. Your purchases help us keep culinary traditions alive.


Braided Challah Bread Recipe
Homemade braided challah bread is a traditional Jewish bread made from active dry yeast, warm water, honey, whole eggs, and all-purpose flour, braided by hand and finished with an egg yolk wash and sesame seeds before baking at 350°F for 30 to 35 minutes. The honey adds a mild sweet flavor to the tender crumb while the egg wash produces the deep golden crust associated with classic challah. Served at Rosh Hashanah, Shabbat, and major Jewish holidays, this recipe requires no stand mixer and no specialty flour, making it accessible for home bakers who have never attempted a braided loaf before.
- Total Time: 2 hours, 35 minutes
Ingredients
- 1 (.25 ounce) package active dry yeast
- 1 cup warm water (100°F / 40°C)
- 3 tbsp honey
- 1 tsp salt
- 3 beaten eggs
- 3 1/2 cups all-purpose flour, plus more for kneading
- 1 beaten egg yolk, or more if needed
- 1 tbsp sesame seeds
Instructions
- Activate the Yeast
In a large mixing bowl, combine the water and yeast, allowing the mixture to sit until the yeast completely dissolves – this should take around 10 minutes. Once dissolved, blend in the honey and salt until they’re fully incorporated, then add your beaten eggs. - Build the Dough
Gradually add the flour one cup at a time until you achieve a sticky dough consistency. Dust the dough lightly with flour and knead it thoroughly for about 5 minutes, working until the texture becomes smooth and elastic. - First Rise
Shape your dough into a tight, round ball and transfer it to a greased bowl. Roll the dough around in the bowl to coat all surfaces with oil, then cover with a moist kitchen towel. Allow the dough to rise in a warm spot until it doubles in volume – this typically takes 45 minutes to an hour. - Divide the Dough
When risen, punch down the dough with your fist and divide it into three equal portions. - Roll the Strands
On a flour-dusted work surface, roll each portion into rope-like strands roughly the width of your thumb and approximately 12 inches in length. Shape each rope so it’s thicker through the center and tapers toward both ends. - Braid the Loaf
Join the three strands at one end by pinching them together, then create your braid. Begin with the right strand, crossing it over the center strand to the left (this right strand now becomes your new center). Continue this braiding pattern, alternating from right to left, until you’ve braided the entire length. Pinch the bottom ends together and tuck them under for a clean finish. - Apply the Egg Wash
Transfer your braided loaf to a parchment-lined baking sheet and brush the surface with beaten egg yolk. - Bake Until Golden
Heat your oven to 350°F (175°C) and bake for 30-35 minutes until golden brown.
- Prep Time: 2 hours
- Cook Time: 35 minutes
- Category: Bread
- Method: Baked
How to Make Perfect Braided Challah Bread
Proof the Yeast First, Every Time
Do not skip the 10-minute proof in warm water. Active dry yeast needs to be activated before it hits the flour. If you add dry yeast directly to wet ingredients without proofing, you are gambling on whether your yeast is still alive.
Spend 10 minutes and confirm it upfront. The surface of your yeast mixture should look foamy and smell faintly yeasty when it is ready. No foam means dead yeast, and no amount of kneading will fix that.
Add Flour Gradually to Avoid a Brick
Pour in the flour one cup at a time, not all at once. Challah dough should come together sticky before you start kneading. If you dump all 3.5 cups in immediately and the dough feels stiff before you start kneading, you have already added too much.
A sticky dough that you knead into shape will always be more tender than a dry dough that never had enough moisture to develop properly.
Knead Until the Dough Passes the Windowpane Test
Five minutes of kneading on a lightly floured surface is the minimum. To check whether your gluten development is where it needs to be, take a small piece of dough and stretch it slowly between your fingers.
If it stretches thin enough to let light through without tearing, you are ready to shape. If it tears immediately, knead for two more minutes and test again. The windowpane test tells you exactly what is happening inside the dough without any guesswork.
Use a Warm Spot for the Rise
Challah dough needs a consistently warm environment to double in volume. Set your large bowl in a turned-off oven with just the oven light on, or place it on top of the refrigerator where the motor generates a little warmth.
A damp towel over the bowl keeps the surface from drying out and forming a skin that restricts the rise. Forty-five minutes to an hour is typical at room temperature around 75-78°F. Cooler kitchens will need closer to 90 minutes.
Braid with Confidence, Not Caution
The braid does not need to be perfect. Pinch the three long ropes together at the top, cross right over center, then left over center, and repeat until you reach the bottom. Tuck both ends under and press them down. The heat of the oven will puff and fill any gaps in your braid during the initial rise inside the oven. A slightly imperfect braid going in becomes a beautiful braided loaf coming out.
Pull It When the Color Is Right
Thirty to 35 minutes at 350°F is the window. The challah is done when the surface is deep golden brown, the loaf sounds hollow when you tap the bottom, and an instant-read thermometer 🛒 inserted into the thickest part reads between 190°F and 200°F. Pull it early and the interior will be gummy. Leave it five minutes too long and the bottom crust goes hard. Color and temperature together give you the confirmation you need.
Recipe Variations
Pin This Homemade Braided Challah Bread Recipe For Later

Frequently Asked Questions
Braided challah bread is a traditional Jewish bread made from an enriched dough of flour, eggs, honey, and yeast, braided by hand and baked until golden brown. It is traditionally served on Shabbat and major Jewish holidays such as Rosh Hashanah and has been a staple of Jewish baking culture for several centuries.
The egg-enriched dough gives challah its characteristic soft, tender crumb and mildly sweet flavor that distinguishes it from basic white bread.
Instant yeast can be substituted for active dry yeast in braided challah bread at a one-to-one ratio, but the proofing step changes. Instant yeast does not need to be dissolved in warm water before use and can be mixed directly into the dry ingredients.
If you use instant yeast, combine it with the flour first, then add the warm water and wet ingredients together. Expect a slightly faster rise, often 30 to 40 minutes rather than 45 to 60.
Challah dough is supposed to be sticky before and during the early stages of kneading. If the dough is sticking aggressively to your hands and the work surface after 2 to 3 minutes of kneading, dust it with flour one tablespoon at a time until it becomes workable.
Adding too much flour all at once is the most common mistake home bakers make with enriched doughs, and it results in a dense loaf with a dry crumb rather than the tender texture challah is known for.
The warm water for braided challah bread should be between 100°F and 110°F to properly activate active dry yeast. Water below 95°F will not fully wake the yeast, resulting in little to no rise. Water above 115°F kills the yeast entirely, and no amount of kneading or waiting will save a batch made with overheated water.
Use a kitchen thermometer to take the guesswork out of it.
Challah bread does not require a stand mixer or dough hook. The dough comes together in a large mixing bowl by hand, and kneading on a lightly floured surface for 5 minutes is all the gluten development this recipe needs.
Stand mixers with a dough hook running at medium-low speed can be used if you prefer, but they are not necessary for a successful loaf. Challah was made by hand long before stand mixers existed.
Braided challah bread freezes well for up to two months. Allow the loaf to cool completely on a wire rack before wrapping it tightly in plastic wrap and then a layer of foil.
Freeze the whole loaf or individual slices depending on how you plan to use it. Thaw at room temperature for two to three hours for the full loaf, or about 30 minutes for individual slices.
Both sesame seeds and poppy seeds are traditional toppings for braided challah bread. Sesame seeds toast during baking and add a subtle nutty flavor and slight crunch to the golden crust.
Poppy seeds have a slightly earthier, more bitter flavor with a softer texture on top of the bread. Both are equally traditional and the choice comes down to personal preference. You can also leave the top plain or use both toppings on the same loaf.
Braided challah bread is done when the surface is deep golden brown and an instant-read thermometer inserted into the thickest part of the loaf reads between 190°F and 200°F.
You can also tap the bottom of the loaf with your knuckle. A hollow sound indicates the interior is fully baked. If the loaf sounds dense or dull, return it to the oven for another 3 to 5 minutes and check again.
All-purpose flour is the better choice for braided challah bread. Bread flour has a higher protein content that produces more gluten development and a chewier, more structured texture.
Challah's signature tender crumb comes from the fat in the eggs combined with all-purpose flour, which has just enough protein to hold the braid but not so much that it toughens the bread. Using bread flour will give you a slightly chewier loaf that pulls away from the classic challah texture.
Day-old braided challah bread is one of the best breads available for French toast. The egg-enriched dough absorbs a custard soak deeply without falling apart, and the slightly sweet flavor from the honey means the French toast needs very little additional sweetener.
Slice the bread at least one inch thick for the best texture. Challah French toast made from a leftover braided loaf is a practical, genuinely better use of the bread than letting it go stale on the counter.
A Loaf Worth Repeating
Braided challah bread is one of those recipes that rewards you every time you make it, and gets easier with every loaf. The braid gets tighter, the timing gets more intuitive, and the result consistently earns a place at whatever table it lands on. If this is your first challah, welcome to a tradition that has been feeding people far longer than most recipes on the internet. If it brings back memories of a grandmother's kitchen or a holiday dinner you have not thought about in years, leave a comment below and tell me about it.
If you make this braided challah bread, please leave a rating and a review. It helps other readers find the recipe and tells me what is working in your kitchen.

0 comments