

Lunchroom peanut butter bars are a no-bake dessert adapted from a 1978 newspaper clipping, modeled on treats served in American school cafeterias during the 1970s. A pressed peanut butter and graham cracker base is topped with melted milk chocolate and chilled rather than baked. Also called peanut butter cup squares, the bars stay dense, cold, and easy to cut.
Somehow the best part of school lunch didn't even need an oven. Lunchroom peanut butter bars get their signature density from a no-bake method pulled straight from a 1978 newspaper clipping, ready in about twenty minutes of hands-on prep with zero oven time.
The five-ingredient batch chills instead of bakes, so a full 9x13 pan sets up firm enough to stack and travel to any potluck or lunchbox without falling apart. Nobody wants a peanut butter bar that turns oily or crumbles before the first bite, and the recipe keeps the layers clean-cut and cold from fridge to plate.
If peanut butter and chocolate is basically a personality trait for you, you're in good company. It's also why our classic peanut butter blossoms are one of the most-made cookies on this site.
Back in the 1970s School Cafeteria
35 Cents and a Cardboard Pizza
I was 8 years old in 1978, and school lunch cost 35 cents. The menu ran on a reliable cycle: pizza Fridays with that rectangular cardboard pizza nobody actually complained about, and a rotating lineup of dessert bars that showed up on wax paper next to a carton of whole milk.
Why Peanut Butter Showed Up So Often
Peanut butter turning up so often on cafeteria trays wasn't a coincidence. The USDA has supplied surplus commodity foods to school kitchens since the 1930s, and peanut butter was one of the staples districts could count on getting in bulk, which is exactly why so many 1970s lunchrooms built dessert bars around it.
Chocolate didn't come from that same commodity list, so some longtime cafeteria cooks remember earlier versions of these bars served plain, with the chocolate layer added only when a kitchen's budget allowed for it.
Built for the Lunch Line
Somewhere in an institutional kitchen, a cafeteria cook pressed a batch of peanut butter bars into a commercial sheet pan and slid them into a refrigerator the size of a small bedroom. They came out cold, dense, and covered in chocolate, and every kid at every table wanted the last one.
The bars worked in a cafeteria because they were practical in every direction: no oven, no timing, no fragile components. They held perfectly cold for hours on a tray and tasted like a Reese's cup given a little more ambition and a lot more powdered sugar. Nearly impossible to mess up, and the simplicity is exactly why the bars are still worth making today.
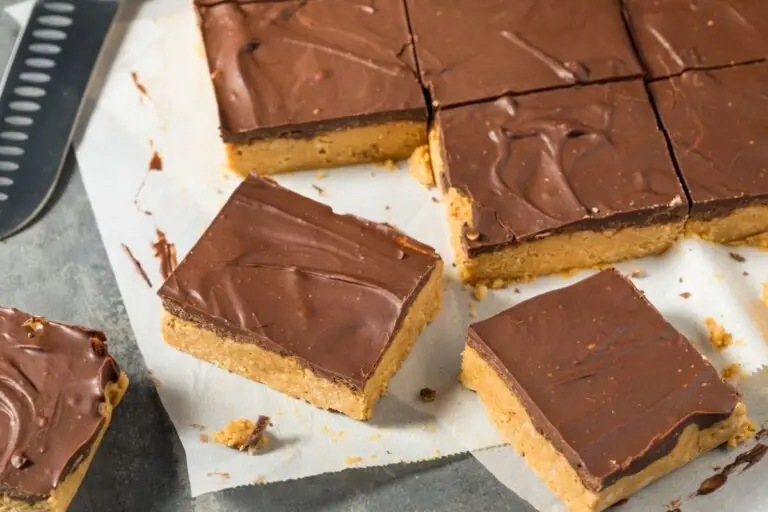
No Bake Peanut Butter Bars with Chocolate (1970s Lunchroom Recipe)
These no-bake peanut butter bars are the school cafeteria classic you’ve been chasing since childhood. A dense, creamy peanut butter and graham cracker base gets pressed into a 9×13 pan and topped with a smooth milk chocolate layer, then refrigerated until cold and cut into squares. Five ingredients. No oven. Exactly as good as you remember.
- Total Time: 1 Hour 20 Minutes
- Yield: 24 Servings 1x
Ingredients
- 1/3 pound (about 1 1/2 cups) finely crushed graham cracker crumbs
- 1/2 pound (2 sticks / 1 cup) unsalted butter, softened to room temperature
- 1 cup creamy peanut butter (not natural-style)
- 1 pound (about 4 cups) powdered sugar
- 12-ounce package milk chocolate chips
Instructions
- Prepare pan: Line a 9×13 inch pan with parchment paper, leaving overhang on two sides.
- Mix peanut butter base: In a large bowl, beat together the softened butter, peanut butter, and graham cracker crumbs until creamy and smooth.
- Add powdered sugar: Add the powdered sugar gradually, mixing until the dough is fully combined and no longer sticky. It will resemble a thick, slightly crumbly cookie dough.
- Press into pan: Press the peanut butter mixture firmly and evenly into the prepared pan. Use the bottom of a flat measuring cup to get an even, compact layer.
- Melt chocolate: Melt the chocolate chips in a double boiler over barely simmering water, stirring until completely smooth. Alternatively, microwave in 30-second intervals, stirring between each, until melted.
- Top with chocolate: Pour the melted chocolate over the peanut butter layer and spread evenly with an offset spatula.
- Chill: Refrigerate for at least 2 hours, or until the chocolate is fully set.
- Cut and serve: Lift the bars out of the pan using the parchment paper overhang. Warm to room temperature, then cut into squares with a sharp knife. For clean cuts, wipe the blade between slices.
Notes
- Peanut butter: Use a conventional creamy peanut butter (such as Jif or Skippy). Natural peanut butter separates and produces an oily, unstable base that won’t hold together.
- Butter: Room temperature butter, not melted, is the original method. It creams with the peanut butter to produce a denser, more cohesive bar than the melted-butter shortcuts in many modern versions.
- Chocolate: The 1978 recipe specifies milk chocolate chips, which gives you the sweeter, creamier top that matches the cafeteria memory. Semi-sweet works if you prefer less sweetness.
- Cutting tip: For clean squares without cracking the chocolate layer, let the bars sit at room temperature for 5 minutes before cutting, and use a sharp chef’s knife.
- Yield note: A 9×13 pan cut into 4 rows x 6 columns yields 24 squares. For larger bars (closer to the cafeteria portion size), cut 3×4 for 12 pieces.
- Prep Time: 20 Minutes
- Chill Time: 1 Hour
- Category: Dessert
- Method: Refrigerated
- Cuisine: American
Pin This No Bake Peanut Butter Bars With Chocolate Recipe For Later

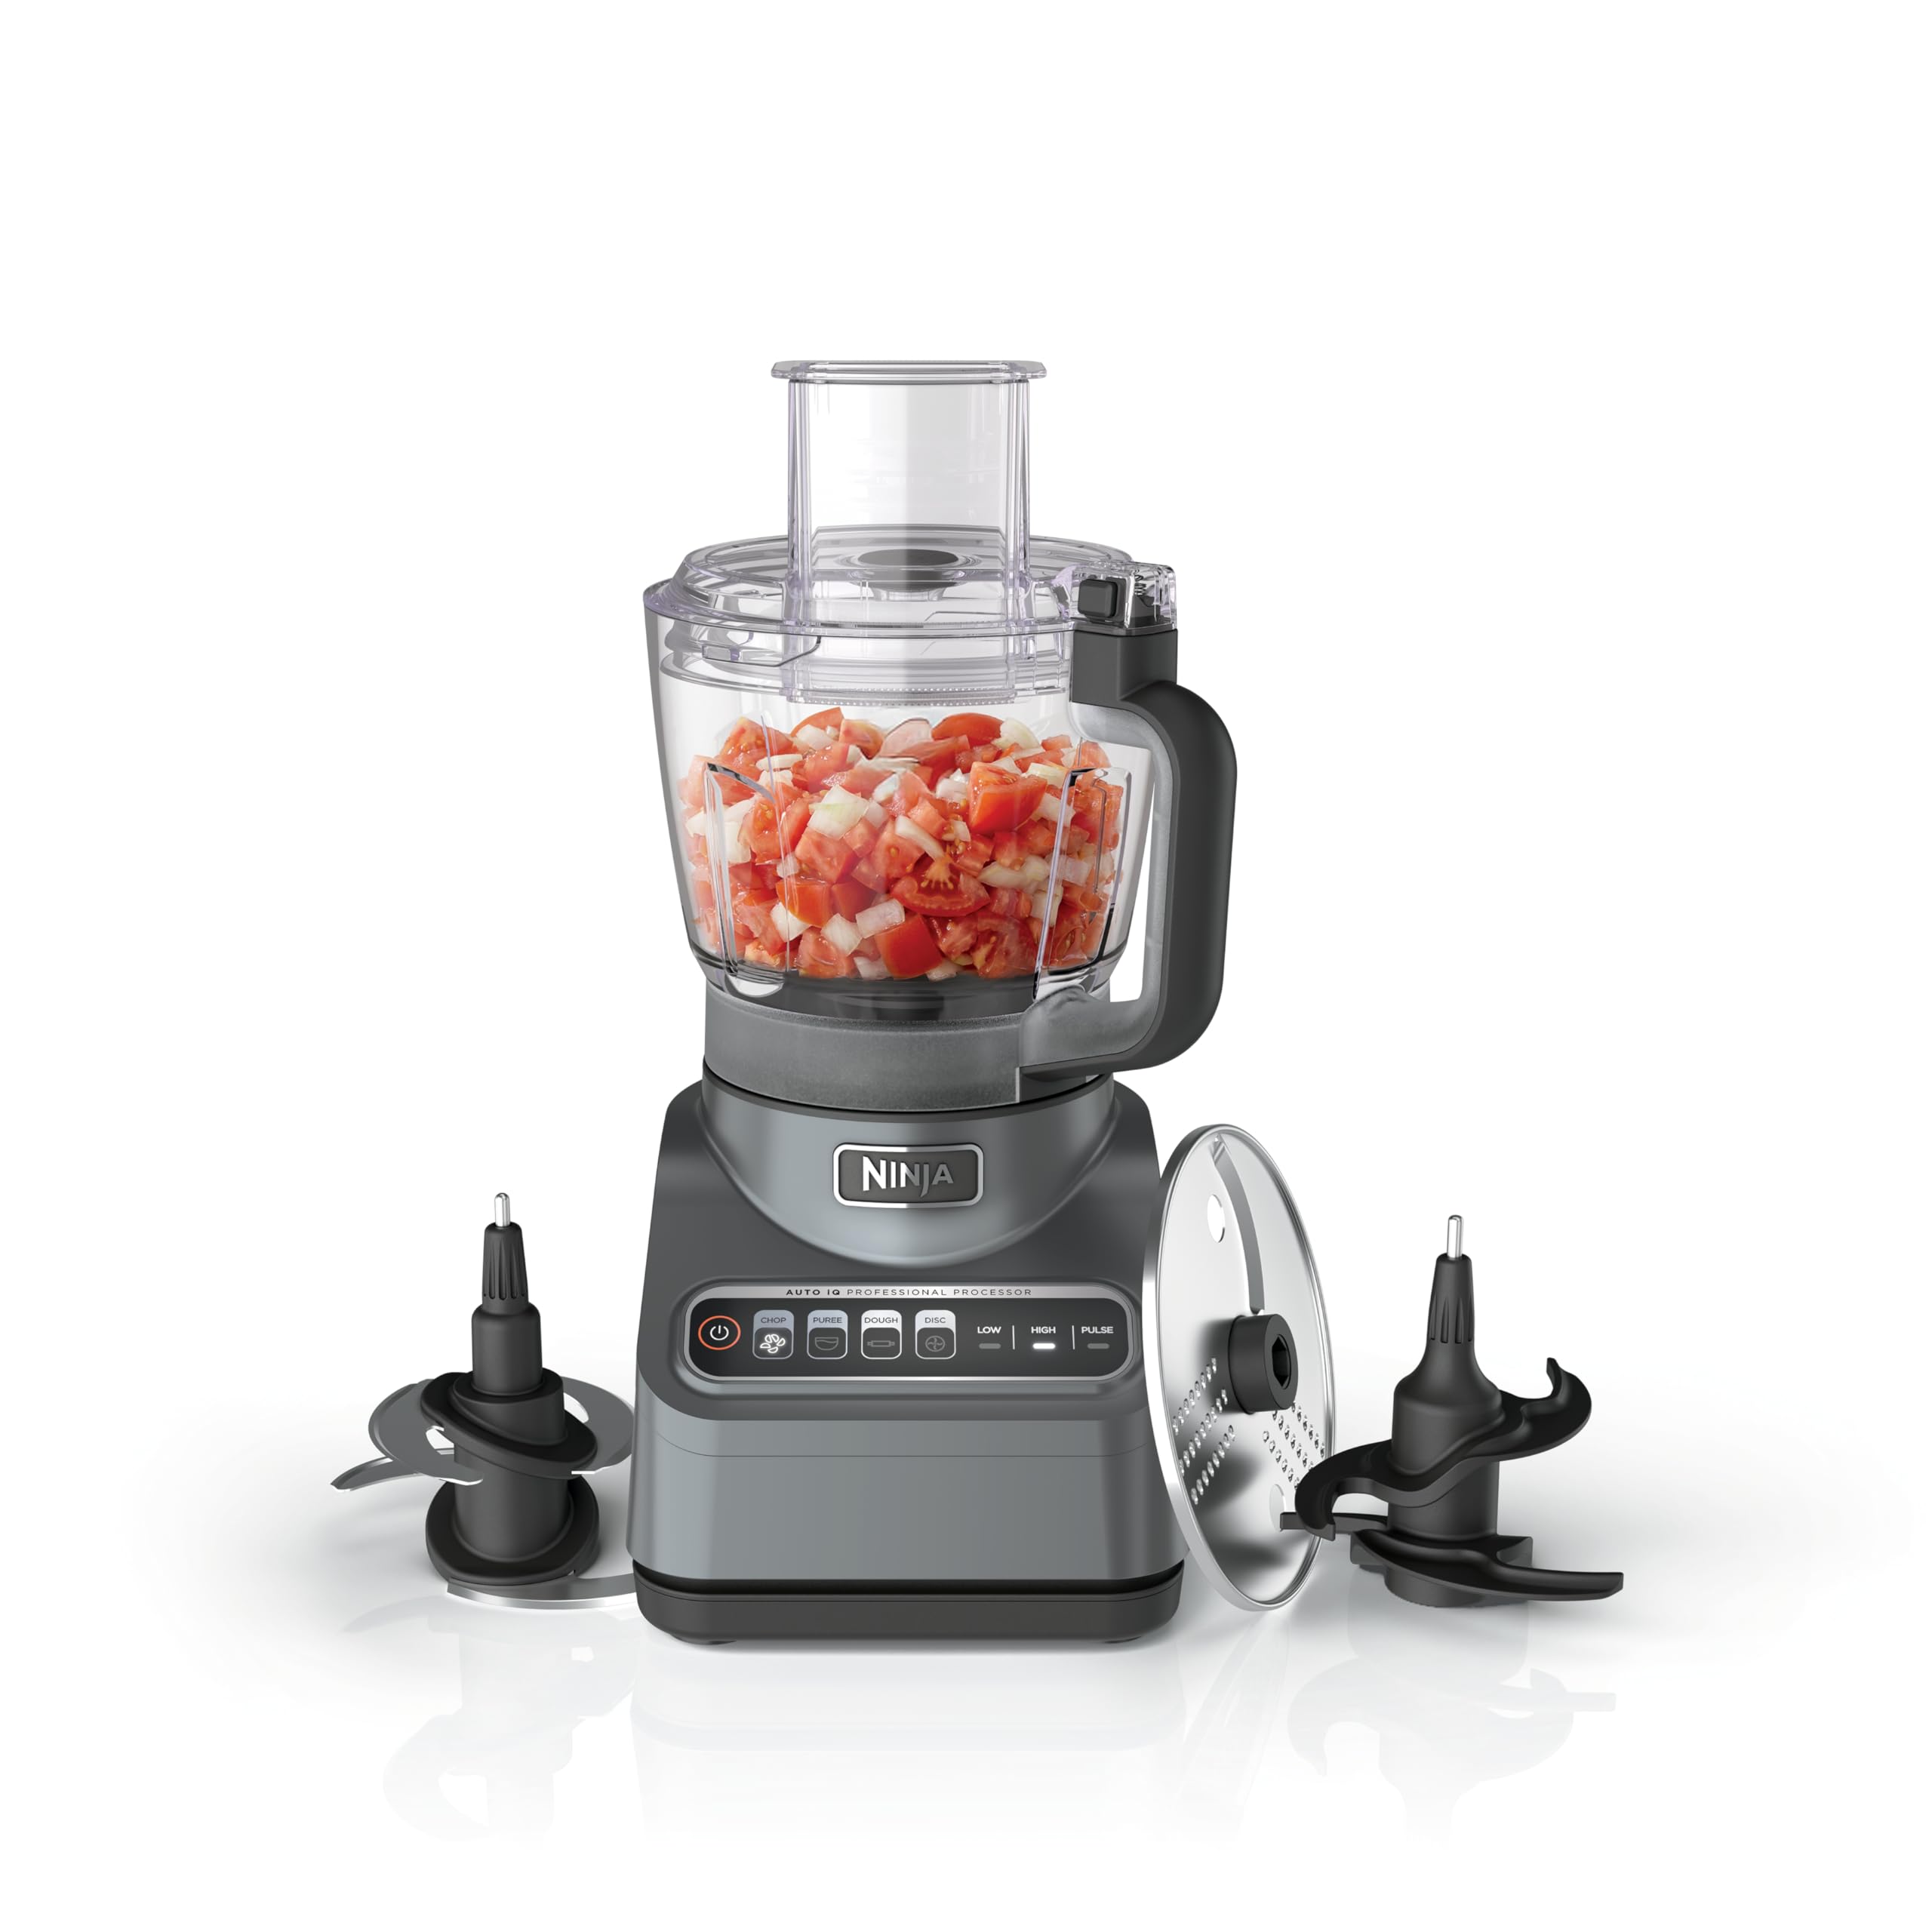
Tools & Equipment Worth Having For This Recipe
We use Amazon links for tools that we use in our own kitchen and make sense for the recipes we share. If you choose to shop through those links, you help keep these vintage recipes alive and off the endangered list, at no extra cost to you.




Last update on 2026-11-19 at 16:48 / Affiliate links / Images from Amazon Creators API
What Makes These Peanut Butter Bars With Chocolate So Irresistible
The Graham Cracker Crumbs Do the Heavy Lifting
The crumbs aren't just filler. Finely crushed graham cracker crumbs absorb the excess moisture from the butter-and-peanut-butter mixture, giving the base enough structure to hold a clean cut without crumbling. Coarsely crushed crumbs leave pockets of texture that make the bars fall apart on the knife. The original recipe specifies "finely crushed" — that detail is doing real work.
Room-Temperature Butter Changes the Whole Texture
Most modern no-bake bar recipes melt the butter, which produces a denser, sometimes greasy base. The 1978 method calls for softened butter creamed together with the peanut butter, which incorporates more air and produces a lighter, smoother layer — closer to a peanut butter fudge than a pressed crumb bar. Your stand mixer or hand mixer earns its keep here.
The Ratio of Powdered Sugar Is Intentional
One pound of powdered sugar is a significant amount, and the recipe isn't apologizing for it. That ratio creates a base thick enough to press into the pan, set firmly under refrigeration, and hold a clean square when cut. Reducing the sugar produces bars that are softer and harder to cut cleanly.
Milk Chocolate, Not Semi-Sweet, for the Right Nostalgia
The original recipe uses a 12-ounce package of milk chocolate chips, and that choice matters for the flavor memory. Milk chocolate is sweeter and creamier than semi-sweet, which is what produced that specific cafeteria taste. If yours always comes out slightly bitter or more grown-up-tasting than you remember, swapping to milk chocolate is the fix.
No Oven Required, and That Was the Point
These bars were designed for large-scale institutional production where oven space was precious. The refrigerator sets the chocolate and firms the base without any baking. That means the recipe is genuinely forgiving. No timing, no temperature guessing, no chance of burning anything.
How to Make Perfect Peanut Butter Chocolate Squares
Use a Hand Mixer, Stand Mixer, or Food Processor for the Base
Coarse graham cracker pieces are the number one reason homemade peanut butter bars feel gritty instead of dense and smooth. Run the crackers through a food processor (or use an electric mixer on medium speed) until they're a fine, uniform powder with no visible chunks remaining. The texture should look like sand, not pebble mix. A food processor 🛒 handles this in about 30 seconds and also works for every other crumb-crust recipe you'll make this year.
Use Room Temperature Butter
Cold butter will not cream properly with the peanut butter, and the result is a lumpy mixture that won't press flat. Pull the butter out at least 30 minutes before you start, or you'll spend twice as long trying to combine ingredients that aren't cooperating. Room temperature butter blends smoothly and quickly, making the whole process noticeably faster and the texture significantly more consistent.
Press Firmly and Evenly
First, use parchment paper with overhanging sides so you can lift the whole slab out cleanly rather than digging at the edges with a knife. Next: the reason some homemade peanut butter bars have an uneven chocolate top is that the base layer wasn't level to begin with.
Press the mixture firmly into the pan using the flat bottom of a measuring cup or drinking glass, working from the center outward. Pay particular attention to the corners and edges, which tend to be thinner if you press without a flat surface. An even base means the melted chocolate spreads to a consistent thickness across the entire pan.
Melt Chocolate Low and Slow
Rushing the chocolate is how you end up with a seized, grainy coating that drags across the peanut butter instead of spreading smoothly. In a double boiler, keep the water at a gentle simmer rather than a rolling boil, and stir constantly as the chips melt. Uneven heat is the specific culprit behind seized chocolate.
A double boiler insert 🛒 sits directly over your existing saucepot and holds the bowl at a consistent distance from the steam, which prevents the overheating that causes milk chocolate to go grainy and thick.
.Score Before the Chocolate Sets Completely
If you wait until the chocolate is fully hardened to cut these squares, the top layer will crack unevenly and the pieces won't look clean. Score the top of the chocolate with a sharp knife about 20 minutes after spreading it, while it's still slightly soft. Then refrigerate until fully set and use those score lines to guide your final cuts. You'll get sharp, clean edges every time.
The Right Knife Makes the Difference
A dull knife cracks the chocolate layer and drags through the base, producing ragged squares. A sharp chef's knife pressed straight down (rather than dragged) gives you clean, professional-looking cuts. Wipe the blade between every slice to prevent smearing.
Recipe Variations, Serving Ideas, & Storage
Recipe Variations
Frequently Asked Questions
The classic version uses graham cracker crumbs, butter, creamy peanut butter, powdered sugar, and chocolate chips; five ingredients, no baking required. The 1978 recipe here uses those exact five components pressed into a 9x13 pan.
Natural peanut butter separates as it sits, which makes the base oily and unstable. It won't hold together when cut. Conventional creamy peanut butter (Jif, Skippy, or store brand) produces the right texture.
Yes. The base softens at room temperature and the chocolate layer loses its snap. Store them covered in the refrigerator and serve cold.
The two most common causes are cutting before the chocolate is fully set (give it at least 2 hours in the refrigerator) and using a dull blade. A sharp chef's knife pressed straight down, rather than dragged, prevents cracking.
An 8x8 or 9x9 pan works with a halved recipe, producing thicker bars. The original 9x13 yields a thinner, more cafeteria-accurate bar. A 9x13 [metal baking pan with a lid] keeps things contained in the refrigerator without requiring plastic wrap.
Up to 5 days in the refrigerator, or 3 months in the freezer. They're an ideal make-ahead dessert for holidays or gatherings.
These bars have a higher ratio of graham cracker crumbs and powdered sugar, making the base denser and less oily than the peanut butter filling in Reese's. They're also topped with a thinner chocolate layer, which gives you more peanut butter base in each bite.
Sure, but you'll need two 9x13 pans or one large commercial sheet pan. Don't try to pile a doubled recipe into a single 9x13 — the layers become too thick to cut cleanly.
Creaming softened butter with the peanut butter produces a lighter, more cohesive base than melted butter methods. Melted butter can make the base slightly greasy. The original method is worth the extra step.
Yes, the lunch lady bars served in school cafeterias across the country followed the same basic formula. Regional variations include different chocolate types (semi-sweet vs. milk chocolate), varying amounts of graham cracker crumbs, and some versions that used margarine rather than butter.
Your School Cafeteria Might Have Made These Too
Regional variations on these bars are genuinely fascinating. Some schools used milk chocolate on top, others went semi-sweet, and a few skipped the chocolate entirely and finished them with extra graham cracker crumbs. Same idea, different zip code. If your lunchroom had a version, drop it in the comments because that's exactly the kind of detail that doesn't show up in any cookbook.
If you make this recipe, a star rating helps more than you'd think. There are a lot of people out there chasing this exact taste memory, and your two cents helps them find it.
