
You can mill your own black bean flour in about four minutes with a coffee grinder, and it will change the way you think about baking bread at home. Most protein bread recipes reach for expensive powders and supplements; this black bean bread recipe skips all of that and builds genuine nutrition right into the dough using an ingredient already sitting in your pantry.
The real challenge isn't the technique, though. It's that almost nobody tells you about the one non-negotiable step that stands between a deeply flavorful loaf and bread that smells promising going into the oven and comes out tasting like a hardware store.
Where This Black Bean Bread Concept Comes From
Bread bakers have been adding bean and legume flours to loaves for longer than most people realize. Nutrition researchers at Cornell University documented the protein-boosting potential of non-wheat flours as far back as the 1940s, when adding soy flour and powdered milk to standard bread dough became a documented strategy for feeding institutional populations on a tight budget.
The logic was practical and the results were measurable: a more nutritionally complete loaf built entirely from shelf-stable pantry ingredients, no supplements, no protein powders, no specialty store required. Dry beans had been sitting in American kitchens for generations. Someone just finally thought to grind them.
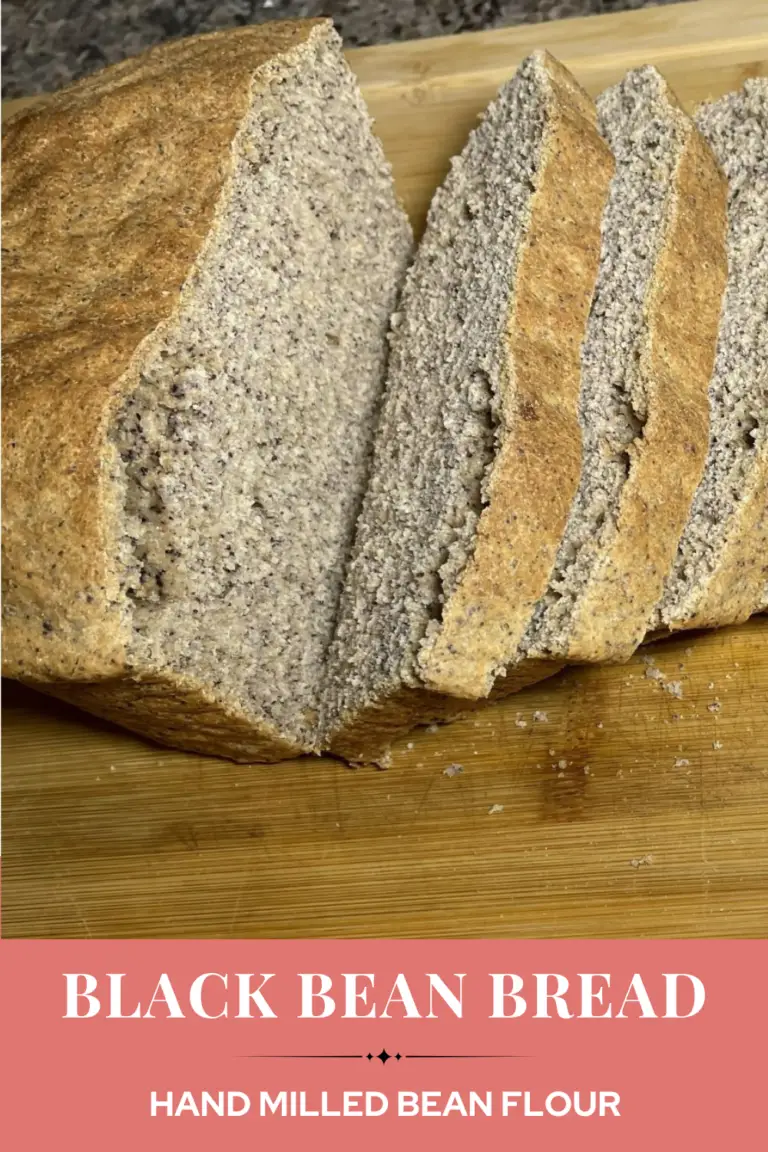
Black Bean Flour Bread Recipe
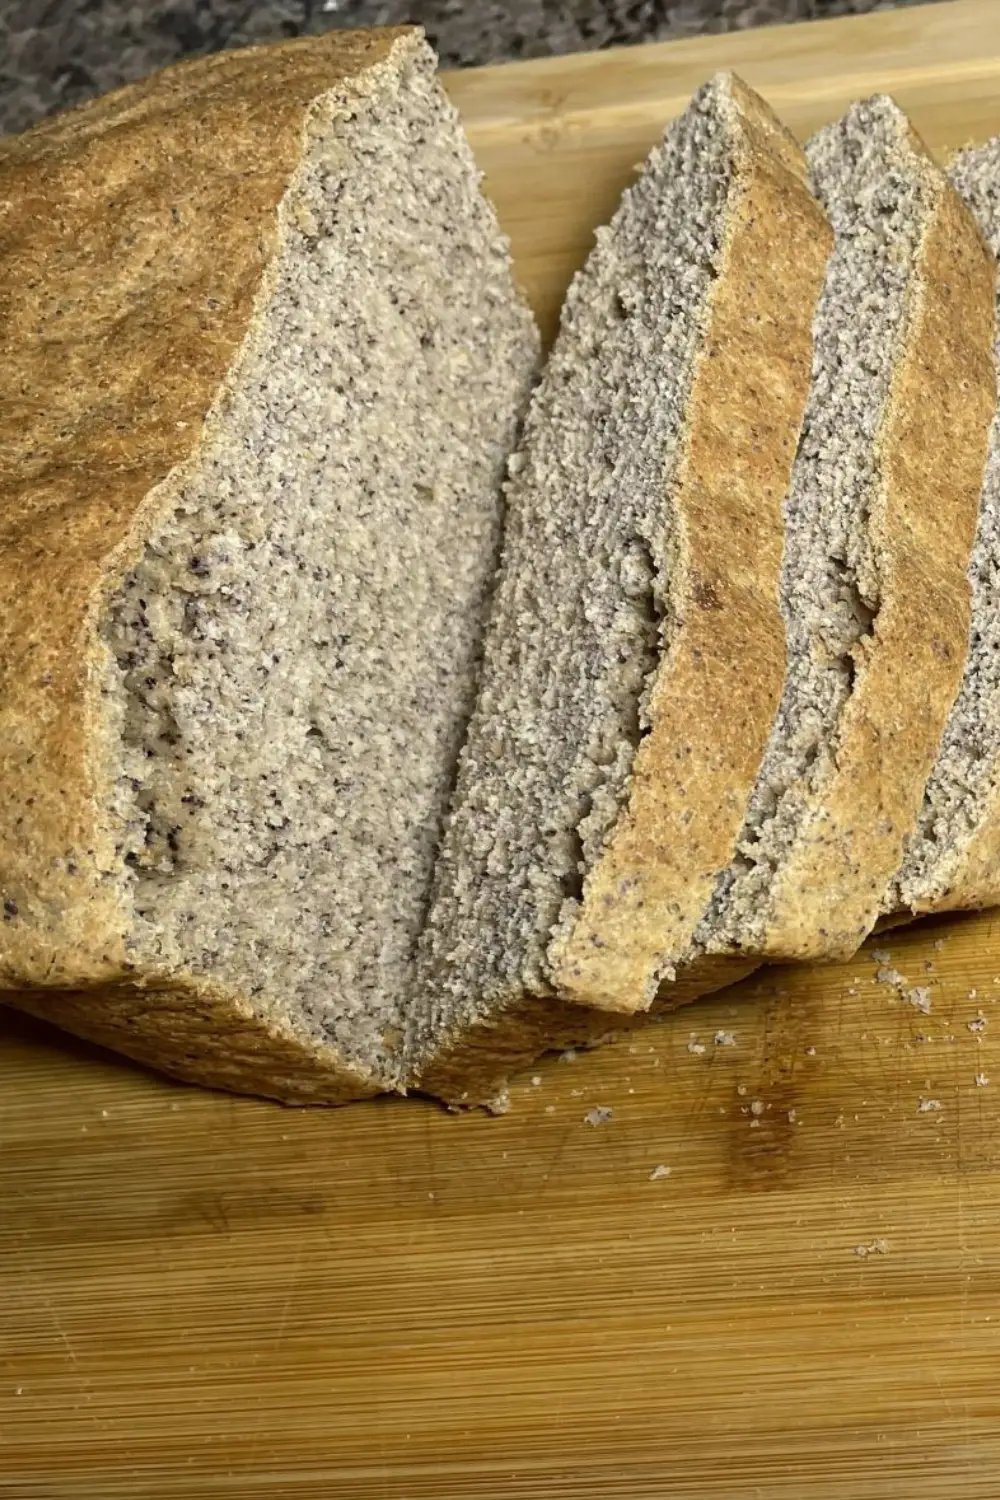
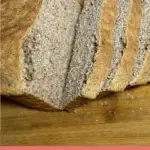
This black bean bread recipe uses homemade toasted black bean flour ground from dry black beans and folded into a slow-fermented starter-sponge dough to produce a protein-rich loaf with a golden crust, a soft and slightly chewy crumb, and a mild, earthy depth of flavor. Toasting the freshly ground bean flour before mixing is a critical step that deactivates the natural enzymes in raw legume flour responsible for harsh, metallic off-flavors. The result is a real yeast bread with real structure, real flavor, and a nutritional profile that no standard white loaf can touch.
- Total Time: 27 Hours
- Yield: 1 Loaf 1x
Ingredients
- 1 cup all-purpose wheat flour
- 1 cup warm water
- 1/4 tsp dry active yeast
- 1/4 tsp granulated sugar
- 2 1/4 cups bread flour
- 1/2 cup homemade black bean flour (ground and toasted from dry black beans)
- 1/2 tsp kosher salt
- 1 1/2 tbsp granulated sugar
- 1 medium-large egg
- 1/2 cup warm water
- 2 tsp dry active yeast
- 1 tsp olive oil (or sesame oil)
Instructions
- Step 1: Start the sponge (24–36 hours ahead)
• In a medium bowl, stir together 1 cup of wheat flour, 1 cup of warm water, ¼ tsp of dry active yeast, and ¼ tsp of granulated sugar until no dry flour remains. It’ll look thin and loose, almost like a batter.
• Cover the bowl with a damp towel or a loose sheet of plastic wrap and leave it at room temperature for 24 to 36 hours. You’re looking for gentle bubbling on the surface, a yeasty-tangy smell, and a texture that looks almost sponge-like when you tilt the bowl. If yours isn’t there yet after 24 hours, give it a few more. Don’t rush this step, because the long fermentation is quietly doing all the flavor work you’d otherwise have to fake. - Step 2: Mill and toast the black bean flour
• Measure out enough dry black beans to yield approximately ½ cup of flour after grinding (roughly ¼ cup of dry beans works well as a starting point). Pour them into a clean, completely dry coffee grinder and pulse in short bursts until you have a fine, powdery flour.
• Sift the flour through a fine-mesh strainer onto a rimmed baking sheet, spread it into a thin, even layer, and slide it under a high broiler for 3 to 4 minutes.
• Watch it carefully; you want a light golden color and a faint nutty smell, not dark brown. Pull the flour at the first sign of color and let it cool completely on the baking sheet before measuring it into your dry ingredients. - Step 3: Proof the yeast
• In a small glass or bowl, combine the 2 tsp of dry active yeast with ½ tsp of granulated sugar and a small amount of the warm water. Stir briefly and let the mixture sit for 5 to 10 minutes until it’s visibly foamy and smells unmistakably like yeast.
• If nothing happens after 10 minutes, your yeast has expired and you’ll need a fresh packet before you go further. Once it’s foamy, you’ve already handled the most consequential step in this whole recipe. - Step 4: Mix the dough
• In a large bowl, whisk together the bread flour, cooled black bean flour, kosher salt, and granulated sugar until evenly combined. Pour in the starter sponge, the proofed yeast mixture, the egg, and the olive oil.
• Stir with a rubber spatula until just combined. The dough will be sticky, and sticky is exactly right at this stage. Over-mixing tightens the gluten too early and gives you a dense, heavy crumb, so stop the moment the dry ingredients disappear into the wet.
• Cover the bowl with a damp towel and set it somewhere warm for 60 minutes. - Step 5: Grease the cast iron
• While the dough does its first rise, generously coat a 6-inch to 8-inch high-wall cast iron pot or Dutch oven with softened butter, working the butter all the way up the sides.
• Set it aside on the counter. If you don’t have cast iron, a lightly oiled bowl or standard 9×5-inch loaf pan will also work. The cast iron gives you a better crust, but the bread is good either way. - Step 6: Shape and second rise
• Lightly flour your hands and dust the surface of the rested dough with just enough flour to keep it manageable. Using your hands and a gentle scraping motion, coax the dough out of the bowl and loosely shape it into a ball with a few light folds. You’re not building a tight, smooth boule here; gentle handling keeps the crumb open and tender.
• Place the dough into the prepared cast iron, press it down lightly so it makes contact with the sides, and cover it again with the damp towel. Let it rise a second time for 40 to 60 minutes until it looks visibly puffed and pillowy at the edges. - Step 7: Bake
• Preheat your oven to 350°F. When the second rise is complete, slide the uncovered cast iron into the oven and bake for 35 to 38 minutes. The top should be a light, even golden brown, and the bottom of the loaf should sound hollow when you knock on it firmly with your knuckle.
• Remove the bread from the cast iron immediately and transfer it to a wire cooling rack.
• Then comes the part that genuinely tests your patience: leave the bread completely alone for 2 to 3 hours before slicing. The interior crumb is still setting as it cools, and cutting in too early will give you a gummy, collapsed center even if the outside looked perfect.
- Prep Time: 30 Minutes
- Fermentation Time: 24 Hours
- Cook Time: 35 Minutes
- Category: Bread
- Method: Baking
- Cuisine: American
Pin This Black Bean Bread Recipe For Later
Back in the Day: When Bean Flour Was a Kitchen Tip Worth Knowing
Long before legume flours found their way onto specialty grocery shelves, home bakers were improvising with whatever could stretch a loaf further, add staying power, or quietly improve the nutrition of a meal without anyone at the table noticing.
Bean flours in particular had a practical role in mid-century American kitchens during periods of scarcity. Soy flour was already being studied by Cornell University's nutrition department in the 1930s and 1940s as a documented way to increase protein in institutional bread without raising costs. The logic was simple: dry beans are cheap, shelf-stable, and grind cleanly into flour that behaves in dough.
That same instinct to get more out of a basic loaf shows up across European bread traditions too, and it's exactly what drives a recipe like this authentic Bauernbrot, a German farmer's bread built around hearty, no-waste ingredients.
What got lost over the following decades, as convenience foods and pre-packaged bread took over the American kitchen, was the know-how to actually work with bean flour at home.
Recipes that had been passed around by extension offices, home economics teachers, and church cookbooks in the 1940s and 50s quietly disappeared. The technique of toasting bean flour before baking, a critical step that home bakers once understood intuitively, became obscure knowledge.
Getting it back is easier than you think. A coffee grinder, three minutes under the broiler, and a starter sponge that works while you sleep are all it takes to produce a loaf that most bakeries aren't making and most home bakers haven't tried. That's genuinely rare in bread baking right now.
Why This Black Bean Bread Recipe Works
Most attempts at protein-boosted bread fail for one of two reasons: the added ingredient disrupts the rise, or it ruins the flavor. This recipe avoids both problems by pairing a well-prepared black bean flour with a fermented starter sponge, giving you a bread with real structure, a tender crumb, and a flavor that doesn't announce its nutritional ambitions to everyone at the table.
Toasting the Bean Flour Changes Everything
Raw black bean flour contains active enzymes, most notably lipoxygenase, that oxidize the natural fats in the flour when they make contact with water. The flavor compounds that result are sharp, green, and metallic, and they're strong enough to define the entire loaf in the worst way.
Three to four minutes under a high broiler deactivates those enzymes completely and, as a bonus, introduces a faint nuttiness to the flour that adds genuine character to the finished bread. The difference between toasted and untoasted black bean flour in a finished loaf is not subtle. Toast the flour.
The Slow Starter Sponge Builds Flavor You Can't Rush
A 24 to 36-hour starter sponge ferments the base flour long before it meets the dry ingredients. That extended fermentation produces organic acids that give the bread a subtle complexity, improve its keeping quality, and partially break down phytic acid in the wheat flour, which makes minerals more bioavailable. It also means the main dough comes together quickly and easily because most of the yeast activity and flavor development has already happened. You're essentially front-loading the interesting part of bread baking while you sleep.
Bread Flour Gives the Dough Structure to Carry the Bean Flour
The main dough calls for bread flour rather than all-purpose flour, and it earns its place. Bread flour has a protein content of 12 to 14 percent, which produces more gluten when hydrated and gives the dough the structural strength to carry the added weight of the black bean flour without collapsing into a dense brick. All-purpose flour will work in a pinch, but expect a slightly flatter crumb and a loaf that doesn't slice as cleanly. If bread flour isn't in your pantry, it's worth ordering before you start.
Cast Iron Creates a Steam Environment for a Better Crust
Baking in a high-wall cast iron dutch oven 🛒 traps moisture from the dough during the first phase of baking, which keeps the crust pliable long enough for the loaf to achieve a full oven spring before it sets. The result is that distinctive golden, slightly crisp exterior that's hard to replicate in a standard loaf pan. The cast iron also distributes heat evenly from the bottom up, which helps the crumb bake through without the bottom burning before the center is done. If there's one piece of equipment worth having for this recipe, it's a good cast iron Dutch oven.
If you've never baked in cast iron before, the Irish soda bread with wheat germ is a great first run with the method since it's a no-yeast loaf with a shorter timeline and almost no shaping involved.
A Single Egg Keeps the Crumb Tender
One egg in a recipe with two and a half cups of flour might look modest, but the fat in the yolk tenderizes the crumb and the protein in the white adds a small amount of additional structure. More importantly, the egg's richness balances the earthiness of the black beans, keeping the flavor profile closer to a well-made sandwich bread than to flatbread territory. For an egg-free version, replace it with an additional teaspoon of olive oil and one tablespoon of warm water.
How to Make Perfect Black Bean Bread Every Time
The biggest thing standing between most home bakers and a great loaf isn't skill. It's skipping the steps that feel optional but aren't. Here's where to pay attention.
Toast the Bean Flour and Don't Walk Away
The broiler toasting step takes 3 to 4 minutes, and it can go from golden to scorched in the time it takes to answer a text. Stay at the oven. Spread the freshly ground flour thinly on a rimmed baking sheet so it toasts evenly without hot spots.
You're looking for a light, uniform golden color and a faint nutty smell. Over-toasted flour introduces a bitter note that carries through to the finished loaf. Slightly under-toasted flour still improves on raw, so if you're uncertain, pull it a little early rather than a little late.
Use a Thermometer for Your Water Temperature
Yeast is more sensitive to temperature than most instructions let on. Water below 95°F under-activates the yeast and produces a sluggish, unpredictable rise. Water above 115°F kills it outright, and you won't know until you've waited an hour for a rise that isn't coming.
Aim for 100°F to 110°F, which feels warm but comfortable against the inside of your wrist. An instant-read thermometer 🛒 takes the guesswork out of it completely and costs less than a bag of good flour.
Shape with Light Hands on a Lightly Floured Surface
A sticky dough that gets over-handled becomes a tough dough. When you're moving the dough from bowl to cast iron after the first rise, think of it as guiding rather than kneading.
Flour your hands, not the dough heavily. A silicone spatula or bench scraper 🛒 makes lifting the dough from the bowl much cleaner than bare hands and keeps you from embedding extra flour into the surface. Two or three loose folds to shape a rough ball are plenty.
Check Doneness by Sound, Not Color
The top of this bread turns golden before the interior has fully set, which makes color an unreliable indicator of when it's done. Turn the loaf out of the cast iron using a folded kitchen towel and knock firmly on the bottom.
A hollow, drum-like sound means the crumb is set and the internal moisture has cooked through. A dull, dense thud means it needs another 3 to 5 minutes. Trust your ears over your eyes on this one.
Wait the Full 2 to 3 Hours Before Slicing
The cooling 🛒 window isn't there to test your willpower. It's the final stage of the baking process. Starch gelatinization continues after the bread leaves the oven, and the crumb is still setting as the internal temperature drops.
Slice too early and you'll get a gummy, almost underbaked texture even if the crust looked perfectly done. Set a timer, go do something else, and come back to bread that slices cleanly and holds together from the cutting board to the plate.
Recipe Variations, Serving Ideas, & Storage
Recipe Variations
Helpful Tools and Ingredients
Recipe Rewind is an Amazon Associate and earns from qualifying purchases made through our affiliate links. We only recommend kitchen tools and products that coordinate with our vintage recipes and traditional cooking methods. Your purchases help us keep culinary traditions alive.
These are the tools that make this black bean bread recipe cleaner to execute and more consistent to repeat.
Lodge Cast Iron Dutch Oven - The high walls and heavy base create the steam environment that gives this bread its crust character. It's also a tool you'll reach for every time you bake a yeasted loaf going forward.
Instant-Read Thermometer - Takes water temperature guessing completely off the table. Worth having for bread, meat, and candy work.
Blade Coffee Grinder - A clean blade grinder produces excellent black bean flour in under 5 minutes. Keep a separate grinder dedicated to spices and dry goods so your coffee doesn't pick up any bean notes.
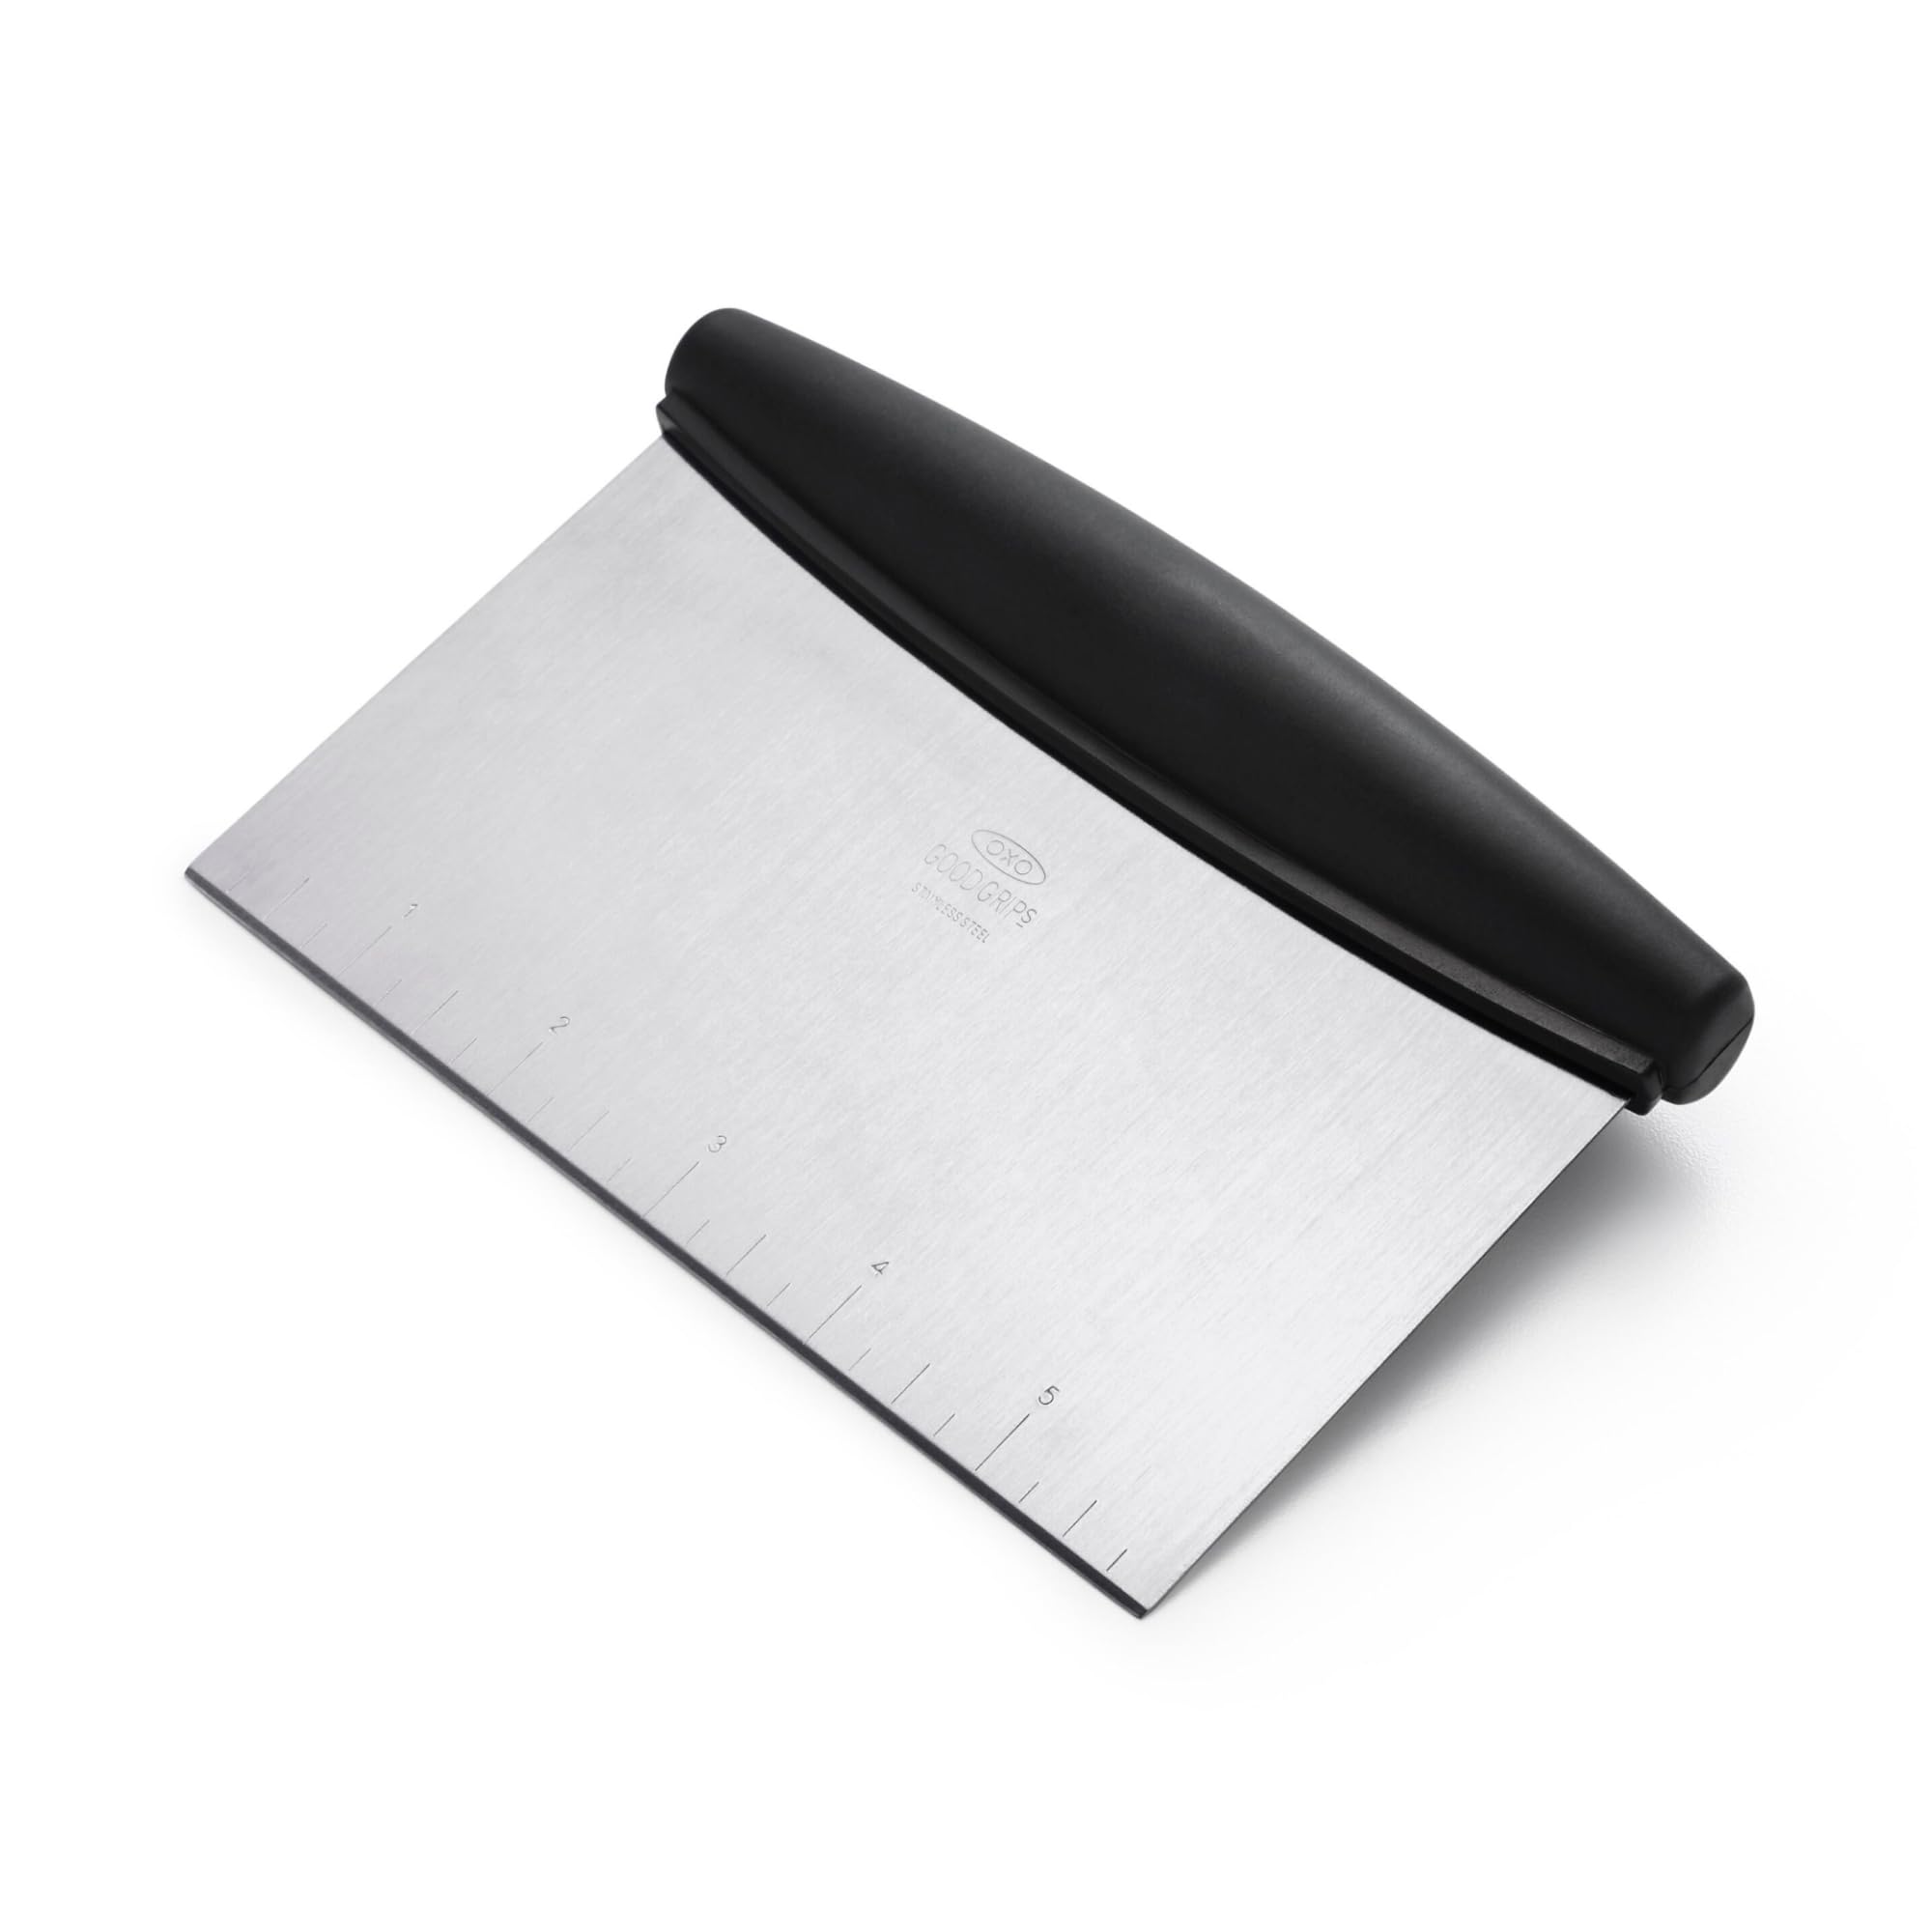
OXO Bench Scraper - The single most useful tool for handling sticky dough without tearing it. Lifts, folds, and shapes dough cleanly without adding excess flour.
Wire Cooling Rack - Allows air to circulate under the bread during the 2 to 3-hour cooling window, which keeps the bottom crust from going soft. A wide, sturdy rack is worth owning if you bake anything that needs to cool evenly.



Frequently Asked Questions
Black bean flour in bread has a very mild, earthy quality that reads more as depth of flavor than as anything distinctly bean-like. Nobody would be able to identify the flavor as bean flour.
Toasting the flour before mixing is what makes the difference; it replaces the raw, slightly grassy edge of unprocessed bean flour with a faint nuttiness that blends naturally into the background of a yeasted dough.
Store-bought black bean flour can work, but it still needs to be toasted before use in this recipe. Commercial bean flour is typically raw or minimally processed, which means the lipoxygenase enzymes responsible for off-flavors are still active.
Spread it onto a rimmed baking sheet and toast it under a high broiler for 3 to 4 minutes, exactly as you would with freshly ground flour, before adding it to your dry ingredients.
Freshly ground flour from dry black beans gives you the most control over grind consistency and freshness.
A bitter or metallic flavor in black bean bread is almost always caused by skipping or under-doing the toasting step. Raw bean flour contains lipoxygenase, an enzyme that oxidizes when exposed to water and produces compounds that taste harsh and unpleasant.
The fix is straightforward: spread freshly ground flour thinly on a baking sheet and toast it under a high broiler for 3 to 4 minutes until lightly golden. That brief heat deactivates the enzymes completely.
If the bread still tastes bitter after toasting, check that the flour was spread thinly enough to toast evenly all the way through.
A standard 9x5-inch loaf pan works well and is a perfectly reasonable substitute for a cast iron Dutch oven. Grease it generously with softened butter, shape the dough to fit, and proceed with the second rise and bake as directed. The crust will be softer and lighter in color than the cast iron version, but the crumb and flavor will be essentially the same.
If you bake bread regularly, a cast iron Dutch oven is one of the most useful tools you can add to your kitchen; the crust character it produces is genuinely difficult to replicate any other way.
The starter sponge is a 24 to 36-hour pre-ferment that develops flavor compounds, improves the bread's shelf life, and makes the main dough easier to work with because much of the yeast activity has already happened.
Skipping it and adding all the yeast directly to the main dough will still produce a bread that rises and bakes correctly, but the flavor will be noticeably flatter and the crumb may be slightly less tender.
If you want to shorten the timeline, you can reduce the sponge fermentation to 8 to 12 hours, but the full 24 to 36 hours is worth planning for.
Yes, the egg can be omitted. Replace it with an additional teaspoon of olive oil and one tablespoon of warm water to maintain the crumb's moisture and tenderness.
A flax egg (one tablespoon of ground flax seed stirred into three tablespoons of warm water, rested for 5 minutes until it gels) is another good option that adds a small amount of binding. The finished loaf will be slightly less rich without the egg but will still rise, bake, and slice well.
All-purpose flour works as a substitute for bread flour and produces a slightly softer, flatter crumb.
Whole wheat flour can replace up to half of the bread flour for a heartier, more nutritionally dense loaf; if you go that route, add an extra tablespoon or two of warm water to the dough during mixing to account for the higher absorption rate of whole wheat.
Replacing all of the bread flour with whole wheat will produce a noticeably denser loaf because the bran in whole wheat interferes with gluten development.
A ready starter sponge will be visibly bubbly on the surface, smell yeasty and slightly tangy, and show small bubbles when stirred.
After the full 36 hours, it may have a thin liquid layer on top from yeast activity; stir it back in before using.
A sponge that smells sharp, acidic in an unpleasant way, or chemical should be discarded. When in doubt, the smell is the most reliable indicator: a good sponge smells like beer or plain yogurt, a little funky in an appetizing way.
The recipe scales cleanly. Double all ingredients, start twice the volume of sponge, and divide the finished dough evenly between two greased cast iron pots or loaf pans.
Rise times may extend by 10 to 15 minutes with the larger dough mass, but bake time stays essentially the same. Test each loaf independently with the hollow-tap doneness check since oven hot spots can affect them differently.
Let the loaf cool completely, then wrap it tightly in a sheet of parchment or wax paper and secure it with a piece of kitchen twine. A bread bag with a twist tie also works well and keeps the crust from softening too quickly in transit.
If you're including a note, the story of the homemade black bean flour tends to get a genuinely surprised reaction from people who've never heard of it before.
Ready to Bake Your Best Black Bean Flour Loaf Yet?
Here's the thing about black bean flour: it's not a specialty ingredient. It's a bag of dry black beans you probably already have on a shelf, a coffee grinder you use every morning, and three minutes under the broiler. Most bakers will never try this because nobody told them it was an option. Now you know.
Once you've baked this black bean bread recipe once, you'll find yourself looking at your dry goods shelf differently. Red lentils, chickpeas, pinto beans — any of them can follow the same process. You've just picked up a skill that transfers to every loaf you'll bake from here on out.
Have you baked with bean flour before, or is this your first time? Leave a comment below and let me know how the toasting step went. And if you're already planning your next variation, a star rating helps other bakers find this recipe.




0 comments