Ingredients
Units
Scale
Starter Sponge Ingredients:
- 1 cup all-purpose wheat flour
- 1 cup warm water
- 1/4 tsp dry active yeast
- 1/4 tsp granulated sugar
- 2 1/4 cups bread flour
- 1/2 cup homemade black bean flour (ground and toasted from dry black beans)
- 1/2 tsp kosher salt
- 1 1/2 tbsp granulated sugar
- 1 medium-large egg
- 1/2 cup warm water
- 2 tsp dry active yeast
- 1 tsp olive oil (or sesame oil)
Instructions
- Step 1: Start the sponge (24–36 hours ahead)
• In a medium bowl, stir together 1 cup of wheat flour, 1 cup of warm water, ¼ tsp of dry active yeast, and ¼ tsp of granulated sugar until no dry flour remains. It’ll look thin and loose, almost like a batter.
• Cover the bowl with a damp towel or a loose sheet of plastic wrap and leave it at room temperature for 24 to 36 hours. You’re looking for gentle bubbling on the surface, a yeasty-tangy smell, and a texture that looks almost sponge-like when you tilt the bowl. If yours isn’t there yet after 24 hours, give it a few more. Don’t rush this step, because the long fermentation is quietly doing all the flavor work you’d otherwise have to fake. - Step 2: Mill and toast the black bean flour
• Measure out enough dry black beans to yield approximately ½ cup of flour after grinding (roughly ¼ cup of dry beans works well as a starting point). Pour them into a clean, completely dry coffee grinder and pulse in short bursts until you have a fine, powdery flour.
• Sift the flour through a fine-mesh strainer onto a rimmed baking sheet, spread it into a thin, even layer, and slide it under a high broiler for 3 to 4 minutes.
• Watch it carefully; you want a light golden color and a faint nutty smell, not dark brown. Pull the flour at the first sign of color and let it cool completely on the baking sheet before measuring it into your dry ingredients. - Step 3: Proof the yeast
• In a small glass or bowl, combine the 2 tsp of dry active yeast with ½ tsp of granulated sugar and a small amount of the warm water. Stir briefly and let the mixture sit for 5 to 10 minutes until it’s visibly foamy and smells unmistakably like yeast.
• If nothing happens after 10 minutes, your yeast has expired and you’ll need a fresh packet before you go further. Once it’s foamy, you’ve already handled the most consequential step in this whole recipe. - Step 4: Mix the dough
• In a large bowl, whisk together the bread flour, cooled black bean flour, kosher salt, and granulated sugar until evenly combined. Pour in the starter sponge, the proofed yeast mixture, the egg, and the olive oil.
• Stir with a rubber spatula until just combined. The dough will be sticky, and sticky is exactly right at this stage. Over-mixing tightens the gluten too early and gives you a dense, heavy crumb, so stop the moment the dry ingredients disappear into the wet.
• Cover the bowl with a damp towel and set it somewhere warm for 60 minutes. - Step 5: Grease the cast iron
• While the dough does its first rise, generously coat a 6-inch to 8-inch high-wall cast iron pot or Dutch oven with softened butter, working the butter all the way up the sides.
• Set it aside on the counter. If you don’t have cast iron, a lightly oiled bowl or standard 9×5-inch loaf pan will also work. The cast iron gives you a better crust, but the bread is good either way. - Step 6: Shape and second rise
• Lightly flour your hands and dust the surface of the rested dough with just enough flour to keep it manageable. Using your hands and a gentle scraping motion, coax the dough out of the bowl and loosely shape it into a ball with a few light folds. You’re not building a tight, smooth boule here; gentle handling keeps the crumb open and tender.
• Place the dough into the prepared cast iron, press it down lightly so it makes contact with the sides, and cover it again with the damp towel. Let it rise a second time for 40 to 60 minutes until it looks visibly puffed and pillowy at the edges. - Step 7: Bake
• Preheat your oven to 350°F. When the second rise is complete, slide the uncovered cast iron into the oven and bake for 35 to 38 minutes. The top should be a light, even golden brown, and the bottom of the loaf should sound hollow when you knock on it firmly with your knuckle.
• Remove the bread from the cast iron immediately and transfer it to a wire cooling rack.
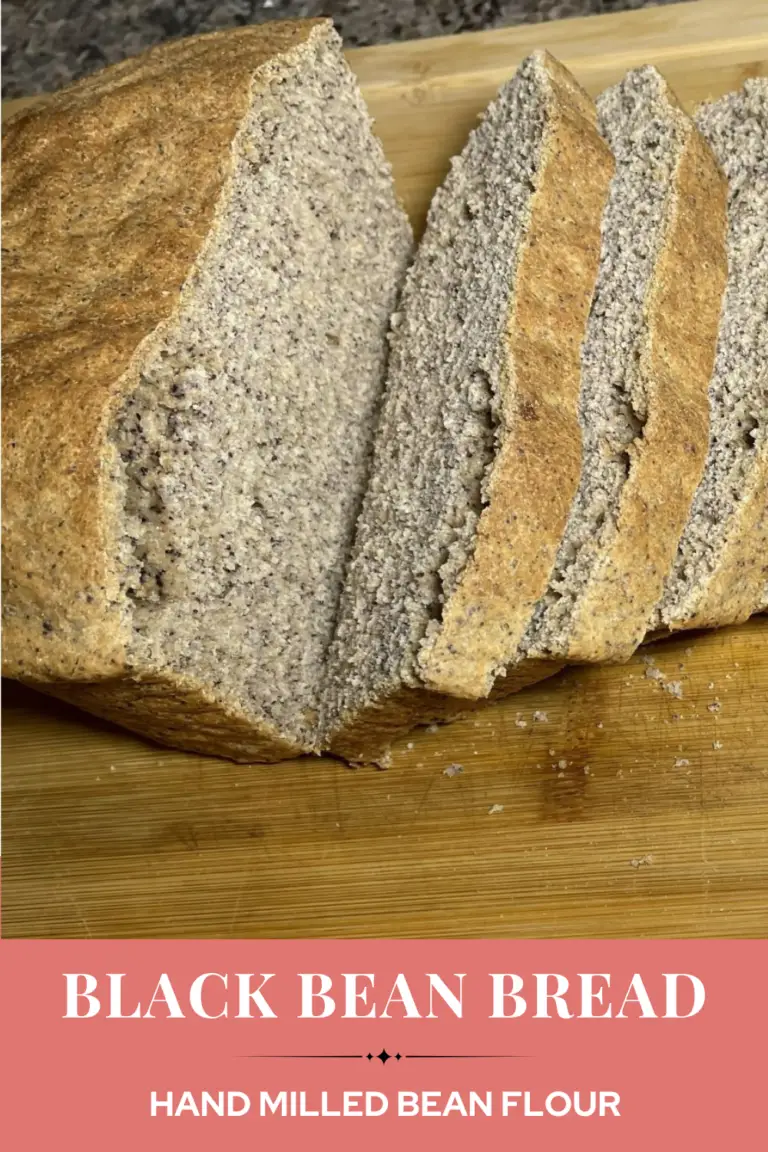
• Then comes the part that genuinely tests your patience: leave the bread completely alone for 2 to 3 hours before slicing. The interior crumb is still setting as it cools, and cutting in too early will give you a gummy, collapsed center even if the outside looked perfect.
- Prep Time: 30 Minutes
- Fermentation Time: 24 Hours
- Cook Time: 35 Minutes
- Category: Bread
- Method: Baking
- Cuisine: American