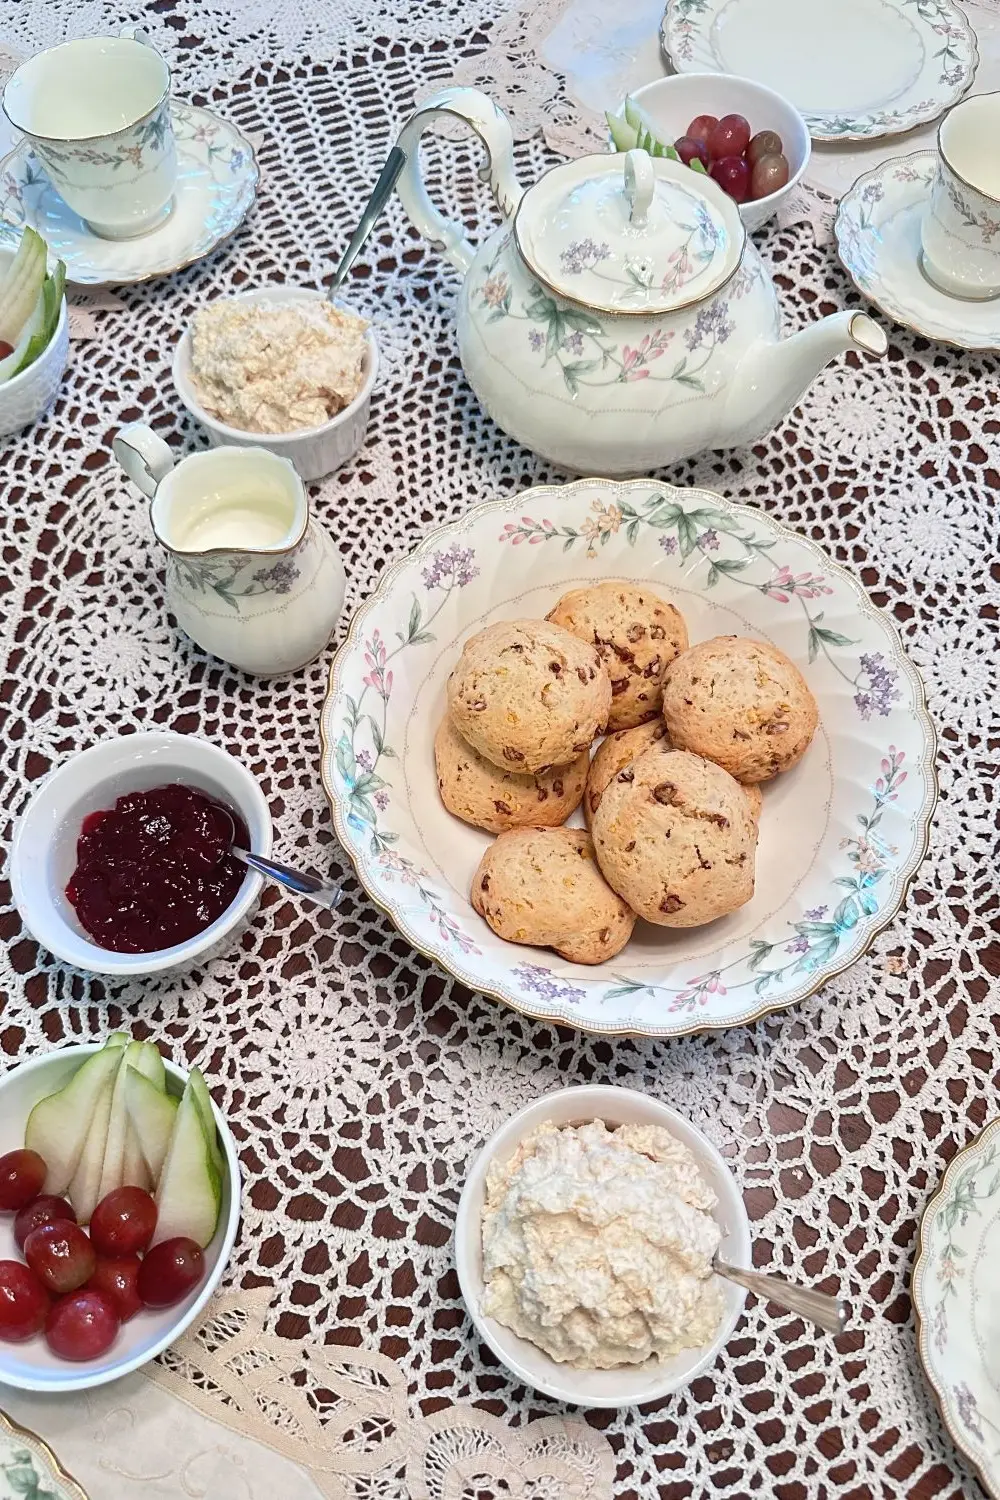
This clotted cream recipe turns plain heavy cream into a thick, golden spread with a nutty flavor and a creamy texture that makes fresh scones, strawberry jam, and afternoon tea feel like a proper occasion.
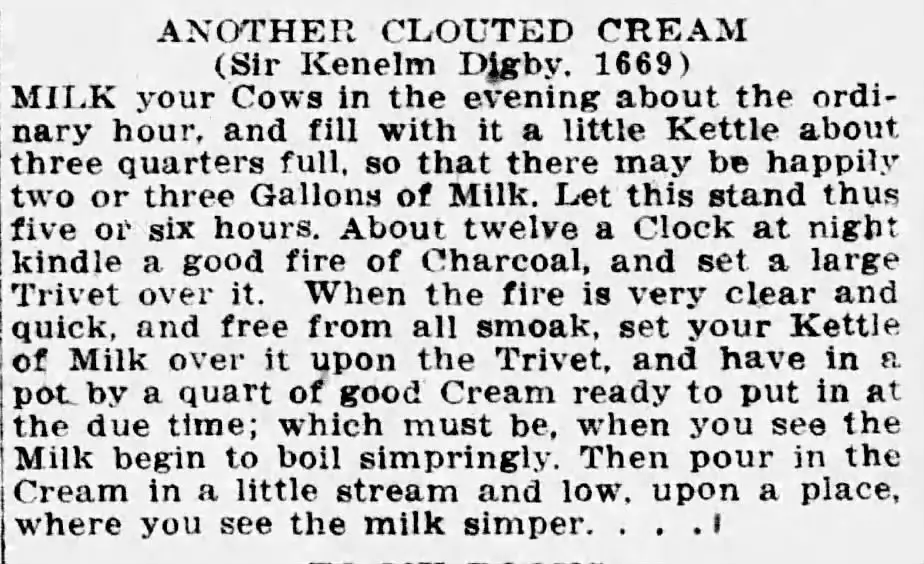
Sir Kenelm Digby recorded his method for "clouted cream" in The Closet of Sir Kenelm Digby Knight Opened, published in 1669, and the principle he used still works in a modern kitchen: low, sustained heat pulls the milk fat to the surface, where it slowly sets into that signature thick layer.
The biggest frustration with homemade clotted cream is that many recipes make it sound like only specialty cream will work, but that's not entirely true, and it's kept a lot of people from ever trying it.
Finding heavy cream that hasn't been ultra-pasteurized is genuinely difficult in the United States. Most standard grocery store brands are ultra-pasteurized to survive the supply chain, and non-ultra-pasteurized cream often requires a trip to a local dairy, a farmers market, or a specialty store.
If you shop at Costco, look for Superior 40% Heavy Cream. It is pasteurized; not ultra-pasteurized.
The good news is that store-bought ultra-pasteurized heavy cream can work for this recipe. Aldi heavy cream produces real, skimmable clotted cream using the oven method. It just needs more surface area to clot well, which means using a shallow 9x13 baking dish 🛒 or dividing the cream between two shallow dishes. If the cream sits too deep, you get less of the golden top layer and more remaining liquid underneath.
Sir Kenelm Digby, The Gentleman Philosopher's Kitchen
Clotted cream has been made in Devon and Cornwall for centuries, and its origin in south west England is so strongly associated with those two counties that both Devonshire cream and Cornish cream now carry protected designation of origin status in the United Kingdom.
The Devon vs. Cornwall debate has nothing to do with the cream and everything to do with scone assembly order, a disagreement that has been going strong for generations and shows no signs of resolution.
Sir Kenelm Digby was a 17th-century English courtier, natural philosopher, and compulsive recipe collector who documented his clouted cream method in detail before his death in 1665. His cookbook was published posthumously in 1669 by his former secretary, and it captures the dairy traditions of Restoration England with a specificity that makes it genuinely useful more than 350 years later. Digby's instructions called for milking cows in the evening, heating the milk over charcoal at midnight, and watching for a "simpringly" boil, which described the faint shimmer of heat just under the surface that we now replicate with a low-temperature oven.
What Digby understood, and what holds up perfectly in modern ovens, is that fat content determines the final product, and fat responds to low, sustained heat the way it responds to nothing else. Rushing the temperature doesn't produce more cream faster. It produces separated grease and disappointment instead of that thick layer of golden clotted cream you're after.

Homemade Clotted Cream Recipe
This authentic 17th-century clotted cream recipe delivers thick, luxurious cream with a golden crust and nutty, caramelized flavor that’s perfect for scones or fresh berries. Using just one ingredient and a slow-baking method from Sir Kenelm Digby’s 1669 cookbook, this traditional English recipe creates the real deal – no shortcuts, no substitutes.
- Total Time: 24 hours
- Yield: About 1 Cup 1x
Ingredients
- 1 quart (4 cups) heavy cream (not ultra-pasteurized)
Instructions
- Preheat your oven to 180°F. If your oven doesn’t go that low, set it to the lowest temperature it can go.
- Pour the heavy cream into a wide, shallow oven-safe baking dish (an 8×8-inch or 9×13-inch pan works well). The cream should be 1 to 2 inches deep for best results.
- Place the dish (uncovered) in the preheated oven and bake for 12 hours. The cream will develop a thick, golden-yellow crust on top.
- Remove the dish from the oven and let it cool to room temperature, about 2 hours.
- Once cooled, cover and refrigerate for at least 12 hours or overnight. The cream will thicken and set during this time.
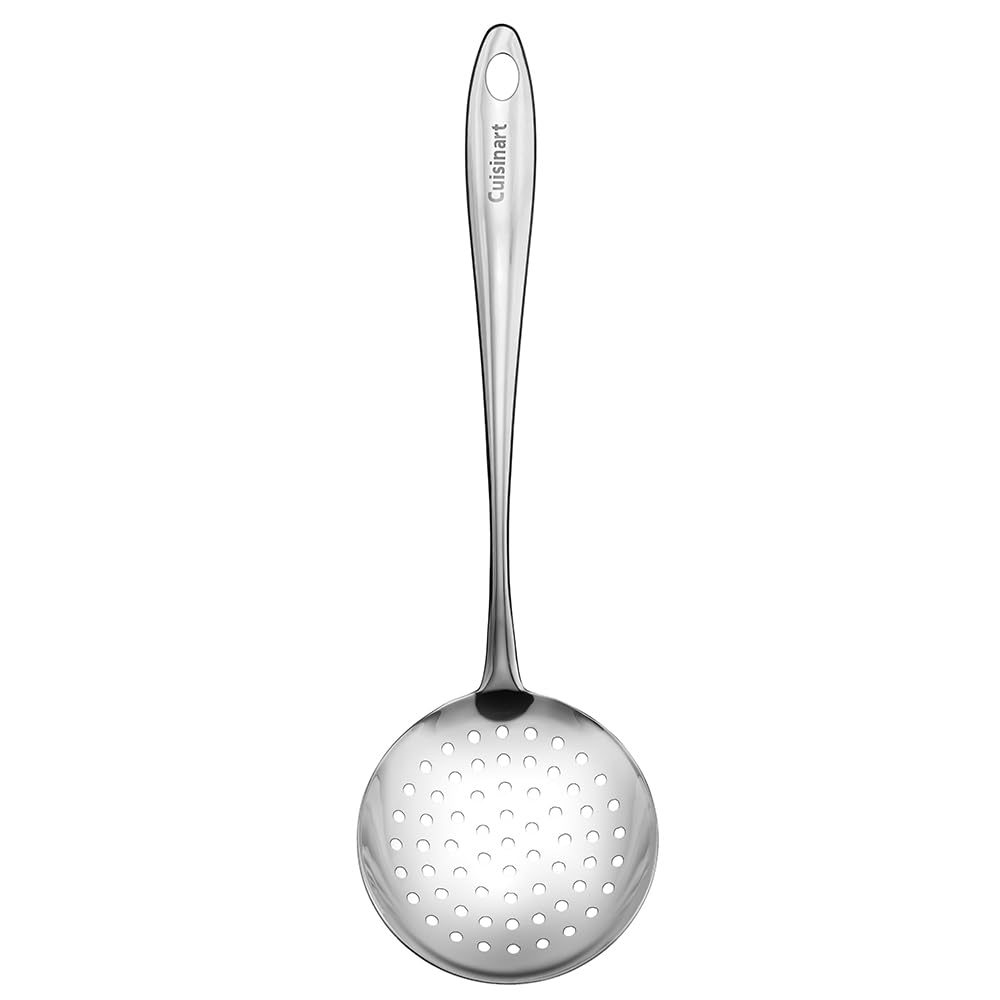
- Gently skim off the thick, clotted cream layer from the top using a slotted spoon or spatula. Save the liquid underneath for baking scones or pancakes.
- Transfer the clotted cream to an airtight container. Store in the refrigerator for up to 5 days.
- Prep Time: 5 minutes
- Cook Time: 12 hours
- Category: Condiment
- Method: Baked
- Cuisine: English
Pin This Homemade Clotted Cream Recipe For Later
What Makes This Homemade Clotted Cream Recipe Work
The Cream and the Dish Work Together
Non-ultra-pasteurized heavy cream still produces the most reliable, richest final product when you can find it, but it can be hard to source in most parts of the United States. Standard store-bought ultra-pasteurized heavy cream can still produce real homemade clotted cream using the oven method. The key difference is that ultra-pasteurized cream needs maximum surface area to clot properly, so using a shallow dish is your best bet.
If your cream sits deeper than 1 inch, the milk fat has farther to travel, the resulting clotted cream is thinner, and you end up skimming less from the top of the cream at the end. A wide, shallow baking dish or two dishes side by side solves this entirely. Go wider, not deeper, and store-bought cream can absolutely get you to the real thing.
The Low Temperature Oven Does The Work
At 175 to 180°F, the cream never boils, never bubbles, and never scorches. It simply separates slowly, the fat rising to form that golden, slightly wrinkled crust on top. An oven running hotter than 180°F can cause the fat to break rather than clot, turning your beautiful rich cream into a greasy, grainy mess. An oven thermometer is one of the most useful things you can have for this recipe because most modern ovens run 10 to 25 degrees hotter than the dial says.
The Overnight Chill Sets Everything
After twelve hours in the oven, the cream will look deceptively thin underneath the crust, and that's completely normal. Don't skim it yet. After it cools to room temperature and chills in the refrigerator overnight, the resulting clotted cream firms up dramatically into that thick, spreadable texture that makes a warm scone worth the whole afternoon. Trying to rush either step produces a loose, watery final product that's hard to recover.
How to Make This Rich, Nutty Clotted Cream Recipe
Use an Oven Thermometer
This is not optional if you want consistent results. Most home ovens fluctuate significantly, and at a target of 175 to 180°F, even a 20-degree spike changes what happens to the cream. Place the thermometer on the same rack as your baking dish and check it before you walk away for the night. If your oven won't go below 200°F, try propping the door open slightly with a wooden spoon to bring the temperature down. It's not refined, but it works.
Don't Cover the Dish During Baking
Leaving the baking dish uncovered during the full twelve hours is what produces that signature golden crust on top of the clotted cream. Covering it with foil traps steam, softens the crust, and gives you a paler, milder result. If your oven runs slightly warm and you're worried about the surface drying out, you can cover it loosely during the last couple of hours, but for best flavor and the classic appearance, leave it open.
Let It Rest Before It Refrigerates
Pulling the hot dish directly into the refrigerator is the second most common reason for a disappointing first batch. The cream needs to cool at room temperature for about two hours after it comes out of the oven before it goes into the refrigerator. The top layer needs time to stabilize. Drape a clean kitchen towel over the dish loosely during this rest if you want to keep anything from falling in, then cover and refrigerate once it's fully cooled.
Give the Refrigerator the Full Time
Twelve hours in the refrigerator is the minimum, and overnight is better. The cream that looks thin and liquid underneath the crust after baking firms up into proper thick cream as it chills. Skimming too early gives you something that pours instead of spreads. If you bake overnight and pull the dish out in the morning, a midday room temperature rest followed by an overnight refrigerator chill puts you right on schedule for the next day.
Skim Slowly and Save the Leftover Whey
Use a wide, flat slotted spoon or spatula and work the edges of the dish first, then move toward the center. The cream clots more densely at the edges, so starting there gives you the cleanest separation between the thick layer and the remaining liquid below. That remaining liquid is lightly sweet, similar to thin buttermilk, and it's genuinely excellent in fresh homemade scones, biscuits, and pancakes. Don't waste it.
Recipe Variations, Serving Ideas, and Storage
Recipe Variations
Tools & Products Worth Having For This Clotted Cream Recipe


Frequently Asked Questions
The most common reason homemade clotted cream doesn't set is ultra-pasteurized heavy cream or cream that doesn't have high enough fat content. It's best to use pasteurized (or fresh) cream with a fat content above 36%.
The second most common issue is insufficient chilling time; the cream needs a full 12 hours in the refrigerator before it's ready to skim.
Clotted cream is a baked cream product with a fat content of at least 55 percent, a thick, spoonable texture, and a distinctly nutty flavor produced by the slow oven method.
Double cream is unheated, pourable cream with around 48 percent fat content, used in sauces and desserts where you want richness without the set texture of clotted cream.
They're not interchangeable in most applications, and clotted cream is richer and more complex in flavor than double cream by a noticeable margin.
Stored in an airtight container with plastic wrap pressed directly against the surface, homemade clotted cream keeps for 4 to 5 days in the refrigerator. Because there are no preservatives, the shelf life is shorter than most clotted cream you'd find at a specialty store. Check for any sour smell or discoloration before using. The leftover whey from the baking dish keeps separately for up to one week.
Evening milk has slightly higher fat content than morning milk, which makes it better suited for producing a thick layer of clotted cream with a richer final product. Digby's instruction to heat the milk at midnight after an evening milking was practical dairy management rooted in centuries of accumulated knowledge.
Clotted cream pairs well with fresh fruit, warm toast, lemon curd, and anything sweet that benefits from a rich, barely-sweet cream alongside it. It works beautifully as a topping for blueberry scones and American scones as well as traditional British scones, and it can be folded lightly into homemade ice cream for added richness.
For a full tea spread, serve it with strawberry jam or raspberry jam, lemon curd, and a pot of strong black tea.
Sir Kenelm Digby Figured This Out in 1669 and You've Got It From Here
Clotted cream might feel mysterious until you understand what's actually happening: low heat pulls the milk fat to the surface, time sets it, cold firms it up. That's the whole process. Once you've made one successful batch of clotted cream, you'll understand every step clearly enough to troubleshoot anything that goes sideways, and honestly, there's very little that can go sideways if you have the right cream.
Set this up the evening before you need it. Let the oven do its quiet work overnight. Come back in the morning, let it rest, chill it until the next day, and skim. Then put a freshly baked scone on a plate, spoon on a generous amount of clotted cream, add strawberry jam, and pour the tea.
That's the real deal, and it's been worth making since 1669.
Did you find a great local source for non-ultra-pasteurized cream in your area? Did your first batch come out exactly right, or did you learn something on round two? Tell me about it in the comments. And if you've been making cream tea for your family for a long time, I want to hear about that too.

0 comments