This old fashioned roasted pumpkin seeds recipe turns simple pumpkin seeds into perfectly seasoned, crispy‑crunchy snacks that keep well on the counter for up to 10 days. The overnight saltwater soak seasons each seed from the inside out, creating a balanced flavor modern quick-roast methods simply can't match. This is the method I learned as a kid growing up in the 1970s.
The scrape of a spoon against the inside of a jack-o'-lantern, the slippery feel of pumpkin guts sliding through your fingers, that earthy autumn smell filling the kitchen; these sensory moments turn a simple carving session into a harvest ritual worth savoring. Rescuing the seeds transforms pumpkin carving from a one-time craft project into something truly rewarding.
The 1970s Kitchen
Pumpkin carving in the 1970s happened at vinyl-covered kitchen tables under avocado green hanging lamps, often with Carole King or The Carpenters singing on the radio. Back then, wasting food felt almost sinful. Memories of wartime rationing lingered in the minds of our parents and grandparents, and the economy was tight. Mothers and grandmothers saved everything: bacon grease in coffee cans, leftover vegetables for soup stock, and absolutely every seed from inside the pumpkin.
This overnight brine method was practical kitchen wisdom passed down through generations who understood patience and resourcefulness. While neighbors were batch baking pumpkin bread, roasted pumpkin seeds became the budget-friendly snack that stretched the harvest season. Stored in repurposed glass jars with handwritten labels, these seeds lasted through November, appearing on Thanksgiving relish trays alongside pickles and olives. The slow, deliberate process reflected an era when cooking wasn't rushed, and nothing from the garden went to waste.
What Makes These Roasted Seeds Special
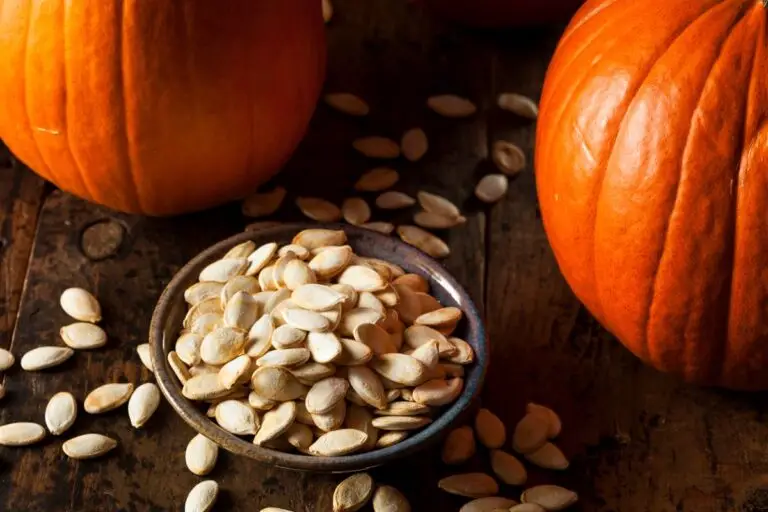
Old-Fashioned Roasted Pumpkin Seeds
This recipe from 1977, is the way we made pumpkin seeds when I was a child. The secret to their satisfying crunch is an overnight soak in a simple salt brine. It’s a timeless, no-waste tradition that turns your pumpkin carving leftovers into a perfectly seasoned, nostalgic snack that tastes just like autumn.
- Total Time: 50 minutes
- Yield: 1 to 1 1/4 cups 1x
Ingredients
- 1 1/3 cups water
- 2 tbsps. salt
- 1/2 lb. (1 2/3 cups) hulled pumpkin seeds
Instructions
-
Bring water and salt to a boil, and stir until the salt is completely dissolved. Pour over pumpkin seeds that have been placed in a bowl. Cover and stand at room temperature 12 to 24 hours.
-
Drain liquid from seeds. Spread seeds evenly in a single layer over a 10×15-inch baking pan. Bake in a 350-degree oven for 25 to 35 minutes (seeds that soak 24 hours require maximum time) or until seeds are dry and puffed (the kernel separates in the center); stir frequently.
-
Let cool, stirring occasionally. Store airtight. Roasted pumpkin seeds stay fresh up to 10 days.


Nutrition
- Serving Size: 1/4 cup
- Calories: 130
- Fiber: 5g
- Protein: 5g
How to Roast Perfect Pumpkin Seeds
Recipe Variations, Serving Ideas & Storage
Flavor Variations
Once you've mastered the basic brined method, try these seasoning variations by tossing the drained, dried seeds with additional spices before roasting:
Frequently Asked Questions
Yes, but you'll sacrifice the deep, even seasoning that makes this vintage method special. Quick-roasted seeds rely on surface seasonings that don't penetrate the hull, resulting in less flavorful seeds that lose their crunch faster.
Chewy seeds usually result from insufficient drying before roasting or overcrowding on the baking sheet. Make sure seeds are completely dry after draining the brine, and spread them in a single layer with space between each one so they roast rather than steam.
Yes, the entire seed, including the hull, becomes edible after roasting. The hull crisps up and provides the satisfying crunch, while the kernel inside delivers the nutty flavor. Some varieties like Styrian pumpkins produce hull-less seeds (pepitas), but standard jack-o'-lantern pumpkin seeds have edible hulls.
Absolutely. Freeze roasted seeds in an airtight container or freezer bag for up to 3 months. They'll lose a bit of crispness when thawed, but the flavor remains intact. Let them come to room temperature before serving, or refresh them in a 300°F oven for 5 minutes.
Properly roasted seeds turn light golden brown and puff slightly, with the kernel visibly separating inside the hull. You'll also hear popping and crackling sounds near the end of roasting. Test a cooled seed; it should be crispy and easy to bite through, not chewy or tough
A standard 10x15-inch rimmed baking sheet (also called a jelly roll pan) provides the ideal surface area for roasting seeds from one medium pumpkin in a single layer. If you're working with seeds from multiple large pumpkins, use two pans rather than overcrowding.
Yes, this technique works beautifully for any winter squash seeds including butternut, acorn, and kabocha. The seeds may be smaller and require slightly less roasting time, so start checking for doneness around 20 minutes.
Raw seeds lose about 30% of their volume during roasting as moisture evaporates and the hulls tighten around the kernels. This concentration of flavors is part of what makes roasted seeds so satisfying.
While this brining method focuses on savory seeds, you can adapt it for sweet versions by reducing the salt to 1 tablespoon and adding cinnamon or pumpkin pie spice after draining. Toss the dried seeds with maple syrup or honey before roasting for a candied effect.

Do you have a favorite memory of carving pumpkins and roasting seeds with family? What seasoning variation sounds most appealing to you this year? If you make these old-fashioned roasted pumpkin seeds, please leave a rating and review!
0 comments