Before Crisco landed on American kitchen shelves in 1911, homemade pie crust was a guessing game of lard ratios and crossed fingers. Within a year, home bakers had found a better way: this 3-ingredient pie crust, a combination of all-purpose flour, shortening, and ice water that comes together in fifteen minutes with nothing fancier than a fork. A hundred years of holidays, church potlucks, and weeknight pot pies later, the formula hasn't changed, and once you make it, you'll understand why.
With batch baking in mind, this classic easy pie crust recipe with shortening takes only fifteen minutes from mixing bowl to rolling pin. Whether you are pressing homemade pie dough into a weeknight pot pie dish or rolling a lattice top for a holiday table, this is the foolproof foundation you will reach for again and again. It has a way of becoming the favorite pie recipe you stop looking up.
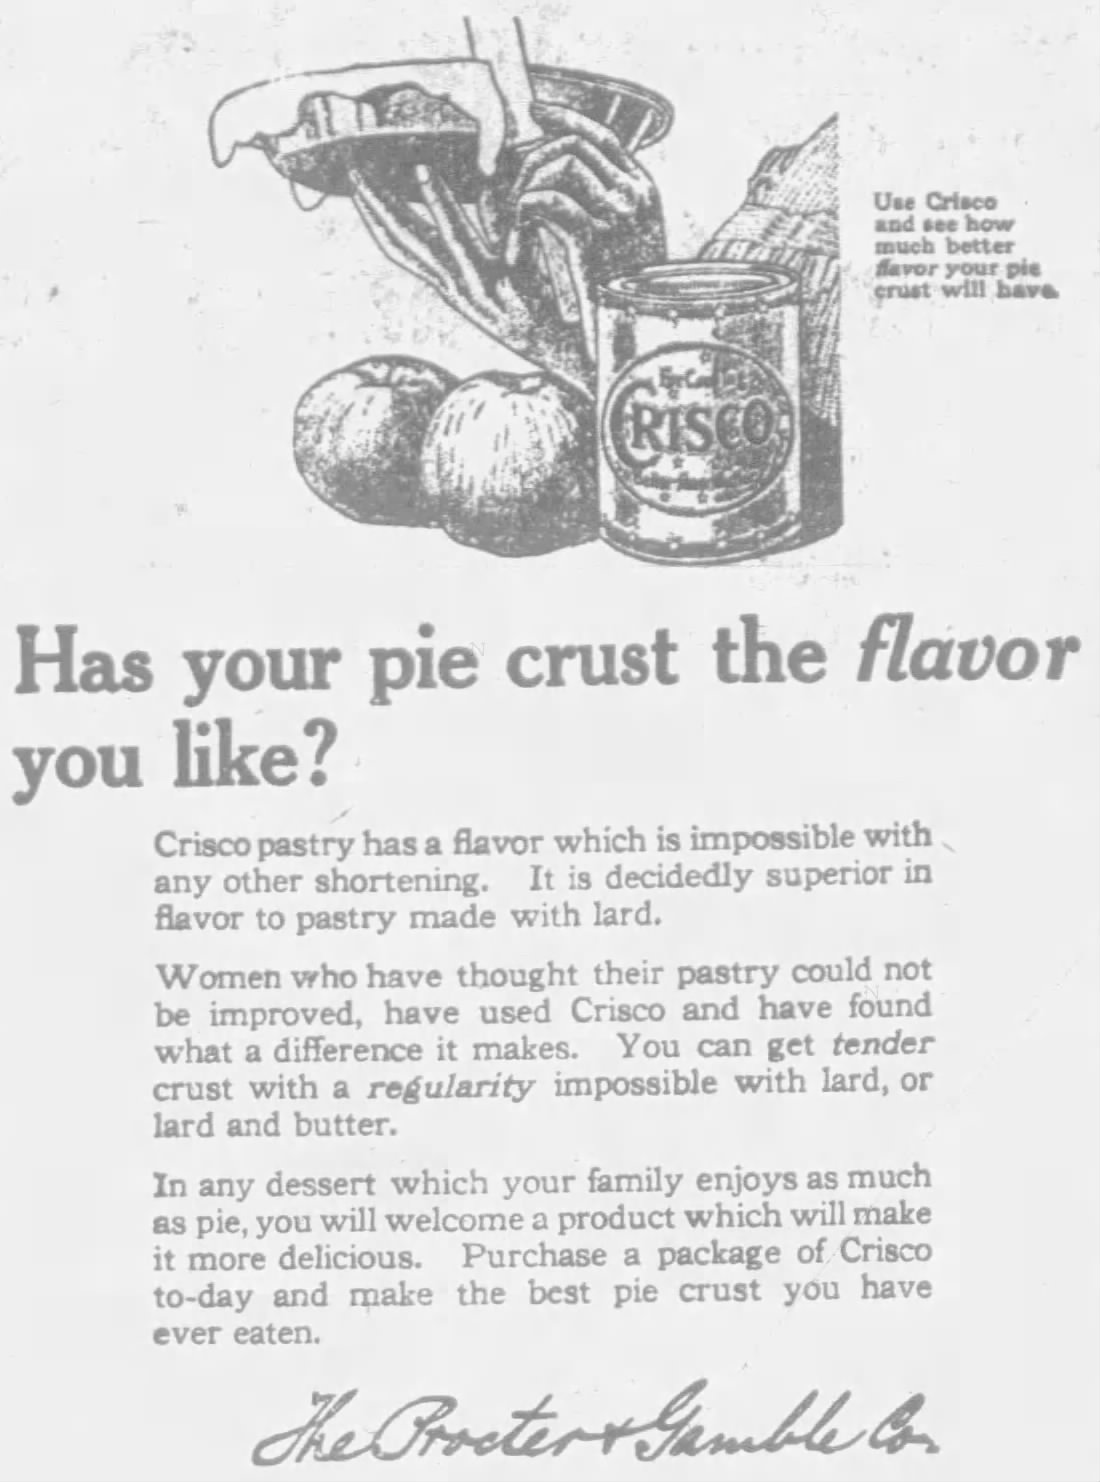
Long before the butter-laminated, Instagram-worthy pie crust took over food blogs, shortening was the standard. Crisco, introduced in 1911 and heavily marketed through the 1940s and 1950s as a "modern" alternative to lard, became the backbone of American baking by midcentury. Procter and Gamble published millions of free Crisco cookbooks, and the shortening pie crust was the signature recipe in nearly every edition. By 1955, it was so common that home economics teachers across the country were using it as the first real baking lesson for high school girls.
This was a time when Donna Reed was setting the standard for the American housewife on television, Jell-O molds were at every covered dish supper, and a well-crimped pie crust was a point of quiet, genuine pride. The recipe card was never written down because it did not need to be. Three cold ingredients, cold hands, and a little practice. That was the whole curriculum.
Does that feel familiar? Even if you were not there, you have probably stood at someone's elbow watching it happen. That muscle memory is available to you now, too.
What Makes This the Best 3 Ingredient Pie Crust
The Shortening Does the Work Fat coats the flour proteins and physically prevents gluten from forming long, tough strands. Shortening is 100% fat with zero water content, which means it creates shorter, more tender gluten strands than butter, which contains roughly 18% water. The result is a flaky pie crust that is genuinely tender rather than chewy or dense. Cold butter produces wonderful flavor, but shortening produces a better texture for beginners because it is the most forgiving when overworked. This is the no-fail pie crust for exactly that reason.
Ice Water Controls Everything The water binds the dough, but too much water activates gluten and makes the crust tough. Drop a few ice cubes into your measuring cup before filling it with water, and keep that cup close while you work. Ice water stays cold enough to keep the shortening solid during mixing, which preserves those small fat pockets that create flaky layers during baking. One tablespoon at a time is not just a suggestion. It is the only way to hit the exact hydration your dough needs without guessing. Hot water is the one thing you should never substitute here. It melts the fat immediately and collapses those layers before they ever see an oven.
Three Ingredients Means Three Fewer Ways to Go Wrong The simpler the ingredient list, the more each one matters. With only all-purpose flour, shortening, and ice water, there is no layer of complexity to blame when something goes sideways. That is actually good news. Troubleshooting a 3-ingredient recipe is fast, and mastering it feels proportionally satisfying.
The Chill Step Is Not Optional Resting the dough in the refrigerator for at least 30 minutes does two things. It allows the flour to fully hydrate, which is science-speak for a more cohesive, less crumbly dough. It also re-solidifies any fat that warmed during mixing, so those flaky layers survive the oven. Skipping this step is the single most common reason homemade pies end up with crusts that shrink or crack during blind baking.
This vintage 3-ingredient pie crust delivers a perfectly flaky, tender base for any sweet or savory pie. Made with simple pantry staples and an old-fashioned technique, it’s quick, reliable, and ideal for make-ahead holiday baking or family dessert traditions.
Total Time:15 minutes
Yield:2 - 9 inch pie crusts 1x
Ingredients
UnitsScale
3cupsall-purpose flour
1cup cold shortening, cut into pieces
1/2 to 3/4cupice-cold water
Instructions
Combine the Flour and Shortening: In a large bowl, add your flour. Drop in the pieces of cold shortening. Using a pastry blender or two knives, “cut” the shortening into the flour. Keep going until the mixture looks like coarse crumbs with some pea-sized bits of shortening still visible. Those little pockets of shortening are what will create a beautifully flaky crust.
Slowly Add the Water: This is the most important step for a tender crust. Start by sprinkling about half a cup of the ice-cold water over the flour mixture. Gently toss everything together with a fork. You’ll see the dough start to get a little shaggy and pull away from the sides of the bowl.
Bring the Dough Together: If the dough still seems too dry, add more water just one tablespoon at a time. The goal is to use as little water as possible. The dough is ready when it just holds together when you press it between your fingers. It doesn’t need to be a perfectly smooth ball of dough; a slightly crumbly look is a good sign!
Divide and Chill: Gently gather the dough and divide it into two equal halves. Pat each half into a flat disk, about 1-inch thick. Wrap each disk snugly in plastic wrap. Let the dough rest in the refrigerator for at least 30 minutes. This little rest helps the gluten relax and makes the dough much easier to roll out later.
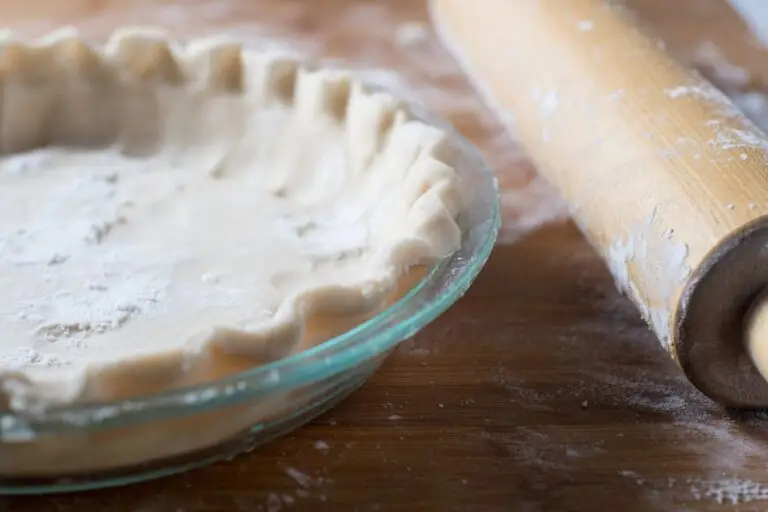
Roll Out Your Crust: When you’re ready to bake, take one disk of dough from the refrigerator. On a lightly floured surface, roll it out from the center to the edges until it’s about ⅛-inch thick and large enough to fit your pie plate. Gently ease the crust into the plate, trim the edges, and it’s ready to be filled. Repeat with the second disk for your top crust or for another pie.
How to Make the Easiest 3-Ingredient Pie Crust With Shortening
Start Cold and Stay Cold Your shortening should be cold, your water should be ice cold, and your hands should be as cool as you can manage. Run them under cold water before you start mixing. If your kitchen runs warm or it is summer, chill your mixing bowl in the freezer for 10 minutes before you begin. Warm fat melts into the flour instead of staying in small, separate pieces, and those small pieces are what create flake.
Cut the Fat Until You See Pea-Sized Crumbles A pastry blender cuts the shortening into the flour more evenly and quickly than two forks, and it keeps your hands from warming the fat. Work until the mixture looks like rough, uneven crumbles with visible pieces ranging from the size of a pea to the size of a small grape. Perfectly uniform crumbles actually signal over-mixing. A little variety in size is exactly what you want.
Add Water One Tablespoon at a Time Add ice water one tablespoon at a time, mixing gently with a fork after each addition. Stop the moment the dough holds together when you press a small amount between your fingers. You may need only 2 tablespoons; you may need 4. Humidity, flour brand, and altitude all affect absorption. Use your hands to judge, not the clock.
Shape, Wrap, and Refrigerate Without Skipping Turn the dough out onto a lightly floured surface, press it into a disk about an inch thick, wrap it tightly in plastic wrap, and refrigerate for a minimum of 30 minutes. Overnight works beautifully if you are planning ahead. When you are ready to roll, let it sit at room temperature for about 5 minutes first so it does not crack at the edges.
Roll From the Center Out Roll from the center toward the edges, rotating the dough a quarter turn after each pass. This keeps the thickness even and prevents the dough from sticking. If it sticks, lift the edge gently with a bench scraper or thin spatula and add a small amount of flour underneath. Rolling the dough on a pastry mat with a guide is helpful.
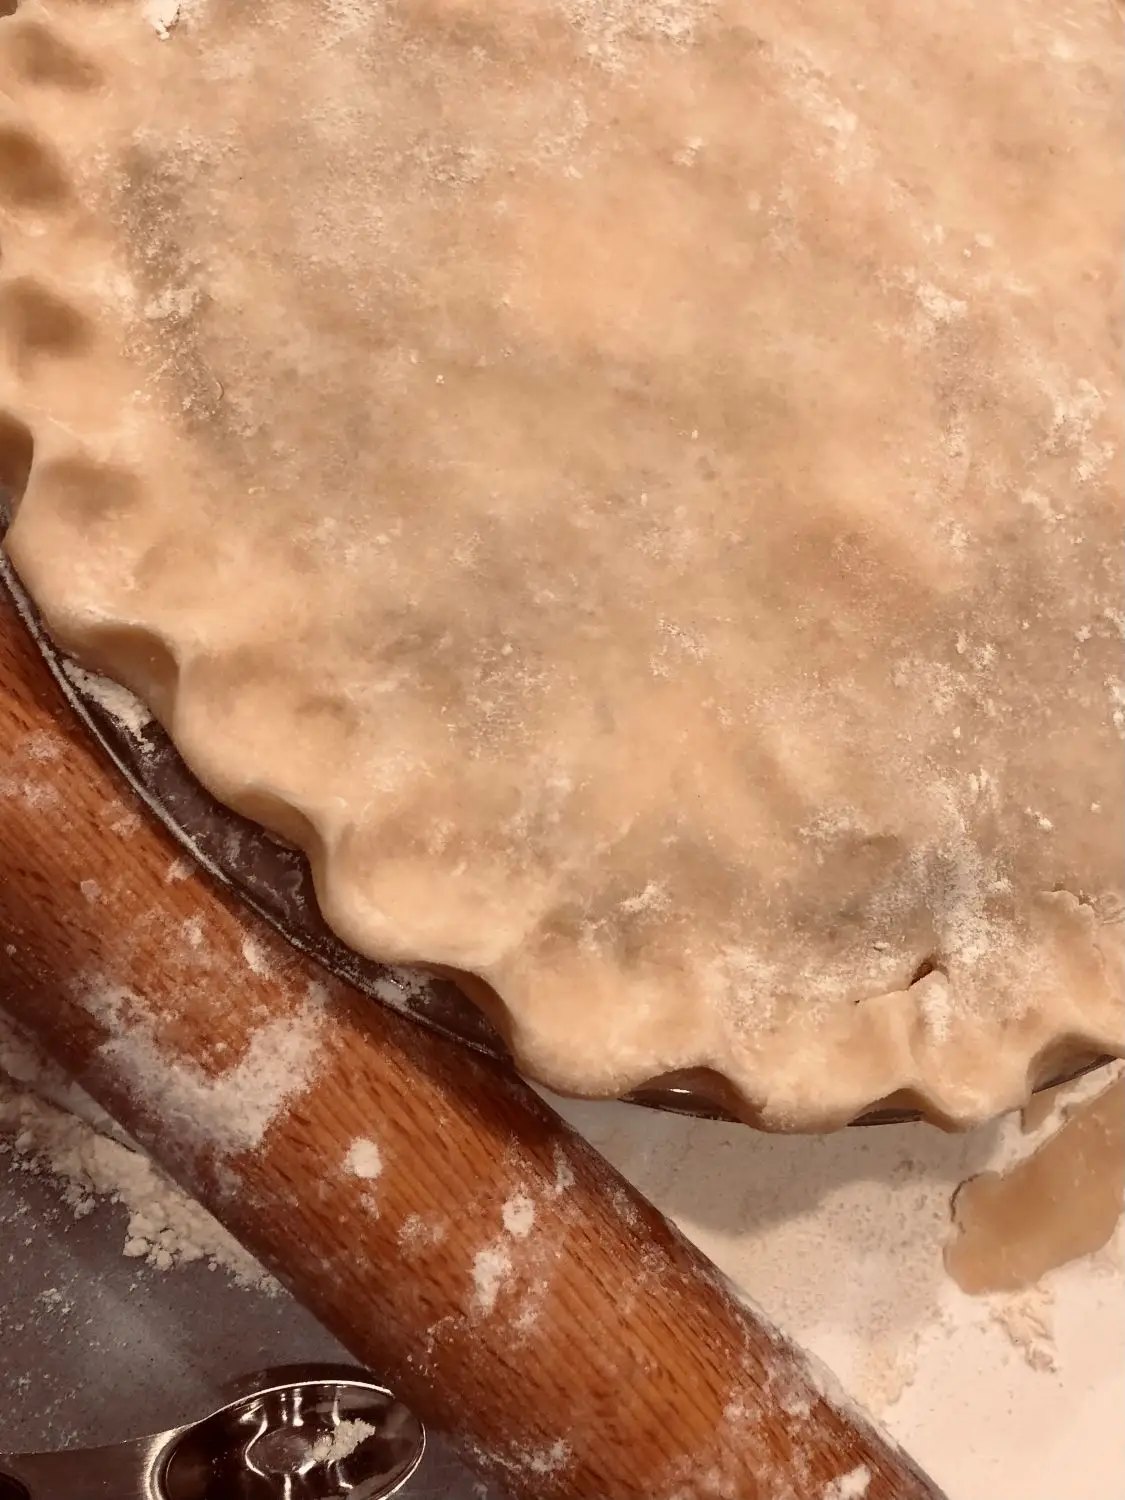
Transfer Without Tearing Fold the rolled dough gently in half, then in half again. Lift it into the pie dish and unfold it carefully. Do not stretch it to fit. Stretched dough springs back during baking, which is what causes shrinkage. Ease it into the corners gently, then trim the overhang and crimp or flute the edges.
Recipe Variations, Serving Ideas, & Storage
Recipe Variations
Serving Ideas
Make Ahead & Storage
Recipe Variations
Double Crust: Double all ingredients for a top and bottom crust. Divide the dough in half before chilling, flatten each half into its own disk, and wrap separately.
Press-In Crust: For a more casual tart or hand pie, skip the rolling and press the dough evenly into the pan with your fingers. This technique works well for custard pies where a perfectly smooth crust edge is less critical.
Savory Version: Reduce or eliminate any added salt from a sweet pie filling and use this same crust for quiche or chicken pot pie without any modification. The neutral flavor of shortening makes it versatile.
Gluten-Free Adaptation: Substitute a 1:1 gluten-free flour blend with xanthan gum included. The dough will be slightly more fragile when rolling, so chilling it thoroughly and rolling between two sheets of parchment helps significantly.
Herbed Savory Crust: Add 1 teaspoon of dried thyme or rosemary directly to the flour before cutting in the shortening for a savory pie crust with an aromatic edge.
Serving Ideas
A well-made shortening pie crust is a blank canvas for your favorite pie fillings. It performs equally well under fruit, custard, or savory fillings. For sweet pies, pair it with classics like cherry pie, pumpkin pie, or a rich chocolate cream pie. It works beautifully as the base for a classic apple pie or an apple blueberry pie when summer fruit is at its peak. The neutral flavor does not compete with rich custards the way a buttery crust sometimes can, making it the better technical choice for egg-heavy fillings.
For a single-crust pie that calls for blind baking, line the unbaked shell with parchment paper, fill it with pie weights, and bake at 375°F for 15 minutes before removing the weights and finishing for another 8 to 10 minutes until lightly golden.
Serve slices on their own or with a scoop of vanilla ice cream, a dollop of fresh whipped cream, or a drizzle of warm caramel. The crust holds up well to moisture, so it does not get soggy quickly after slicing.
Make Ahead & Storage Instructions
Batch Prep: This recipe doubles and triples cleanly. Making three or four crusts at once and freezing them individually means you are always one thaw away from a homemade pie.
Refrigerator: Wrapped tightly in plastic wrap, unbaked pie dough keeps in the refrigerator for up to 3 days. Press out as much air as possible before sealing.
Freezer: This dough freezes exceptionally well. Wrap the disk tightly in plastic wrap, then place it in a zip-top freezer bag and freeze for up to 3 months. Thaw overnight in the refrigerator before rolling. You can also roll the dough into a circle, place it between layers of parchment paper, and freeze it flat for even faster assembly on pie day.
Baked Shell: A fully baked pie shell keeps at room temperature, loosely covered, for up to 2 days. For longer storage, wrap and refrigerate for up to 5 days.
Step-by-Step: Freezing Pie Dough
Step 1.
After mixing your dough, divide and shape it into flat, 1-inch thick disks. Wrap each disk tightly in plastic wrap, smoothing out any air pockets to prevent freezer burn.
For added protection and longer storage (up to 3 months), place the wrapped disks in a heavy-duty freezer bag or wrap them in a layer of foil.
Step 2.
If you have space and prefer, you can roll out the dough to your desired thickness, dust lightly with flour, and stack the rolled sheets between layers of parchment or wax paper. Place these, too, in a freezer bag for easy removal and thawing.
Step 3.
If you like to prep for holidays or batch baking, shape the crust in a disposable pie tin, wrap well in plastic and then foil, and freeze. This allows you to bake directly from frozen without thawing, ideal for blind-baking or quick pies.
Step 4.
Thaw disks overnight in the fridge for best handling and roll out as usual. Rolled or plated crust can be baked from frozen or thawed for 15-30 minutes at room temp to soften slightly before filling.
Frequently Asked Questions
What’s the best method to roll out pie dough for beginners?
Roll from center out on a lightly floured surface, turning often.
Is butter or shortening better for vintage pie crust?
Shortening offers maximum flakiness; butter gives richer taste. Combine for balanced results.
Why does my crust crack when rolling?
Usually too little water or chilling too long—sprinkle with a touch more water and rest briefly
Do I need a special pastry blender?
Not at all. A fork or two knives work just fine; shop our favorite blenders for extra speed.
How do I store leftover pie dough?
Wrap tightly and refrigerate for three days, or freeze for up to two months.
How do I prevent soggy pie bottoms?
Bake on a lower rack, and consider blind-baking if using juicy fillings.
There is a reason this particular combination of flour, shortening, and ice water has outlasted every shortcut and every trend. If you are looking for easy recipes that actually deliver, this perfect pie crust recipe is the one worth memorizing.
Follow the simple steps two or three times, and your hands will remember what the dough is supposed to feel like. You will stop needing a recipe card at all. That is exactly how it was passed down.
If you make this 3 ingredient pie crust recipe with shortening, please leave a rating and a review below and tell me: is this the style of crust you grew up watching someone make, or is this your first time going the shortening route?
Melissa is the creator of Recipe Rewind, where she preserves culinary history one vintage recipe at a time. With Wisconsin roots and a passion for desserts, she specializes in reviving original recipes like the 1908 Hydrox cookie - honoring the authentic versions before they're overshadowed by modern imitations. Self-taught from age seven with a Bisquick box and her Mamaw's handwritten recipe cards, her culinary passion has grown through international travel and raising four children. Today, she cooks in a truly multi-generational kitchen spanning five generations - from the Silent Generation to Gen Z - where timeless recipes bridge the decades. Melissa adapts vintage recipes for modern home cooks and bakers, believing food connects us all across generations, cultures, and time.


0 comments