Bauernbrot German Farmer's Bread, the everyday bread that fed German farming communities for centuries, builds its characteristic tangy crust and dense crumb through a 12-hour rye sponge fermentation responsible for both its four-day freshness and the complex flavor profile you find in actual German bakeries.
German farmhouses across Bavaria and Westphalia were producing this loaf long before commercial yeast existed, relying on wild fermentation and rye's natural acidity to develop flavor and extend shelf life without refrigeration.
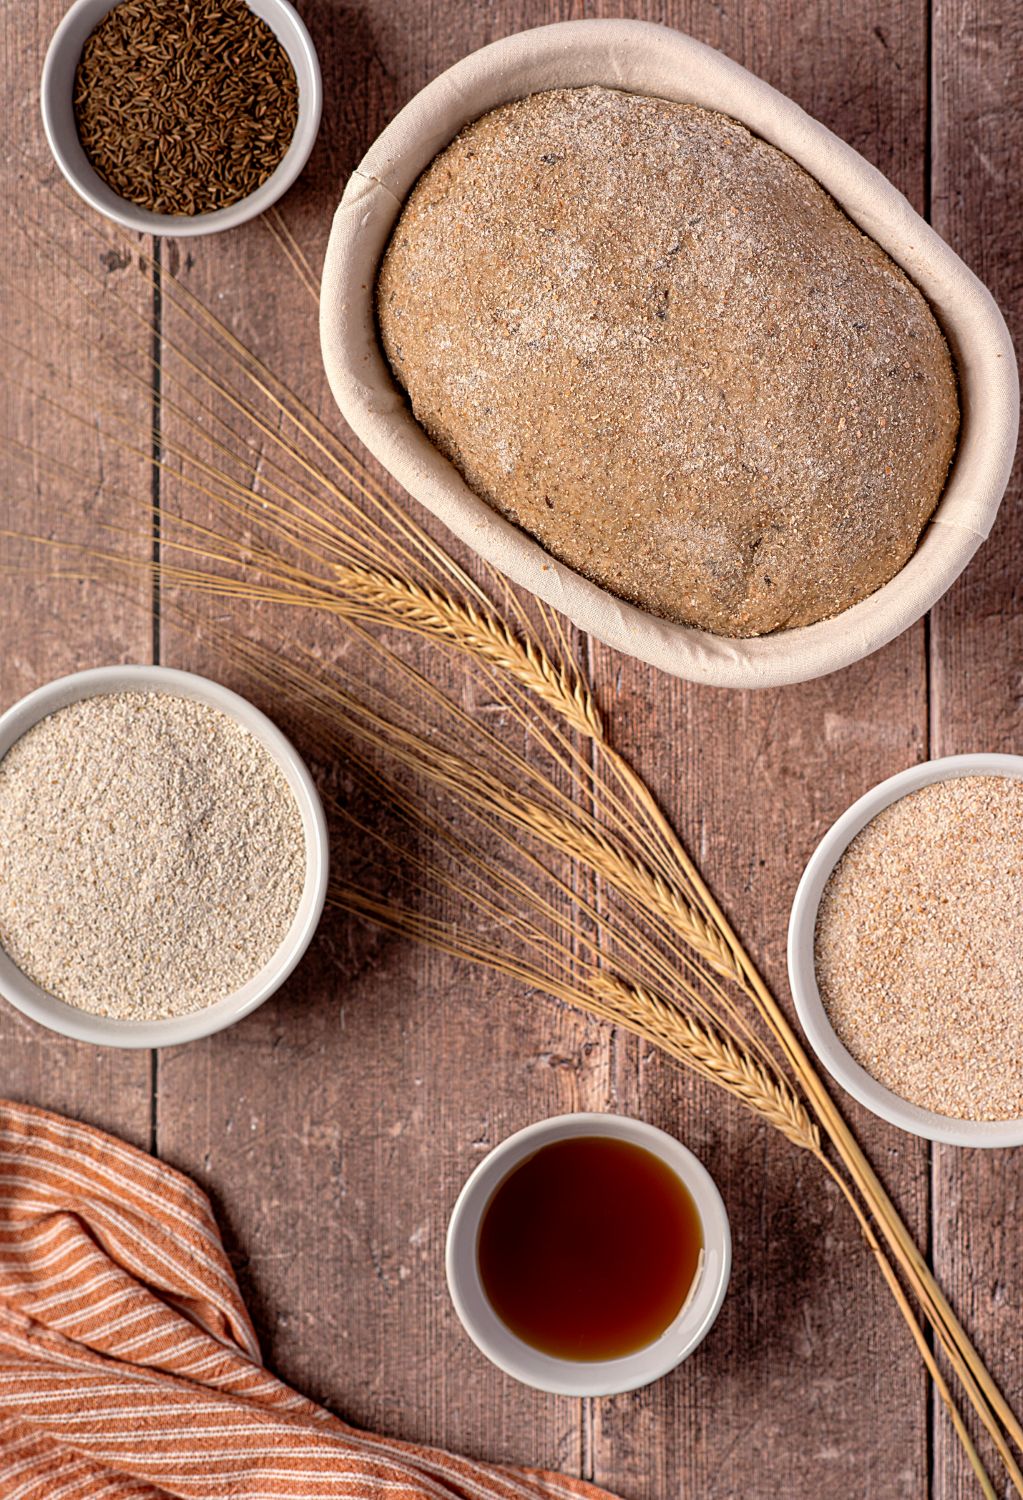
The fermented rye sponge is the defining technique. Rye flour is dense and behaves fundamentally differently than wheat, and the overnight fermentation breaks down that density, develops the characteristic tang, and produces a loaf that holds for four days without a single preservative. You do not need a perpetual sourdough starter or any specialized equipment. A bowl, a few basic ingredients, and time doing the work overnight while you sleep. German farmhouse bakers had this process dialed in centuries before anyone invented a proofing drawer.
I had the pleasure of living in Germany for 15 years, and Bauernbrot showed up on the table in some form almost every single day. Sliced thick, alongside cold cuts, aged cheese, or just coarse salt and real butter. The caraway and dark rye coming out of a warm oven is a smell that stays with you.
Gluten-free and missing real bread? The gluten-free German Bauernbrot uses the same 24-hour fermentation method with buckwheat and brown rice flour, psyllium husk for structure, and zero xanthan gum. It holds together when sliced and actually tastes like the real thing.
The German Village Kitchen
Rural German bakeries of the past ran on a schedule that hadn't changed in 200 years because the schedule worked. A German baker started their rye sponge in the afternoon, left it overnight in cool stone cellars where temperatures stayed consistent, then mixed massive batches of dough before sunrise in wooden troughs that were probably older than their grandfathers. The entire village shared communal wood-fired ovens because individual families couldn't justify the expense or space for a massive oven they'd only use twice a week.
This farmers bread mattered because it fed people doing actual physical labor. A single loaf lasted three to four days without going stale, which meant baking once or twice weekly instead of wasting time on daily bread production. Among all German breads, this style of traditional German bread kept workers satisfied longest because the dense crumb held up in ways that lighter loaves never could. Rye grew reliably in Germany's cool, damp climate when wheat struggled, which made it the practical choice, not the fancy choice.
Families ate it as abendbrot (evening bread), the cold supper that saved cooking time after long workdays. Sliced meats, cheeses, pickles, maybe some schmaltz spread on thick slices. The German bread spice blend of caraway seeds and fennel seeds aided digestion of heavy rye flour and helped preserve the bread before refrigeration existed. Every region had variations, but the fundamental technique stayed consistent because fundamental techniques that work don't need improvement.
What Makes This Bauernbrot German Farmer's Bread Work
The Overnight Rye Sponge Creates Real Flavor
The 12 to 16 hour fermentation isn't optional. Rye flour contains pentosans instead of gluten, which means it doesn't behave like wheat and needs time to break down into something your digestive system can actually process. The yeast and natural enzymes in that overnight sponge transform rye from gritty and bitter into tangy and complex through enzymatic breakdown you cannot replicate with shortcuts or "quick rise" nonsense. Skip this step, and you'll bake dense brown bread that tastes flat and has the texture of compressed sawdust. The sponge does work you can't fake.
Dark Molasses Adds Depth Without Making Sweet Bread
German bakers used barley malt syrup, which you can find in homebrew supply stores if you want to be authentic about it, but dark molasses works just as well and costs $4 instead of $12. The molasses isn't there to make sweet bread. It feeds the yeast during fermentation, adds malty depth, and contributes to that dark mahogany crust color that proper bauernbrot should have. Use actual dark molasses. Not blackstrap, which tastes like you're eating medicine. Not light molasses, which won't give you the color or flavor. Dark molasses. Read the label.
The Three-Flour Combination Balances Density and Structure
Dark rye flour provides authentic flavor and that characteristic dense crumb. Bread flour gives you gluten structure to hold everything together, because 100% rye bread crumbles when you try to slice it and makes sandwiches impossible. Whole wheat flour bridges the gap, adding nutty flavor without making the loaf so dense you could use it as a doorstop. This ratio produces bread that slices cleanly but still has substantial weight. I've tested this with all-purpose flour instead of bread flour. It works. The crumb is slightly more tender, but if AP flour is what you have, use it. Don't let perfect be the enemy of done.
Bread Spices Are Traditional Because They're Functional
Caraway and fennel aren't just for flavor. They make dense rye bread easier to digest and cut through the richness when you're eating it with fatty meats and cheese, which is how you're supposed to eat it. Crushing the seeds distributes the flavor throughout the bread instead of giving you occasional bites with intense seed flavor that makes you question your life choices. A mortar and pestle works. A spice grinder works. A plastic bag and rolling pin works. Pick one method and crush the seeds; it takes 30 seconds.
Products I Use to Make Bauernbrot German Farmer's Bread
Recipe Rewind is an Amazon Associate and earns from qualifying purchases made through our affiliate links. We only recommend kitchen tools and products that coordinate with our vintage recipes and traditional cooking methods. Your purchases help us keep culinary traditions alive.


Authentic Bauernbrot German Farmer’s Bread Recipe
This authentic German farmer’s bread (bauernbrot) uses a traditional 12-hour rye sponge fermentation to develop the complex, tangy flavor found in European village bakeries. The combination of dark rye, whole wheat, and bread flour creates a dense, hearty loaf with a thick, dark crust and substantial crumb that stays fresh for days. Perfect for serving with cold cuts, aged cheese, or slathered with good butter.
- Total Time: 16 to 20 hours
- Yield: 1 Loaf, 16 slices 1x
Ingredients
- 1 cup dark rye flour
- 1 cup warm water (100-110°F)
- 1/4 teaspoon active dry yeast
- 1/4 teaspoon white granulated sugar
- All of the fermented rye sponge (from above)
- 2 cups bread flour or all-purpose flour
- 1 cup whole wheat flour
- 1 cup warm water (100-110°F)
- 1/4 teaspoon active dry yeast
- 1 1/2 tablespoons dark molasses or barley malt syrup
- 1 1/2 teaspoons kosher salt 1 1/4 tablespoons crushed caraway or fennel seeds (optional but traditional)
Instructions
Day 1: Create the Rye Sponge
- In a glass jar or small bowl, combine 1 cup dark rye flour, 1 cup warm water, ¼ teaspoon yeast, and ¼ teaspoon sugar. Mix thoroughly until no dry flour remains.
- Cover loosely with plastic wrap or a clean kitchen towel. Leave at room temperature (68-72°F) for 12 to 16 hours until the mixture is bubbly, has doubled in volume, and smells pleasantly tangy like yogurt.
Day 2: Mix and Knead the Dough
- In a large mixing bowl, combine all of the fermented rye sponge, bread flour, whole wheat flour, warm water, yeast, molasses, salt, and crushed caraway or fennel seeds (if using).
- Stir with a wooden spoon or silicone spatula until the mixture comes together into a shaggy dough.
- Knead by hand on a lightly floured surface for 10 to 12 minutes, or use a stand mixer with dough hook attachment on medium-low speed for 10 minutes. The dough should become supple and stretchy, though it will remain slightly tacky due to the rye content.
- If the dough is excessively sticky and won’t release from your hands, add bread flour 1 tablespoon at a time. If it’s too stiff, add water 1 tablespoon at a time.
Primary Proofing
- Lightly grease a large bowl with oil. Place the kneaded dough in the bowl, turning once to coat with oil. Cover with plastic wrap or a damp towel.
- Let rise at room temperature (68-75°F) for approximately 2 hours, or until doubled in volume.
Shape the Loaf
- Turn the risen dough onto a lightly floured work surface. Gently deflate and shape into either a round boule or oval batard by folding the edges toward the center and creating tension on the surface.
- If using a banneton proofing basket, dust it generously with flour and place the shaped dough seam-side up. If using a baking sheet, line it with parchment paper and place the dough seam-side down.
Secondary Proofing
- Cover the shaped loaf with a towel and let proof at room temperature for 60 minutes while you preheat the oven.
- Preheat oven to 475°F. If using a Dutch oven, place it in the oven to preheat for the last 30 minutes.
Score and Bake
- If the dough was proofed seam-side up in a banneton, carefully invert it onto parchment paper or directly into the preheated Dutch oven.
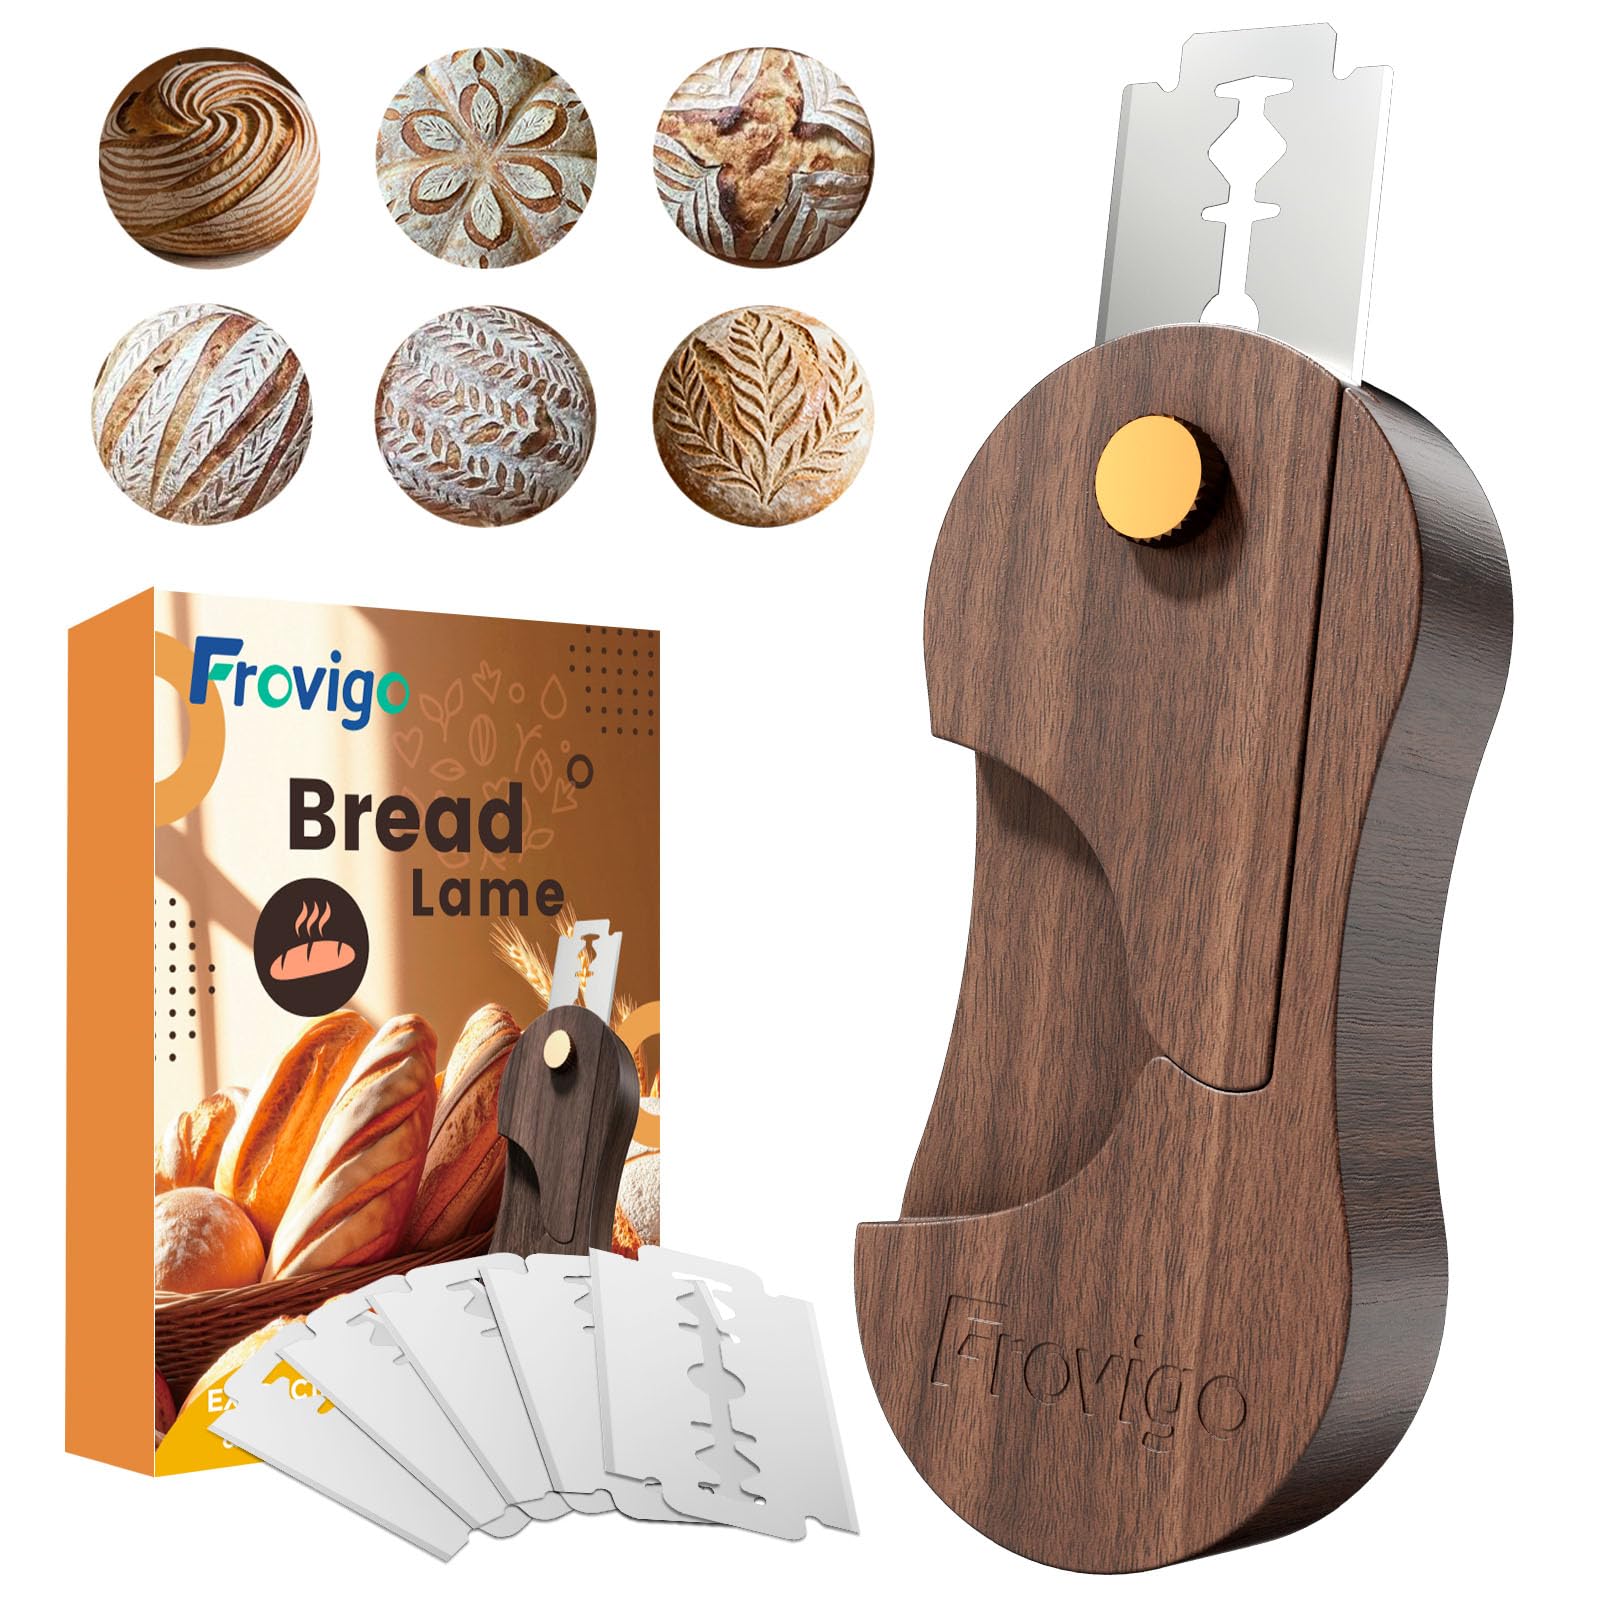
- Using a sharp razor blade or bread lame, score the top of the loaf with your desired pattern (traditional is a cross or three parallel lines), cutting about ¼ inch deep.
- If using a Dutch oven: Carefully transfer the dough (on parchment if needed) into the hot Dutch oven. Cover with lid.
- If using a baking sheet: Place dough on sheet and put a small metal pan with 1 cup of water on the bottom oven rack to create steam.
- Bake at 475°F for 10 minutes, then reduce oven temperature to 425°F and continue baking for 30 to 35 minutes more (total bake time 40-45 minutes). If using a Dutch oven, remove the lid after 25 minutes to allow crust to brown.
- The bread is done when the crust is deep brown, the loaf sounds hollow when tapped on the bottom, and an instant-read thermometer inserted into the center reads 200-205°F.
Cool and Serve
- Remove the loaf from the oven and immediately transfer to a wire cooling rack.
- Let cool completely for at least 60 minutes before slicing. For best texture and flavor, wait until the bread has cooled to room temperature or even overnight before cutting.
Notes
- Dark rye flour can be found in most grocery stores in the baking aisle or specialty flour section. Whole rye flour or medium rye will also work.
- Barley malt syrup is traditional and can be found in homebrew supply stores or online, but dark molasses is an excellent substitute and more readily available.
- Prep Time: 30 minutes
- Fermentation Time: 12 to 16 hours
- Cook Time: 40 - 45 minutes
- Category: Bread
- Method: Baked
- Cuisine: German
How to Make The Perfect Bauernbrot German Farmer's Bread
Start Your Rye Sponge the Day Before
Mix the sponge ingredients in a glass jar or bowl, cover loosely, and leave it alone at room temperature for 12 to 16 hours. Room temperature matters. Too cold (below 65°F), and fermentation crawls along at a pace that won't get you where you need to be. Too warm (above 75°F), and you risk over-fermentation that produces alcohol flavors instead of bread flavors. You're looking for a bubbly mixture that smells pleasantly sour, like yogurt. If it smells like nail polish remover, it over-fermented. Dump it and start over. No, you can't save it.
Knead the Dough Longer Than Feels Necessary
This dough needs 10 to 12 minutes of kneading. Rye flour doesn't develop gluten, so you're relying on the bread flour and whole wheat flour to create enough structure to hold the loaf together during baking. The dough feels sticky at first, then gradually becomes supple and stretchy as the gluten develops. If it's so sticky it won't release from your hands after 5 minutes, add flour one tablespoon at a time. If it feels stiff and dry, add water one tablespoon at a time. Properly kneaded dough should be tacky but not sticky. There's a difference.
Don't Rush the Primary Proof
Two hours at room temperature lets the dough double and develop flavor. Use a transparent container so you can actually see when it doubles instead of guessing. The dough won't rise as dramatically as pure wheat bread because of the rye content, but you should see clear expansion. If your kitchen is cold, put the covered bowl in your oven with just the light on for gentle warmth. If it's hot (above 80°F), reduce proofing to 90 minutes and watch it. Over-proofed dough collapses during baking and nothing fixes that.
Score Deep Before Baking
Use a sharp razor blade, bread lame, or very sharp knife to score the top about ¼ inch deep. Shallow scores look nice but don't open properly during baking, which means your loaf can't expand and you get a dense, compact interior. The traditional pattern is a simple cross or three parallel slashes, but score however you want as long as the cuts are deep enough. Make decisive cuts in one smooth motion. Hesitant sawing creates ragged edges that won't open cleanly. Commit to the cut.
Temperature Drop Creates the Best Crust
Start at 475°F for 10 minutes to get oven spring and crust development, then drop to 425°F for the remaining 30 to 35 minutes. This two-temperature method replicates what happens in a falling wood-fired oven. High initial heat creates steam expansion and crust formation. Lower sustained heat bakes the dense interior without burning the outside. If using a Dutch oven (uncovered), preheat it for 30 minutes and be very careful transferring the hot pot because burns from cast iron are memorable in ways you don't want.
Cool Completely Before Slicing or You'll Wreck It
Hot bread smells incredible. Cutting into it before it cools releases steam that makes the crumb gummy and ruins the texture you spent 16 hours developing. Let the loaf cool on a wire rack for at least 60 minutes, preferably 90. Rye bread actually improves after cooling completely and resting overnight, so if you can wait until the next day to slice it, the flavor and texture will be even better. I know waiting is hard. Wait anyway. You can do it.
Recipe Variations, Serving Ideas, and Make Ahead & Storage
Recipe Variations
Frequently Asked Questions
You can mix all ingredients together and bake the same day, but you'll lose the complex tangy flavor that makes this taste like authentic German bread. The long fermentation breaks down the rye flour and develops flavor you can't replicate with shortcuts. If you're in a rush, make a simple wheat bread instead.
Yep, it over-fermented. This happens when the room is too warm (above 75°F) or you left it longer than 16 hours. The alcohol smell means the yeast consumed all available sugars and started producing off-flavors. Discard it and start fresh with a cooler location or shorter fermentation time.
Rye flour absorbs water more slowly than wheat flour, so the dough often feels stickier initially. Continue kneading for the full 10 minutes, and the texture will improve as the gluten develops. If it's still unworkably sticky after 5 minutes, add bread flour one tablespoon at a time. Your hands and work surface should be lightly floured, not heavily floured.
The bread was probably overbaked or the oven temperature was too high. Use an oven thermometer to verify your actual oven temperature matches the dial. Also, make sure you're using a sharp serrated bread knife. Rye bread crust is naturally thick and crispy, but it shouldn't be rock-hard. Let the bread age for a day at room temperature, which softens the crust slightly.
You can use a bread machine for the kneading and first rise only, but you'll need to shape and bake the loaf in the oven. Bread machines don't handle rye dough well because they can't adjust to the different texture, and the high-temperature start followed by temperature reduction requires manual oven control.
Yes, all-purpose flour works fine. The loaf will have a slightly more tender crumb and less chewy texture, but the flavor will be the same. Bread flour just provides extra gluten strength to support the heavy rye content.
The loaf should be deep brown, sound hollow when you tap the bottom, and reach an internal temperature of 200-205°F when you insert an instant-read thermometer into the center. Under-baked rye bread has a gummy texture that never improves.
Absolutely. Double all ingredients and prepare two separate rye sponges, or double the sponge and divide it between two batches of dough. Shape into two loaves and bake them separately or simultaneously if your oven has room. The fermentation and baking times stay the same.
Crushing releases the essential oils and distributes the flavor throughout the bread instead of concentrating it in whole seeds. This gives you consistent caraway flavor in every bite rather than occasional strong bursts. It also makes the seeds easier to digest.
Rye bread doesn't rise as dramatically as wheat bread due to lower gluten content. However, if you got almost no oven spring, either your yeast was dead, your sponge didn't ferment properly, or you over-proofed the shaped loaf before baking. Check your yeast expiration date and proof it in warm water with sugar to verify it's active before starting.
Pin This Authentic German Bauernbrot Recipe For Later
Now Go Make The Bread
This traditional German farmer's bread uses techniques German bakers have relied on for centuries, and the recipe has been refined through the kind of repeated real-world testing that Gini Youngkrantz and other serious bread writers have long documented as essential to getting authentic German bread right. Your hands-on time is maybe 30 minutes total spread across two days. The fermentation and the oven do the rest.
Village bakers made this farmers bread to feed hard-working families with loaves that lasted days without going stale, turning moldy, or requiring daily baking marathons. It does the same job today. You're making real bread using real ingredients and a proven method. The first time you make this, it teaches you what properly fermented rye sponge smells like and how the dough should feel.
The second time is where you start understanding why this bread has been made the same way for 200 years. The last time I brought a fresh loaf to share, someone asked if I'd picked it up from a German bakery. That's the goal.
Did your family make bread like this when you were growing up, or is this your first attempt at authentic European bread? Either way, I want to know how it turned out. If you make this German Farmer's Bread recipe, leave a rating and review below.
Tell me if the crust turned out right, if the tang from the rye sponge came through, or if you ran into problems that need troubleshooting. Actual feedback helps me improve these recipes and helps other bakers know what to expect. Rate it honestly. Five stars if it worked. Fewer stars if it didn't, but tell me what went wrong so I can help you fix it.
0 comments