Ingredients
Units
Scale
- 3 cups all-purpose flour
- 1 cup cold shortening, cut into pieces
- 1/2 to 3/4 cup ice-cold water
Instructions
- Combine the Flour and Shortening: In a large bowl, add your flour. Drop in the pieces of cold shortening. Using a pastry blender or two knives, “cut” the shortening into the flour. Keep going until the mixture looks like coarse crumbs with some pea-sized bits of shortening still visible. Those little pockets of shortening are what will create a beautifully flaky crust.
- Slowly Add the Water: This is the most important step for a tender crust. Start by sprinkling about half a cup of the ice-cold water over the flour mixture. Gently toss everything together with a fork. You’ll see the dough start to get a little shaggy and pull away from the sides of the bowl.
- Bring the Dough Together: If the dough still seems too dry, add more water just one tablespoon at a time. The goal is to use as little water as possible. The dough is ready when it just holds together when you press it between your fingers. It doesn’t need to be a perfectly smooth ball of dough; a slightly crumbly look is a good sign!
- Divide and Chill: Gently gather the dough and divide it into two equal halves. Pat each half into a flat disk, about 1-inch thick. Wrap each disk snugly in plastic wrap. Let the dough rest in the refrigerator for at least 30 minutes. This little rest helps the gluten relax and makes the dough much easier to roll out later.
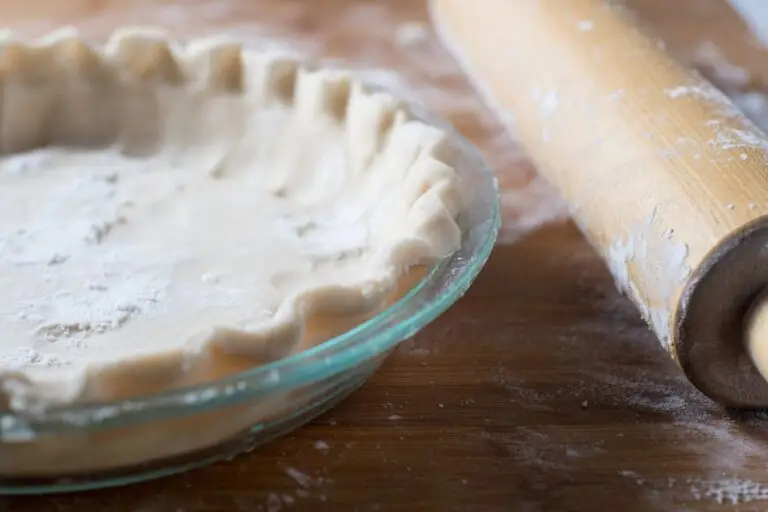
- Roll Out Your Crust: When you’re ready to bake, take one disk of dough from the refrigerator. On a lightly floured surface, roll it out from the center to the edges until it’s about ⅛-inch thick and large enough to fit your pie plate. Gently ease the crust into the plate, trim the edges, and it’s ready to be filled. Repeat with the second disk for your top crust or for another pie.